** I intended to post this back in October!**
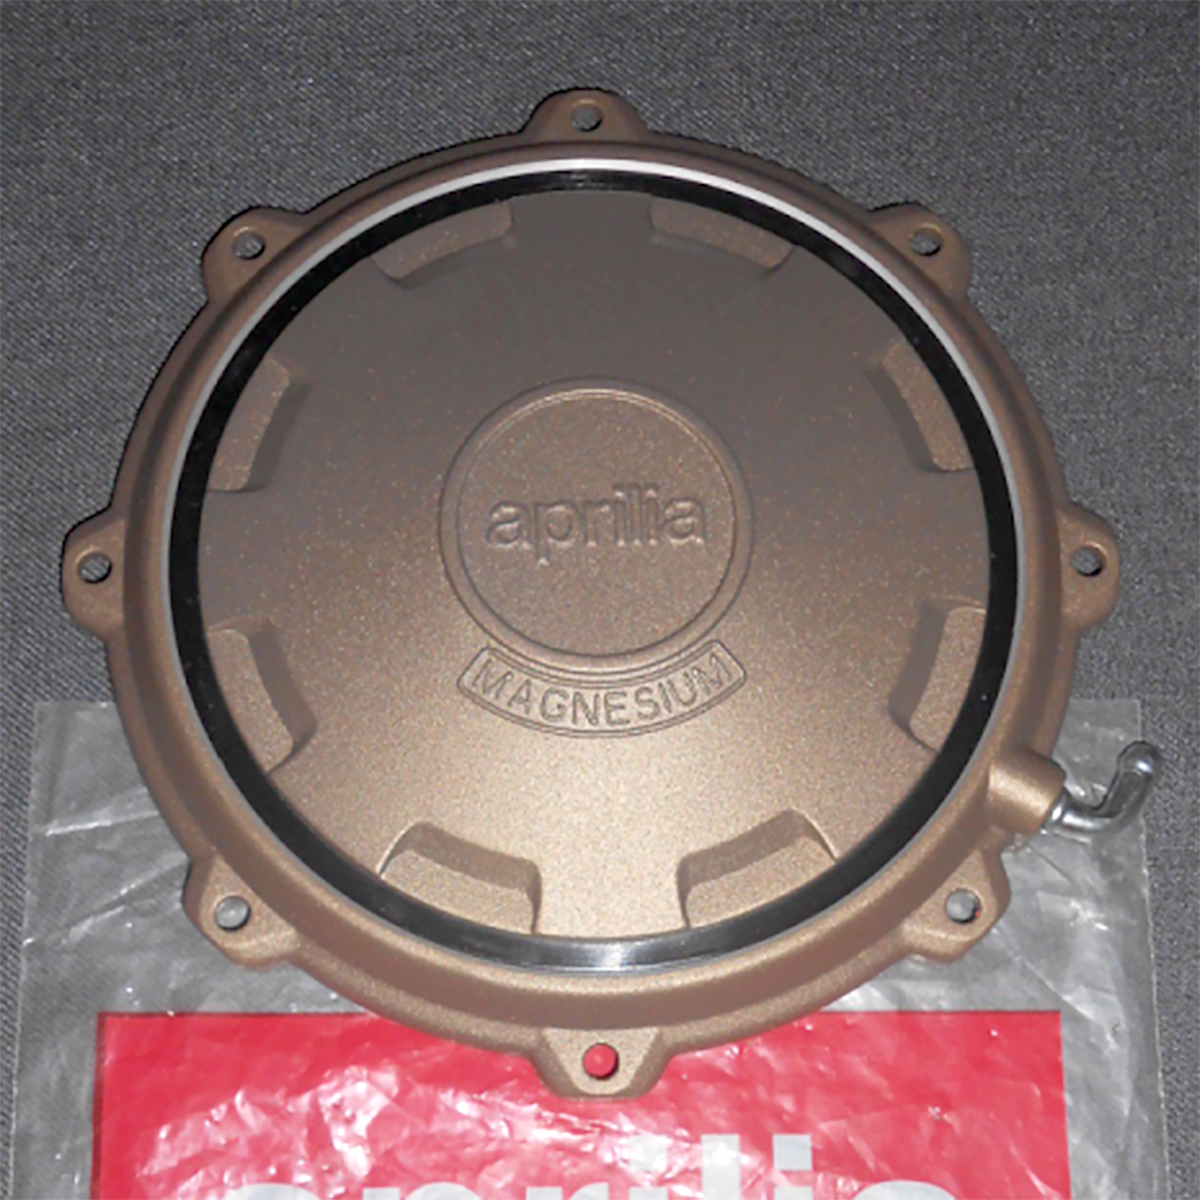
Let me start by saying they were cheap and I was curious ….. They were cheap for a reason though. They were most definitely NOT the magnesium cam covers in the EBay advert photographs! Oh well, they were physically fine, just scratched and one had a little surface corrosion under the paint.
So I had a brainwave, take these and the spare pair of Caponord cam covers to be powder coated. Use them as test pieces before letting someone loose on more important bits of the Capo. A lovely idea in principle, but around here powder coaters are thin on the ground, so Google was my best friend for a few minutes. Initially I looked at the ones with websites and they were either too industrial or too far away. Then I looked at one about 20 minutes from where I work. No website, but good reviews from other social media and some examples of his work – so I made contact.
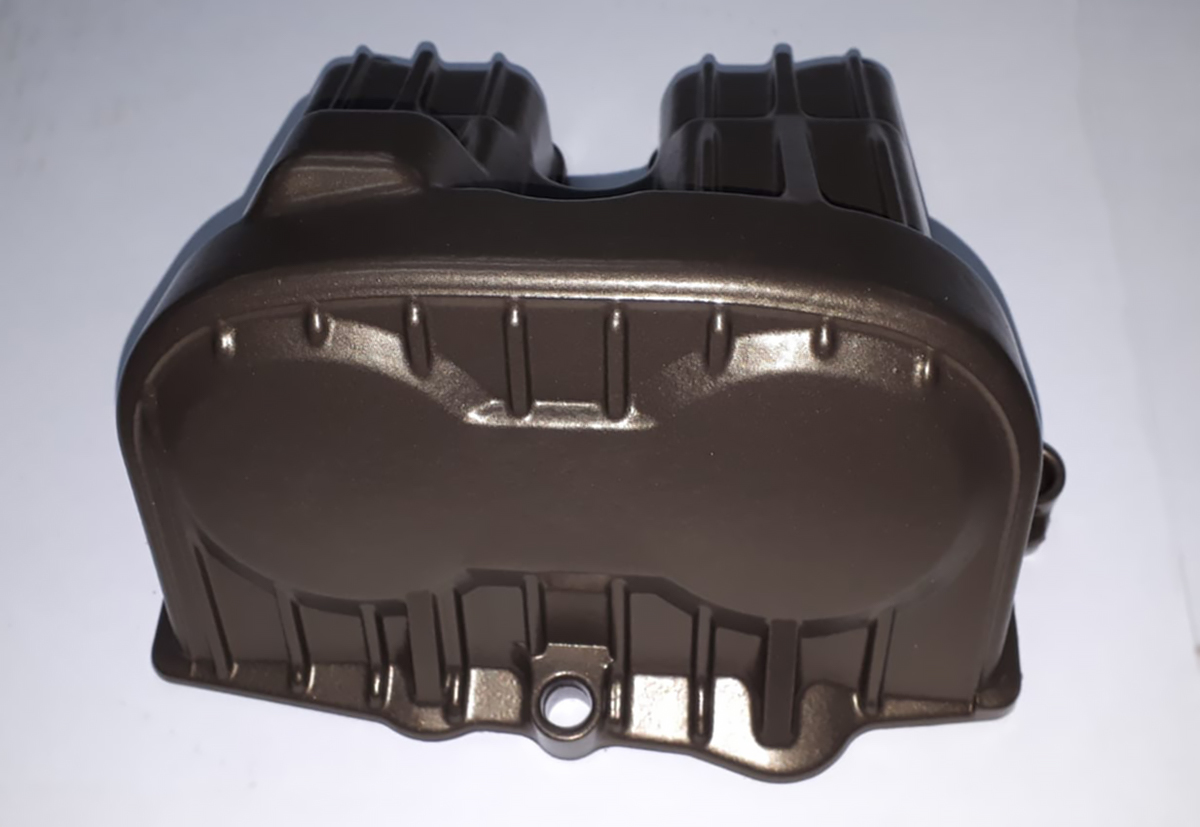
And here is the outcome of that meeting …. One of four cam covers in ‘Anodic Bronze’, with a one week turnaround for £60 inclusive. I’m happy with that. I think it’s fair to say that Sam is a man of few words, who’s happy squirrelled away in a modern workshop out in the sticks, doing what he enjoys. Communications were excellent and he did a great job in the time frame quoted, at a reasonable price. Next then a Caponord oil tank, passenger footpeg hangers and some crash-bars and various brackets – In RAL9011 Graphite Black.
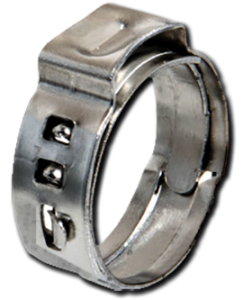 Swapping over only takes a couple of minutes …. 8xM5 bolts and a click clamp to remove. I exchanged the old one for a nice new Zero-Leak low profile Stainless Steel 11.3mm version – very snug! In fact the old one wasn’t really squashing the pipe onto the siggot anymore and could be pulled/pushed/rotated very easily, which makes me think it was no longer vacuum tight ….hmm. Anyway, the new one crimped up lovely and everything is supper-sealed once again.

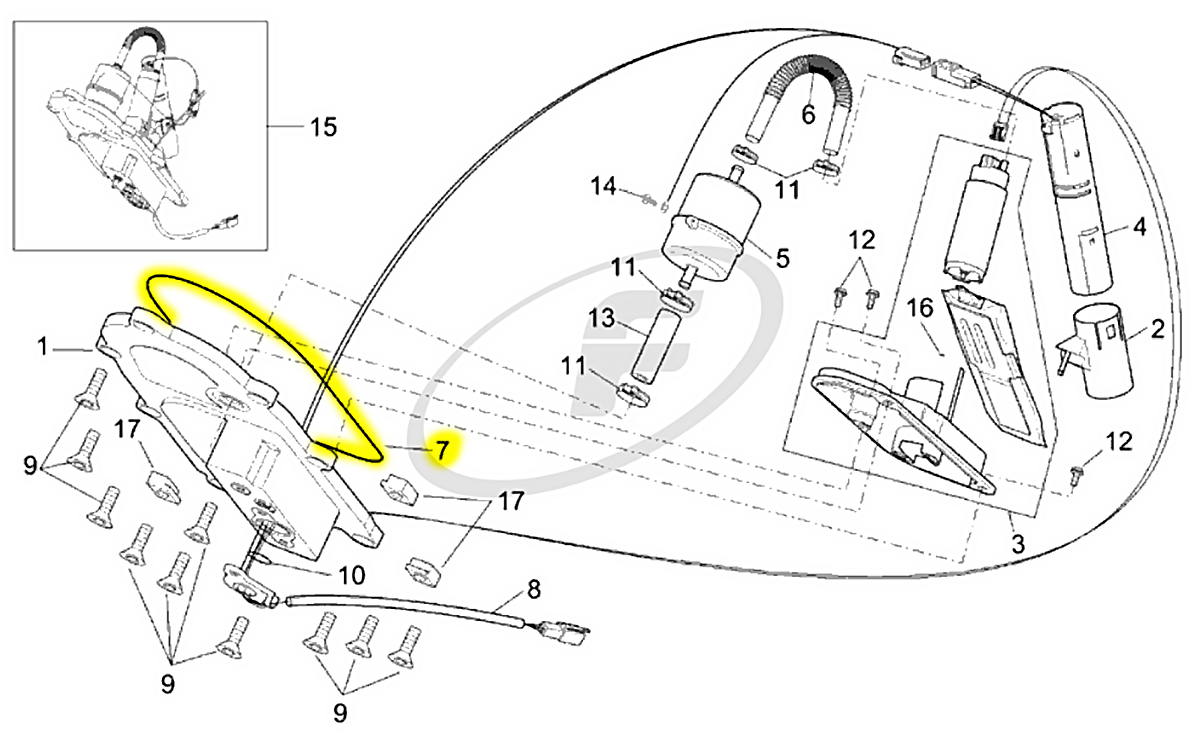
 I’ve just had a fun few hours preparing the Capo for its MOT (annual inspection) and one of the issues I wanted to get around to sorting was the slightly high tick-over.
 As Guinness said, “Good things come to those who wait” …… and boy have I waited! When the new grips went on in late November, they were accompanied by the 3D printed temporary bar-end mounts. The clock was ticking, I had to get the grown-up adult versions (stainless steel!) made up asap as I’d no idea how long these things would hold up. In early January someone stepped in to do the deed.
 So just when I was giving up on ever seeing a set, a mate offered to help, and in the blink of an eye made these beauties! They fit perfectly and the finish is brilliant – what more can I ask for? So a huge ‘Thank you’ goes out to Jason – stand up, take a bow, don’t be shy fella! The eagle-eyed will notice a change from the rendering (and drawing) in that the flats (for socket or spanner) were left off. This was to reduce machining time and also because they only really need to pinch up – I’m not torquing the nuts off an axle here!
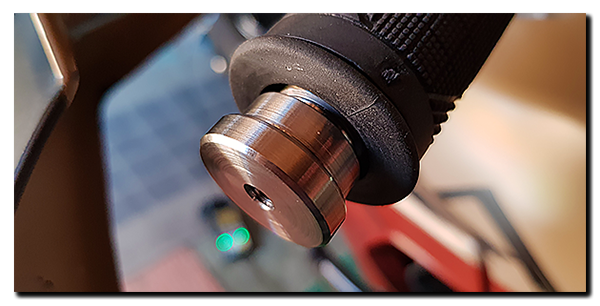
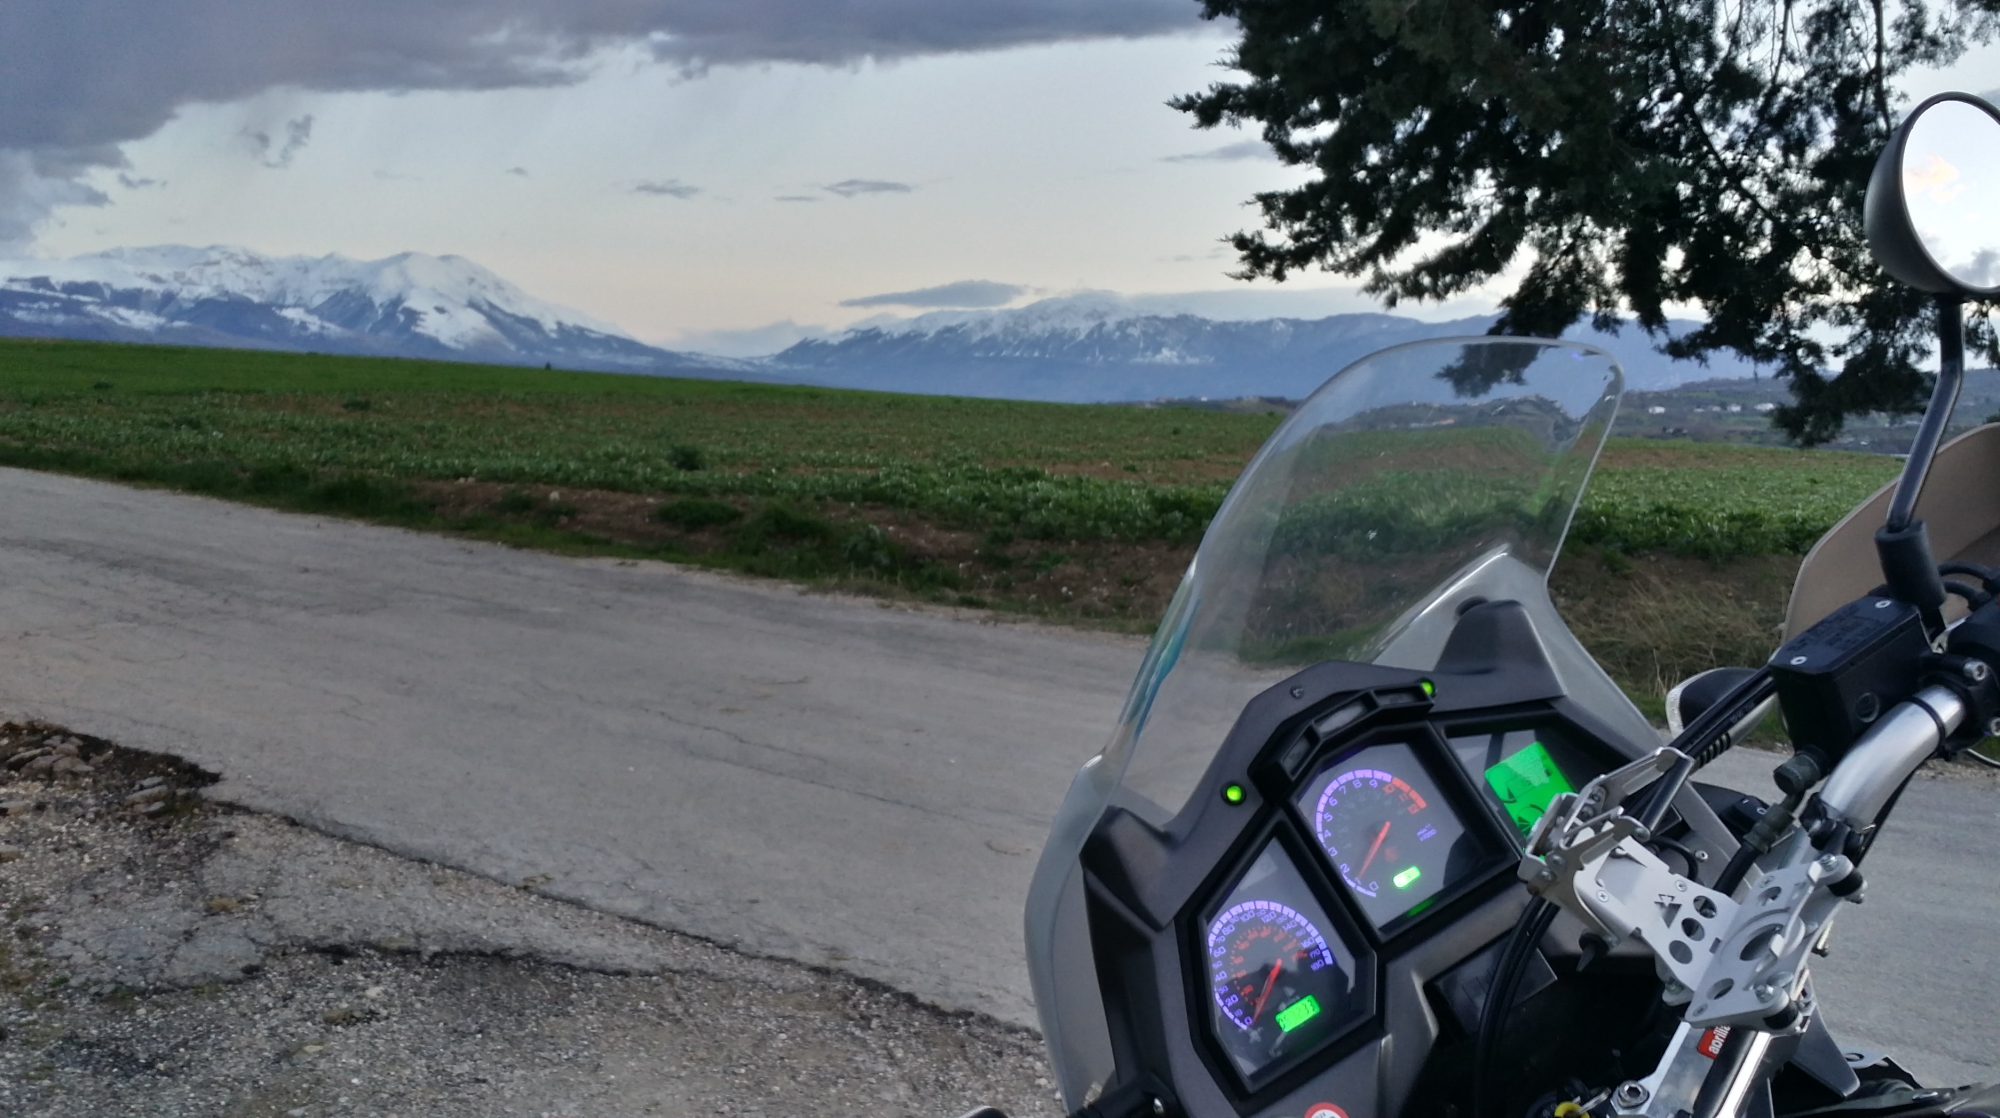
 As I rolled off the bottom of Stokenchurch hill with a clear motorway ahead and a remaining journey time of 15 minutes, it was time for a little post-ride reflection. The dashboard temp gauge dropped another degree and sat at 5C – hardly the 20C at midnight when I’d left Italy 19hrs previously! Never mind, the Oxford heated grips were doing their thing, keeping my podgy fingers nice and toasty in my BKS winter gloves. From the front of the bike, the white beams of the Sealight X2 LED’s turned night into day – from hard shoulder to armco barrier a reassuring spread of light paved the way.
 reset the trip and ride up to a mileage above which you know you’ll be pushing – and repeat! Happy days ….