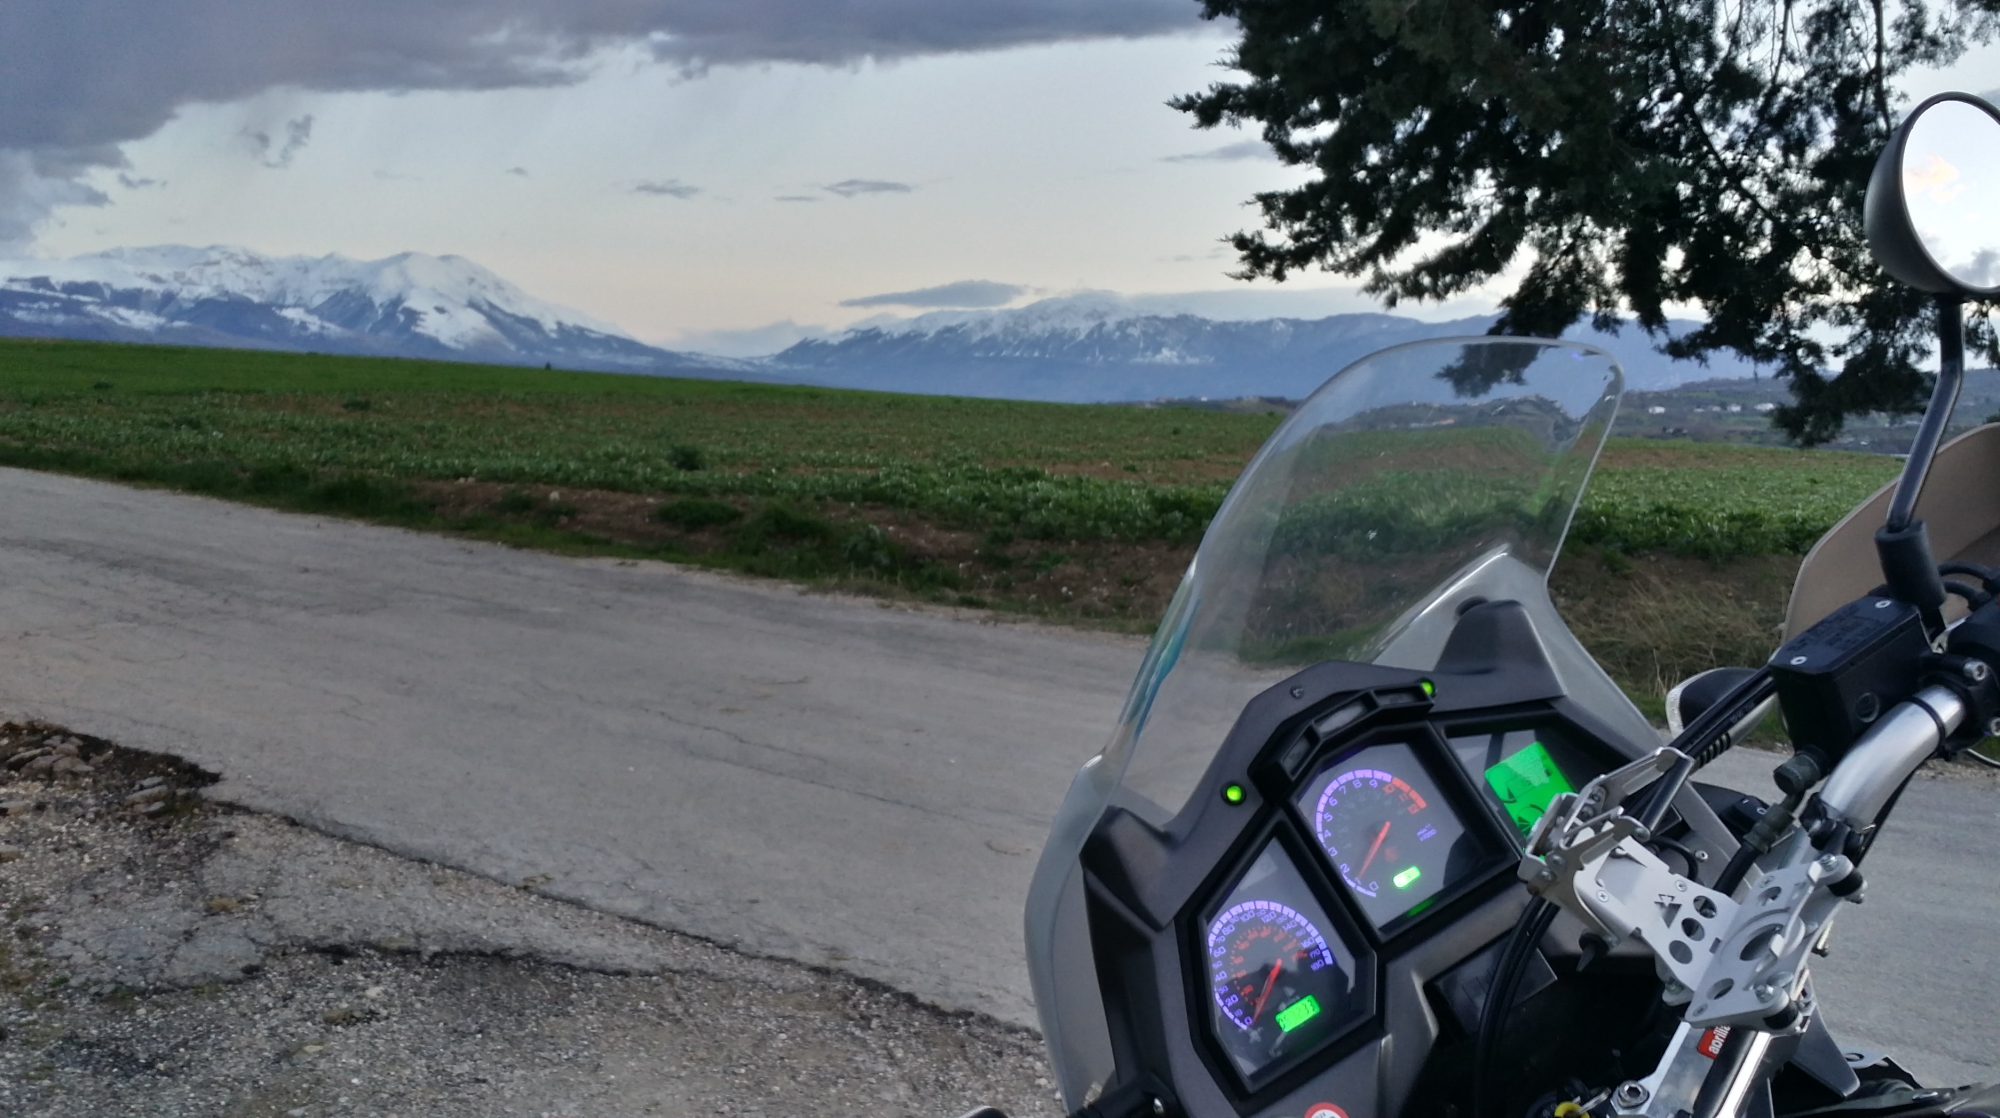
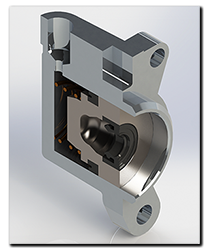
 Recently I began to get a little extra free-play in the clutch lever after my bike had been running at motorway speeds for a few hours. Nothing to worry about, it just moved the ‘biting’ point slightly, so more of a niggle really. But quite possibly a warning as well. Probably the slave cylinder seal is letting air in when very hot causing the sponginess, the fact that the sight-glass on the master cylinder shows no loss of oil at least tells me the seal is holding the oil in – for now. So after 45,000 miles and 10 years I think it’s time to overhaul the cylinder.
Parts
- Slave seal x1: AP8106935
- Banjo copper washers x2: AP8121915 or from any good automotive store
- Clutch/brake fluid DOT4 or DOT5.1 (my preferred choice)
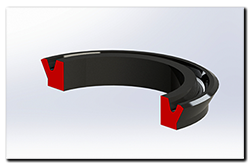
A little bit about the slave seal ……
Aprilia part No: 8106935 – £14.79 + VAT (August 2013). The inside of the seal lip is marked as ‘Brembo 05426396’. So it looks as though this seal is made by or on behalf of Brembo – and that might be a problem!
If it was designed specifically for this job only, an exact after-market replacement may well be unlikely.
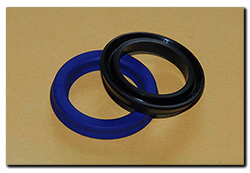 A possible but not perfect alternative is a UN 20 28 4 (blue in the photo) seal that may well get you out of a jam if necessary, however it is made of polyurethane which does not like brake fluid. Quite how long it would work for is questionable.
As of September 2013 I’m still looking for a suitable EPDM alternative, if you know of one – shout out!
…. then down to business
Wear appropriate clothing, gloves and eye protection as brake/clutch fluid is not friendly to you, your eyes or the bikes paint work!
- Remove the foam thingy that sits between the bleed nipple and slave cylinder feed hose.
- Feed a 14mm ring spanner (wrench) over the bleed nipple cap and down to the banjo. Break the seal between the banjo/hose/cylinder body. Very little oil will bleed out.
- Remove the three cylinder retaining bolts (M6x45) and pull the cylinder clear of the engine.
- Gently pump the clutch lever and bring the slave piston out of the cylinder body just enough to be able to grip firmly – be careful not to pump the piston all the way out or brake fluid may escape under pressure.
- Remove the banjo bolt and place a zip bag over the hose/banjo to prevent brake fluid dripping on the bike.
- With the slave cylinder clear of the bike, wrap it in a cloth, then carefully ease the piston and seal out – be careful, the spring behind it still has some pressure!
- Once clear, put the cylinder to one side.
- Now to remove the seal. Firstly, note it’s orientation. Next take a pair of pliers and carefully grip the outer lip of the seal and pull it away from the piston and at the same time pull it back towards the spring. The seal should come away pretty easily with no damage to the piston.
Now clean everything up!!
Here’s a close up of the slave seal I removed. You can see the score marks in the seal. Around its circumference I counted about half a dozen distinctly noticeable grooves that were deeper than the rest. The cylinder bore is anodised and shows absolutely no sign of wear or marks in its surface finish.
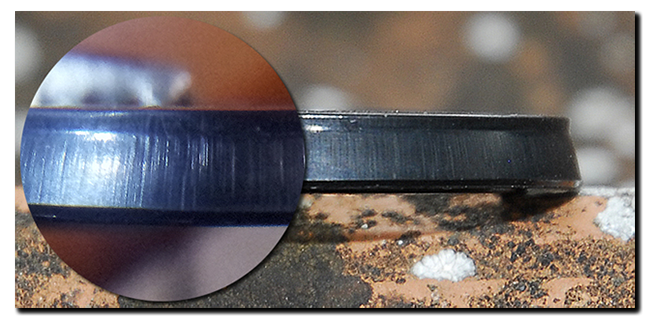
Comparing the 10 year old seal against a new one ……. both were as supple as each other and both had the same overall dimensions, in other words, no swelling of the old seal material or noticeable deterioration through repeated heat/cold cycling.
Reassembly is a simple reverse of the above, making sure to lubricate the seal before refitting the piston into the cylinder. Fitting the seal is straight forward, just make sure it’s not twisted and is seated properly in its groove – it will need to be eased into place gently 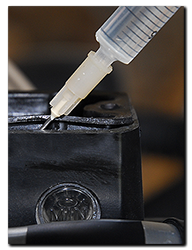 by hand. Don’t forget to torque the three slave cylinder mounting bolts to 10nm.
Once refitted, bleed the system to remove air. This took about 10 minutes and 150-200ml of brake fluid using a Mityvac pump.
To ensure a correct level in the master cylinder I refit the rubber boot and use a syringe to add/remove fluid until I have an air bubble clearly visible at the top of the sight glass, finally fasten down the reservoir cap, then go and enjoy the fruits of your labour!
