On a roll ……

With the rear indicators looking wayyyy better than before, it was inevitable that I’d end up casting an eye over the fronts. As mentioned previously, the Mana indicator stalks are too short to fit at the front …… but with a spare pair of standard stalks to hand, I could at least see if it’s feasible to cut them down.

This is the end result and I like to think it has been a success and complements the rears, so here’s how I did it. Hopefully it’ll be of some use to you if you decide to shorten your own.

Aprilia Caponord ETV1000 modified front indicators

I used a Dremel to cut the stalk at the two points shown in the picture below, then carefully flatten both surfaces as these are going to be bonded back together – so flat and square to each other is the order of the day! This removes approx. 24-25mm of the stalk.

Then I used a piece of aluminium tube (8mm OD x 6mm ID x 50mm) that I pinched in the vice to make it very slightly oval – not too much mind. This was then press fit approx. 35mm into the main section leaving 15mm exposed. The short section was then bonded onto the exposed tube. Using a syringe I also ran adhesive down the gaps between tube and stalk, this ensures that both sections are well and truly bonded and the aluminium tube also provides some extra strength to the whole assembly.

Caponord ETV1000 Rally-Raid cut down front indicator stemAprilia Caponord ETV1000 Rally-Raid shortened front indicators

To the Mana born

Aprilia Caponord ETV1000 Rally-Raid with Mana indicatorsDeep in the bowels of the Motrag box of goodies are a pair of indicators for an Aprilia Mana – identical body, lens and bulb as used on the Rally-Raid and standard capo 04-onward, but with a greatly reduced stalk length.

Aprilia Caponord ETV1000 Rally-Raid - Mana indicators & Hepco Becker pannier latchWith only very minor modification, these can replace the existing long-stalk indicators on the rear of the Capo, unfortunately they are too short to replace the fronts as well. The mod is so subtle the old indicators can be refitted no problem. When fitted the indicators have much greater clearance from the pannier latches, which makes removal/refitting the pannier easier and they are now well within the width of the pannier rail –  so dropping the bike (not a recommended pastime!) should greatly reduce the chance of a broken rear indicator.

Simply pop off the lens (one screw), prise out the reflector/bulb assembly and disconnect the two wires. Now remove the screw/nut/washer holding the stalk to the mudguard and ease it away while wiggling the wires out. Now the first of two minor modifications are required.

The indicators are held in place by the screw/nut/washer AND a tab that hooks behind the mudguard itself, except on the Mana stalk the tab is too narrow. A quick bit of work with a Dremel soon has that sorted (open gap to approx. 4.5mm). Now the second modification is to extend the slot in the mudguard ( extra 5mm) where the screw passes through. This mod does NOT affect refitting the original indicator as the footprint of the stalk is identical in both cases, so the slot extension is covered by the base of the indicator irrespective of which one is fitted.

Aprilia Caponord ETV1000 Rally-Raid with Mana indicatorsOnce sorted, simply reverse the removal stages – slot in the new stalk and fasten up the screw, nut and washer. Re-thread the two wires back down the stalk and attach to the connectors on the reflector, then screw the lens back in place. Now repeat on the other side, then bask in the warm glow of a job well done, in fact a cold beer goes down a treat about now ….. Ahhhh Mana from Heaven! 😀

NOTE: The indicator bodies are LEFT and RIGHT handed, look at the recess between body and lens – this is the drain and needs to be on the lower edge. I’m not saying I put them on the wrong way round or anything so numpty, perish the thought! 😳

Aprilia Caponord ETV1000 Rally-Raid fitted with Mana indicators


Review – Motrag ETV1000 radiator protection

Aprilia Caponord ETV1000 Rally-Raid Motrag radiator protection/guardYesterday a whopping 15Kg parcel of goodies from Manuel at Motrag turned up. Although the box was bursting with new toys, I just focused on the one part I’d really been waiting for – the lovely stainless-steel radiator guard. I know Motrag have had lots of interest in this, which stands to reason with the Touratech guard no longer available. The only other alternative seems to be one from Ebay that could easily be copied for an awful lot less money – after all, it’s only aluminium mesh with a rubber strip and held on by zip-ties.

This guard is made from glass-shot V4A stainless-steel (equivalent SAE316 for harsh environments) with powder coated aluminium mesh bonded to the frame and weighs in at approx 750g. It is held in place by two Scotch ‘Dual Lock’ adhesive fasteners at the top of the radiator and the two fastening points that the ‘cooler spoiler’ (AP8139628) mounts to at the bottom.

Installing the guard is very straight forward …. remove the crash bars & cross brace (if you have them), side panels and spoiler panel. I also removed the tank while servicing the bike which does make access even easier, but isn’t strictly necessary. Give the radiator a good clean and take a few Aprilia Caponord ETV1000 Rally-Raid Motrag radiator protection/guard & fog lamp bracketsminutes to carefully bend back any fins that have been damaged by stones or jay-walking deer. Then clean and thoroughly de-grease the top of the radiator on both sides. The guard has about 1-1.5mm clearance either side when in position – I used a couple of split pins as spacers to make sure the guard was nicely positioned. Do a dry run so you get it located just right and then when you’re happy – whip off the adhesive pad protection and fit the guard for real.

Next up, I had to bond a couple of spacers onto the clips where the spoiler/guard mount –  these take up the space between clip and the new guard. They can’t really be fitted when reassembling the spoiler as access is difficult – hence bonding them onto the clip first. Motrag will be supplying the adhesive in the kit! I gave it 1/2hr to dry, then began the rebuild – crash bar cross-brace, tank, panels, spoiler and finally the crash bars themselves ….. another 20 mins tops.

So, the verdict. Easy to fit with no modifications required. The fit is superb and the stainless frame is nice and stiff, so no worries about vibration induced scuffing of the radiator. As always, the Motrag attention to detail – fasteners and instructions is 100%. If there iAprilia Caponord ETV1000 Rally-Raid Motrag radiator protection/guard & fog lamp bracketss a negative anywhere to be found, then some may question the weight … to me the Capo is a big old lump anyway, a few extra grams won’t snap the frame!

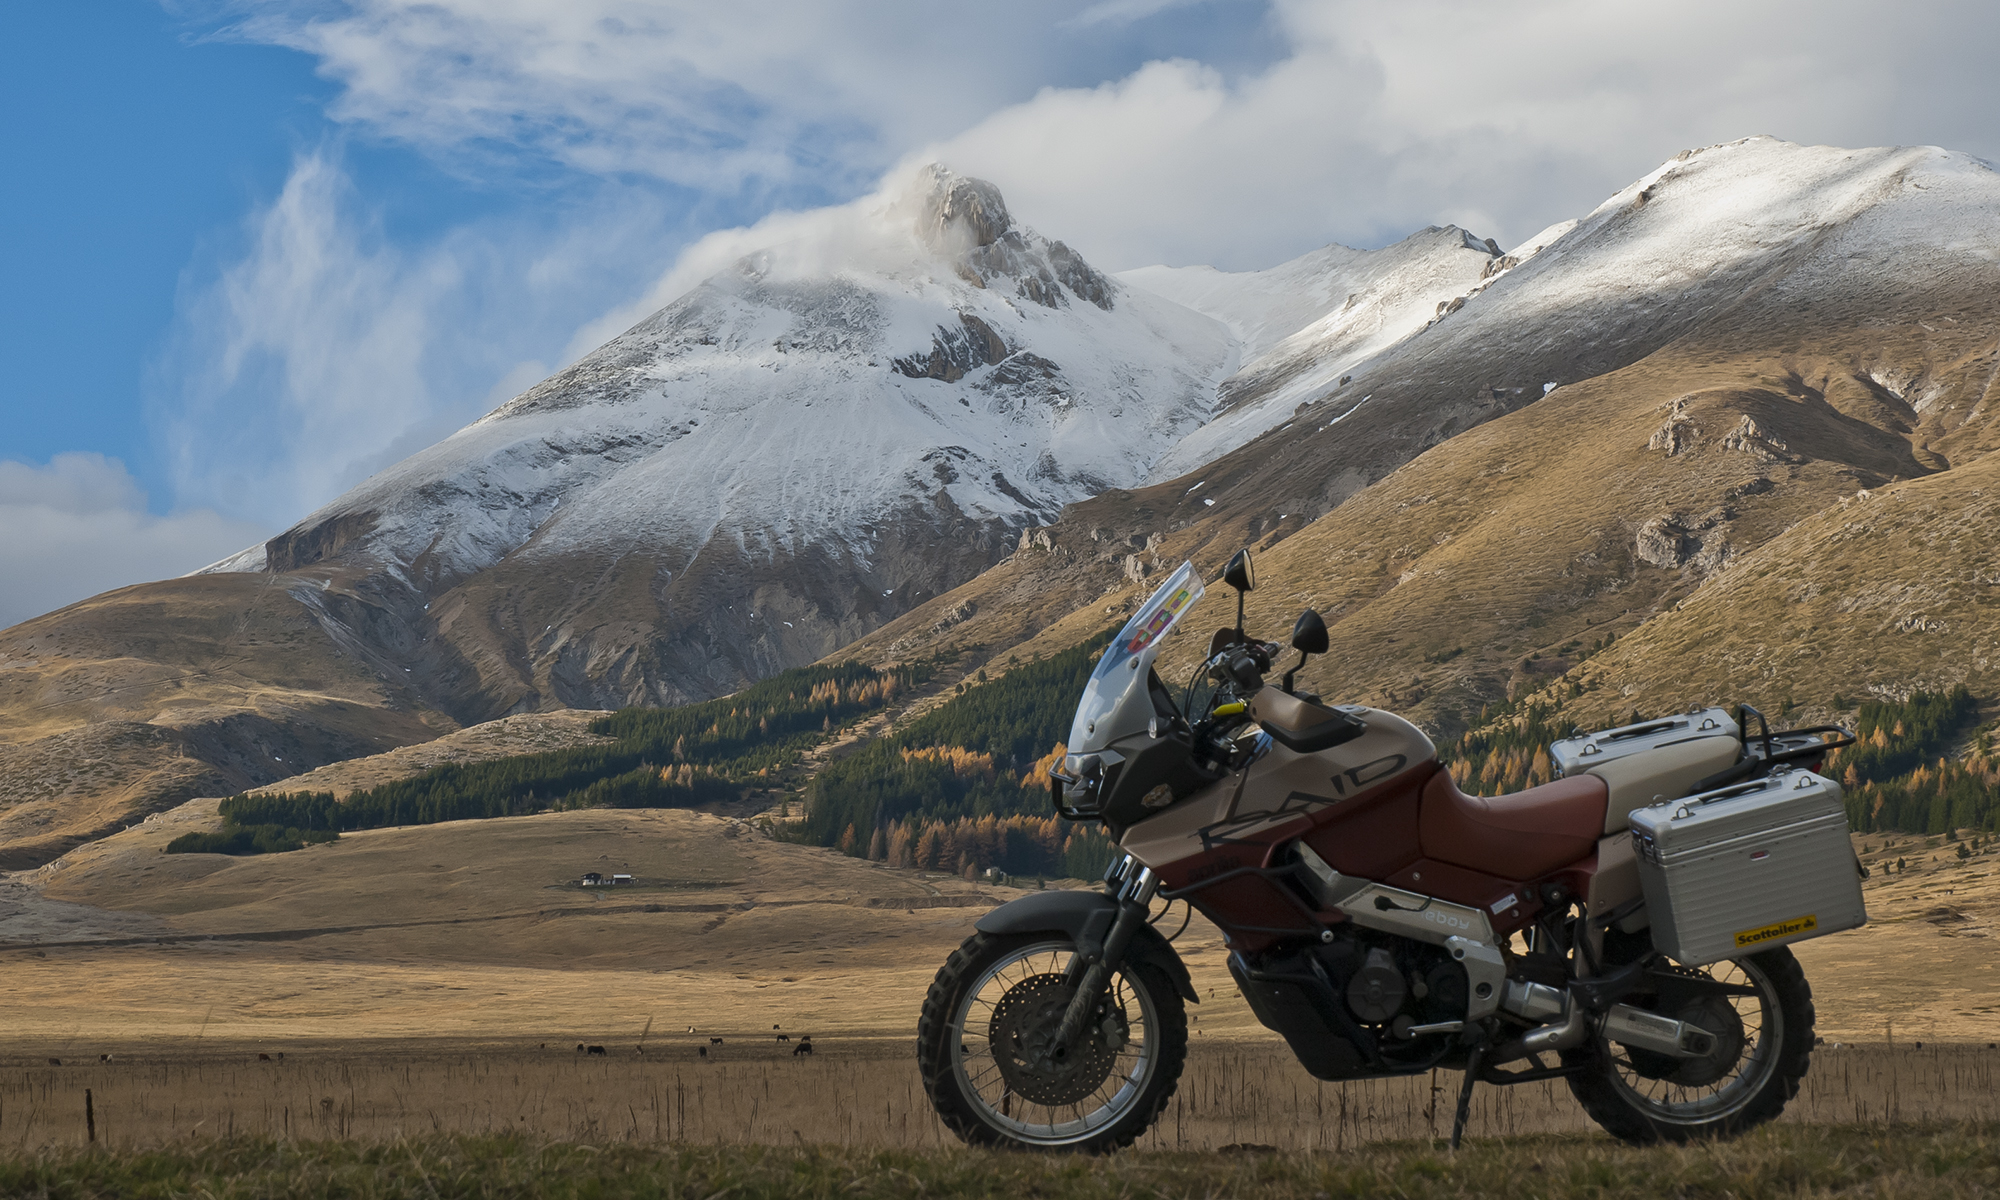
Of course aesthetics are a personal matter, but to me it looks good and is definitely in keeping with the spirit of the Rally-Raid. That just about covers fit and form, but what about function? Well I admit I’ve yet to turn a wheel with the guard in place, but I know Motrag put plenty of miles on a pre-production one and had no problems, so I’m confident it’ll work just fine. But just to be sure, I’ll post again in a few weeks when the Capo has another 3-4K miles on it.

These guards are on sale now over at motrag.com for €64.95 including tax. That’s about half the price of the Touratech guard before it disappeared off the website!

Airbox breather update – (almost) a year on

Aprilia Caponord ETV1000 Rally-Raid airbox breather drainJust gave the Capo motor a service. No drama, everything went according to plan. I just thought I’d share a couple of pics of the inside of the airbox – with the modified breather – straight after the air-filter assembly was lifted. No cleaning, no Photoshop ….. just as it looks after 5,354 miles. The throttle butterflies, velocity stacks and idle air control valve (IACV) are all perfectly clean.

The extended drain tube from the airbox (down below the oil filter casing) held about a spoon full of oil when drained and what can be seen in the photo was only a light coating in the bottom of the airbox. One sheet of kitchen towel had that as clean as a whistle in a few seconds. Since doing this breather modification I’ve ALWAYS run the oil level to the HIGH mark on the tank. So without the tedious job of removing and cleaning out the complete airbox, it was a pleasure to simply replace the Athena air filter and button everything back together.

Aprilia Caponord ETV1000 Rally-Raid airbox breather drain

Fix or Photoshop?

I like to keep any eye out for any Rally-Raid sales in the UK or Italy and this one caught my eye, unfortunately for the wrong reason! Spot the bodge tape covering the EFI light ….. one way to fix a problem I guess! 🙄

EFI

Caponord meets the Amalfi coast

Aprilia Caponord ETV1000 Rally-Raid Amalfi coast Italy - Villa Rina B&BThe Capo had barely started cooling down after the 24hr trip from the UK before it was given a once-over for the trip South the next day. Everything was fine with just the chain getting a clean and fresh re-lube before the Scottoiler took over once more.

The next day we stood outside the Hotel  Santa Caterina – Amalfi waiting for the guy to take us to the secure garage (with CCTV) the Capo would call home for the next day or so. The weather was warm (28C) and I was well sweaty …… mostly from the Aprilia Caponord ETV1000 Rally-Raid GoPro image - Amalfi bus & vanshock of the coast-road ride. Tailgating (I mean inches/CM!) topped off with blind-bend overtakes and head-on riders/drivers all doing their level best to stuff us into a cliff wall or over the edge into the sea. It felt personal! I thought I knew a thing or two about Italian driving but this made Abruzzo drivers look like kindergarten newbies. Also for the first time ever, I wished I’d had a 17 tooth front sprocket instead of the 16. 1st felt too revy and 2nd bogged down – I needed a 1½ gear! And yes ….. Getting anything above 2nd was almost impossible with hair-pin bends only a few meters apart for the entire 25 Km of coast we travelled.

Aprilia Caponord ETV1000 Rally-Raid Amalfi motorcycle parking feesParking in Amalfi is almost none existent by the look of it, so if you do go, make sure you have it arranged with your hotel/B&B or it could be very costly indeed – €5 Car / €2 Motorbike PER 2 HOURS. Mind you that’s chump change, coaches’ pay up to €200 per 2 hours!

We stayed at a lovely little B&B (Villa Rina – 5 guest rooms) nestled in the lemon groves overlooking the sea that was about 1/2Km and several hundered steps up the hill from the garage. Luckily the garage had a bathroom where we could get out of our bike gear and into something more befitting an uphill walk in the afternoon heat! In fact we left all our bike gear with the Capo and only had the tank-bag and one hand luggage to carry which was fine – unlike the poor ladies we saw with large suitcases and high-heels looking most uninspired by it all!

Overall a smashing break with great food in a wonderful location and we managed to dodge the rain / thunderstorms on the way back as well! The Capo is now showing 97, 744 miles and really ought to have a service next week – it’s a fair exchange for a job well done.

2016-05-10-12.52Finally ….. here’s something you don’t see everyday in a service station. They certainly know how to go out in style I’ll give them that …. and it certainly looks like it can get a hustle on. Yes, a ‘guest’ was on board as well! 😯


New sprocket and battery

Aprilia Caponord ETV1000 Rally-Raid Ognibene 'silent' front sprocket 7164-16It was heaving with rain and the Capo’s air-temp readout on the dashboard struggled to make 3°C as I rolled off the Dover ferry at just past midnight, welcome back to wintery England! The worn front sprocket I hadn’t replaced before starting the journey was now noticeably noisier with an extra 1,350 miles on it even though I’d ramped up the Scottoiler to keep everything well lubricated in the face of such shitty weather. Overall a good run up, marred only by the small rip in the riders saddle caused by the zip on my Halvarssons trousers when throwing my leg over the bike …… I’m sure this damn bike is getting taller with age! As I left Dover, I flicked the heated grips on and hit the M20 thinking that this is about as bad as it gets – then the sleet and hail started!

Aprilia Caponord ETV1000 Rally-Raid Yuasa YTX14H-BS battery14 days later, as I rolled back up the ramp onto the same boat, it was all quite different – a warm, bright morning with the promise of a nice day ahead and the Capo running sweetly with a new Ognibene 7164-16 sprocket. I’d also treated it to a replacement Yuasa YTX14H-BS battery* as the old one was beginning to show warning signs – slightly lower standing voltage and low voltage while cranking. I’d arrived at Dover a bit early and didn’t realise they’d put me on an earlier sailing (fine in principle) but it was one of the boats I hate, with a long curved (wet) ramp up onto the car deck….. never nice on a heavily loaded Capo.

One of the perks of a bike is that folks just wander over for a chat, be it a fuel station in Switzerland or a bike park in Broad Street, Oxford and 99% of the time the experience is enriching …… but as I rode off that damn ferry I could have happily kicked the two wheels from under the overbearing, opinionated plonker who’d happily eaten up 5 minutes of my life telling me everything that was wrong with my bike and how wonderful his was – then he promptly rode off in the ‘trucks only’ lane!

The return leg was as trouble-free as the first, with the Capo rolling into the barn with 97,145 miles on the odometer. Only a near miss with a kamikaze gull which almost took out the windscreen being memorable – that and Swiss road works!

The replacement Ognibene sprocket certainly lives up to its ‘silent’ name. It was noticeably quieter even just spinning the back wheel while on the main-stand; let’s see how much life I get out of it compared to the usual Renthal sprocket I use (avg. 15K miles). It looks well made and the tooth profile is very similar to the Renthal, but only time will tell. Purchased in the UK from: biketorqueracing.co.uk for £27 inc VAT & P&P.

*Special thanks to Jim at Abbey Motorcycle Instructors for getting the YTX14H-BS battery at short notice – you’re a star fella!  😀