Just a quick update on the LCD dashboard – yes it’s still a work in progress! Lockdown here in the UK has freed up time for all sorts of fun and games and the LCD dashboard has hogged more than its fair share over the past few weeks. The board finally went from a desktop/fake-input dummy display to a fully enclosed dashboard with real-world inputs yesterday evening.
Apologies for the rough and ready video, but a long day was coming to an end, so I just grabbed the nearest dashboard case, blew off the dust and slapped the whole thing together to get the video. I appreciate the tacho needle is missing and the clear-lens has some scratches, but hey …. this is a prototype!
Next step … finalise the power on/off circuitry and maybe a nice splash screen for a few seconds at key-off, let’s see. But by far the biggest job is still to get the ECU data to the display in a way I’m happy with. One thing I’ve come across which is proving really useful is a software package called Megunolinks which allows real time graphs of data buzzing around the system – the demo version already helped massively while tweaking the various inputs and how to filter the data …….. next stop, the pro version! That should really help speed things up.
One thing I was always sceptical about, was the displays ability to function properly in bright daylight. I honestly expected this whole thing to be nothing more than a what-if project that would stay on a workbench. But I’m pleased to say that it doesn’t appear to be the case at all …. yesterday, the display was perfectly readable throughout the day with very bright sunlight streaming in through the garage door – square on or at an angle I had no problem reading it. And that alone has boosted the enthusiasm to see this move from workbench to bike … let’s see how the next few weeks pan out.
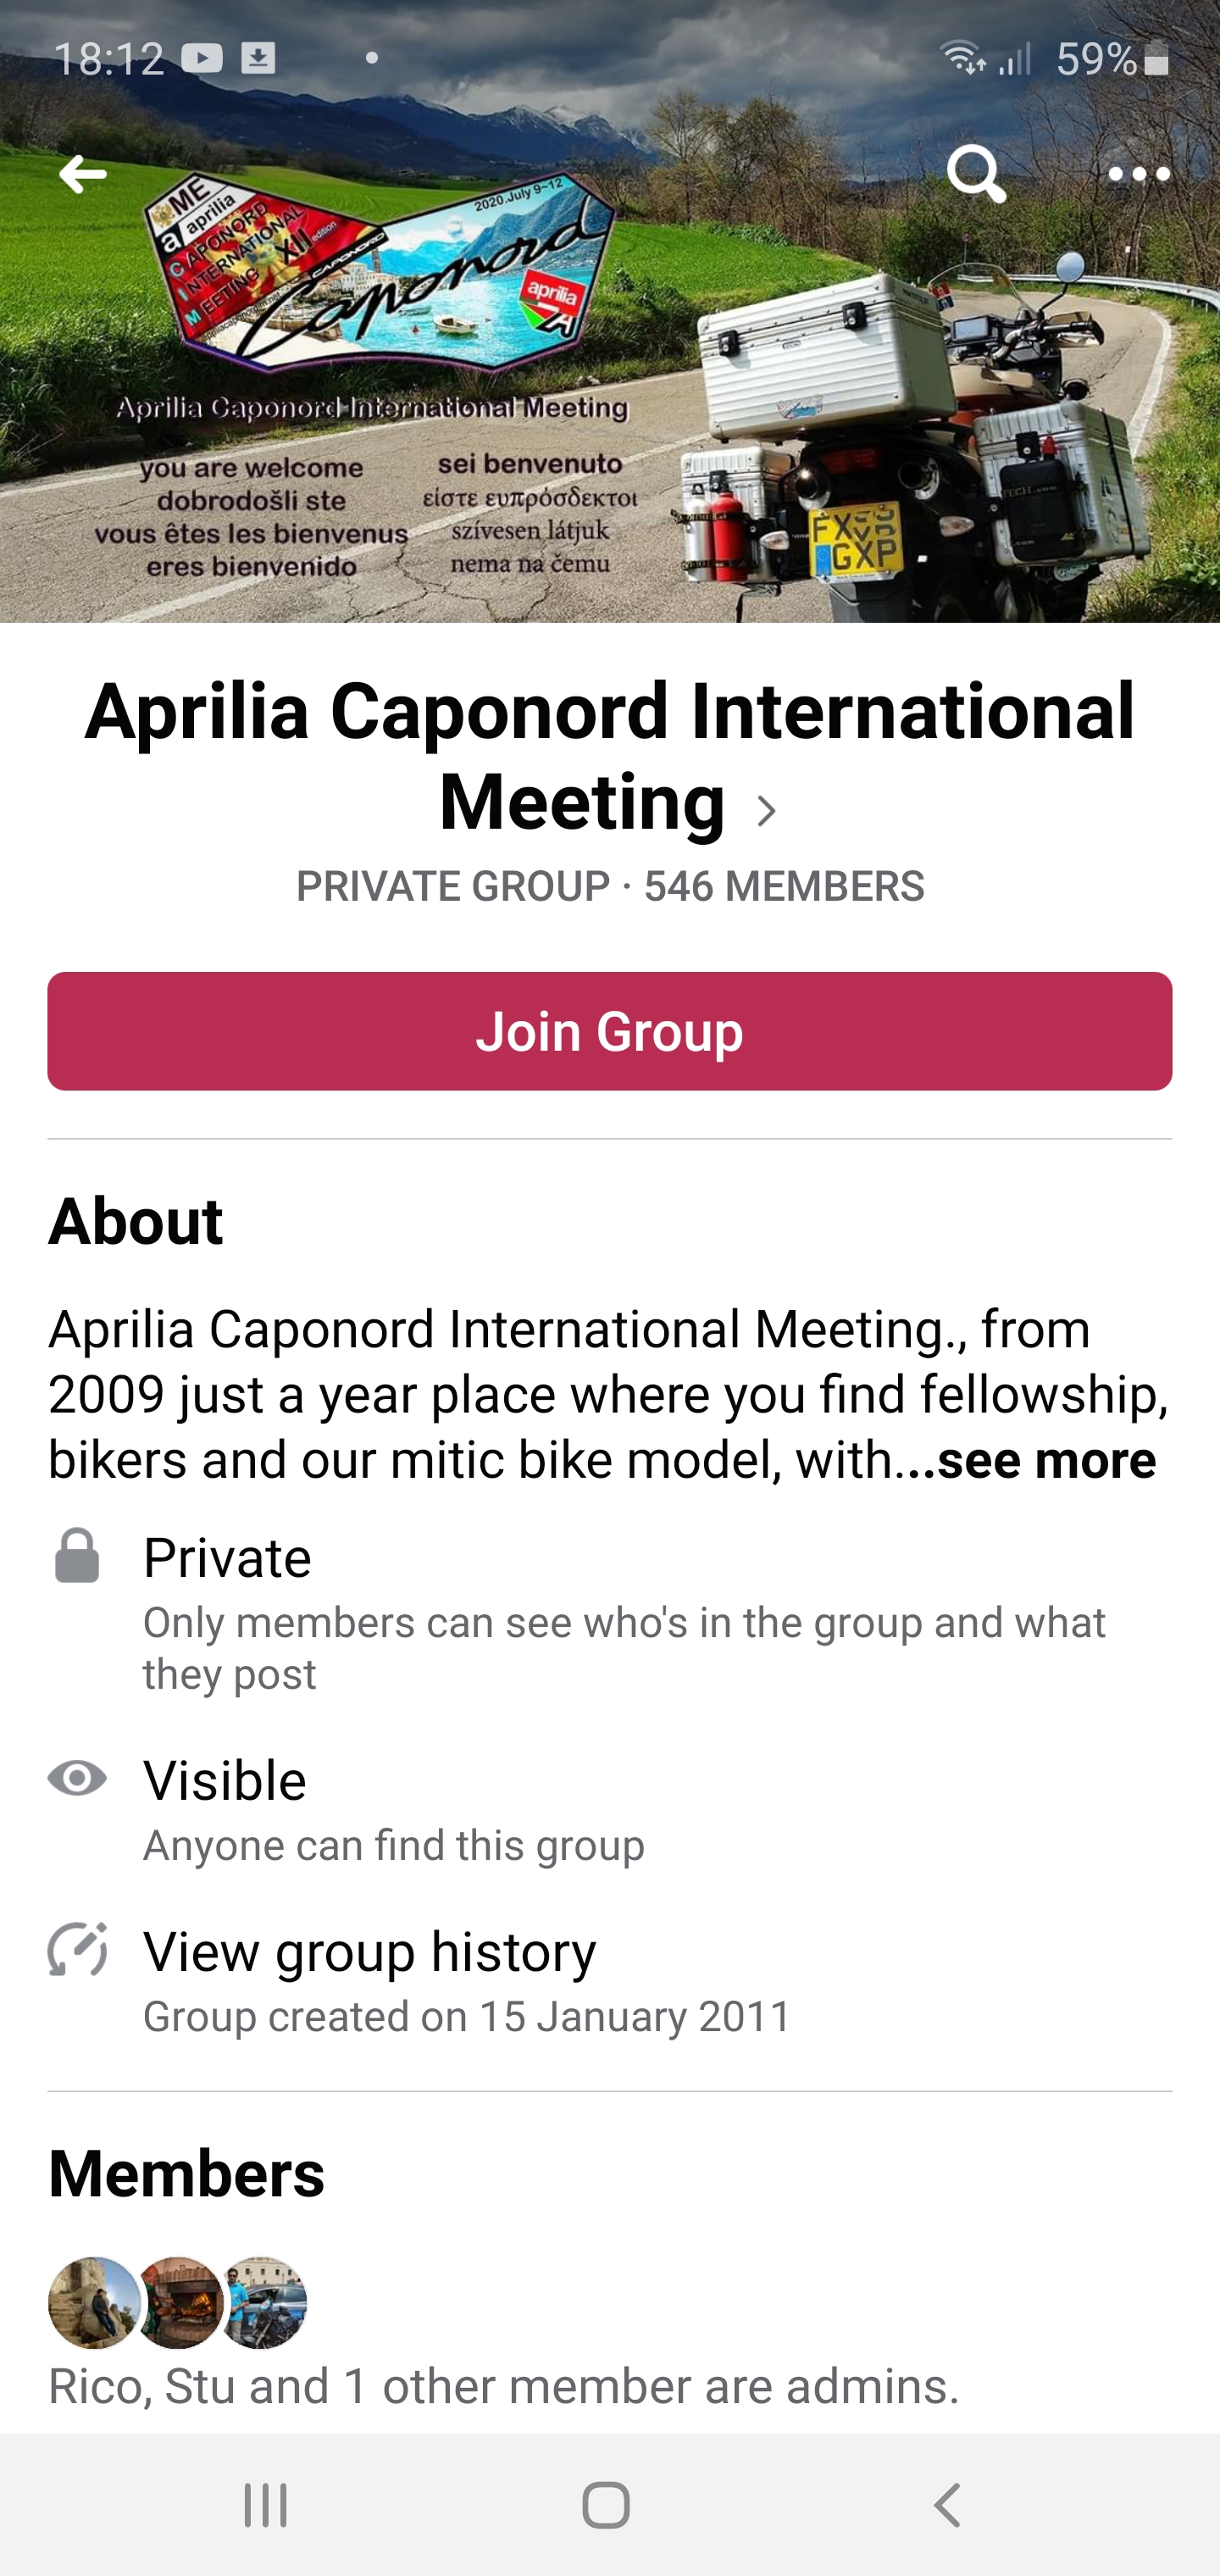
I don’t know if I should be flattered or annoyed … or a little of both, let me explain. I had just had a chat with my wife about a press release from ACEM regarding the dire downturn of European motorcycle sales. As the conversation started, she got confused with ACIM – the Aprilia Caponord International Meeting …. and that sowed a seed at the back of my mind to have a look on the internet to see what ACIM was up to. All well and good.
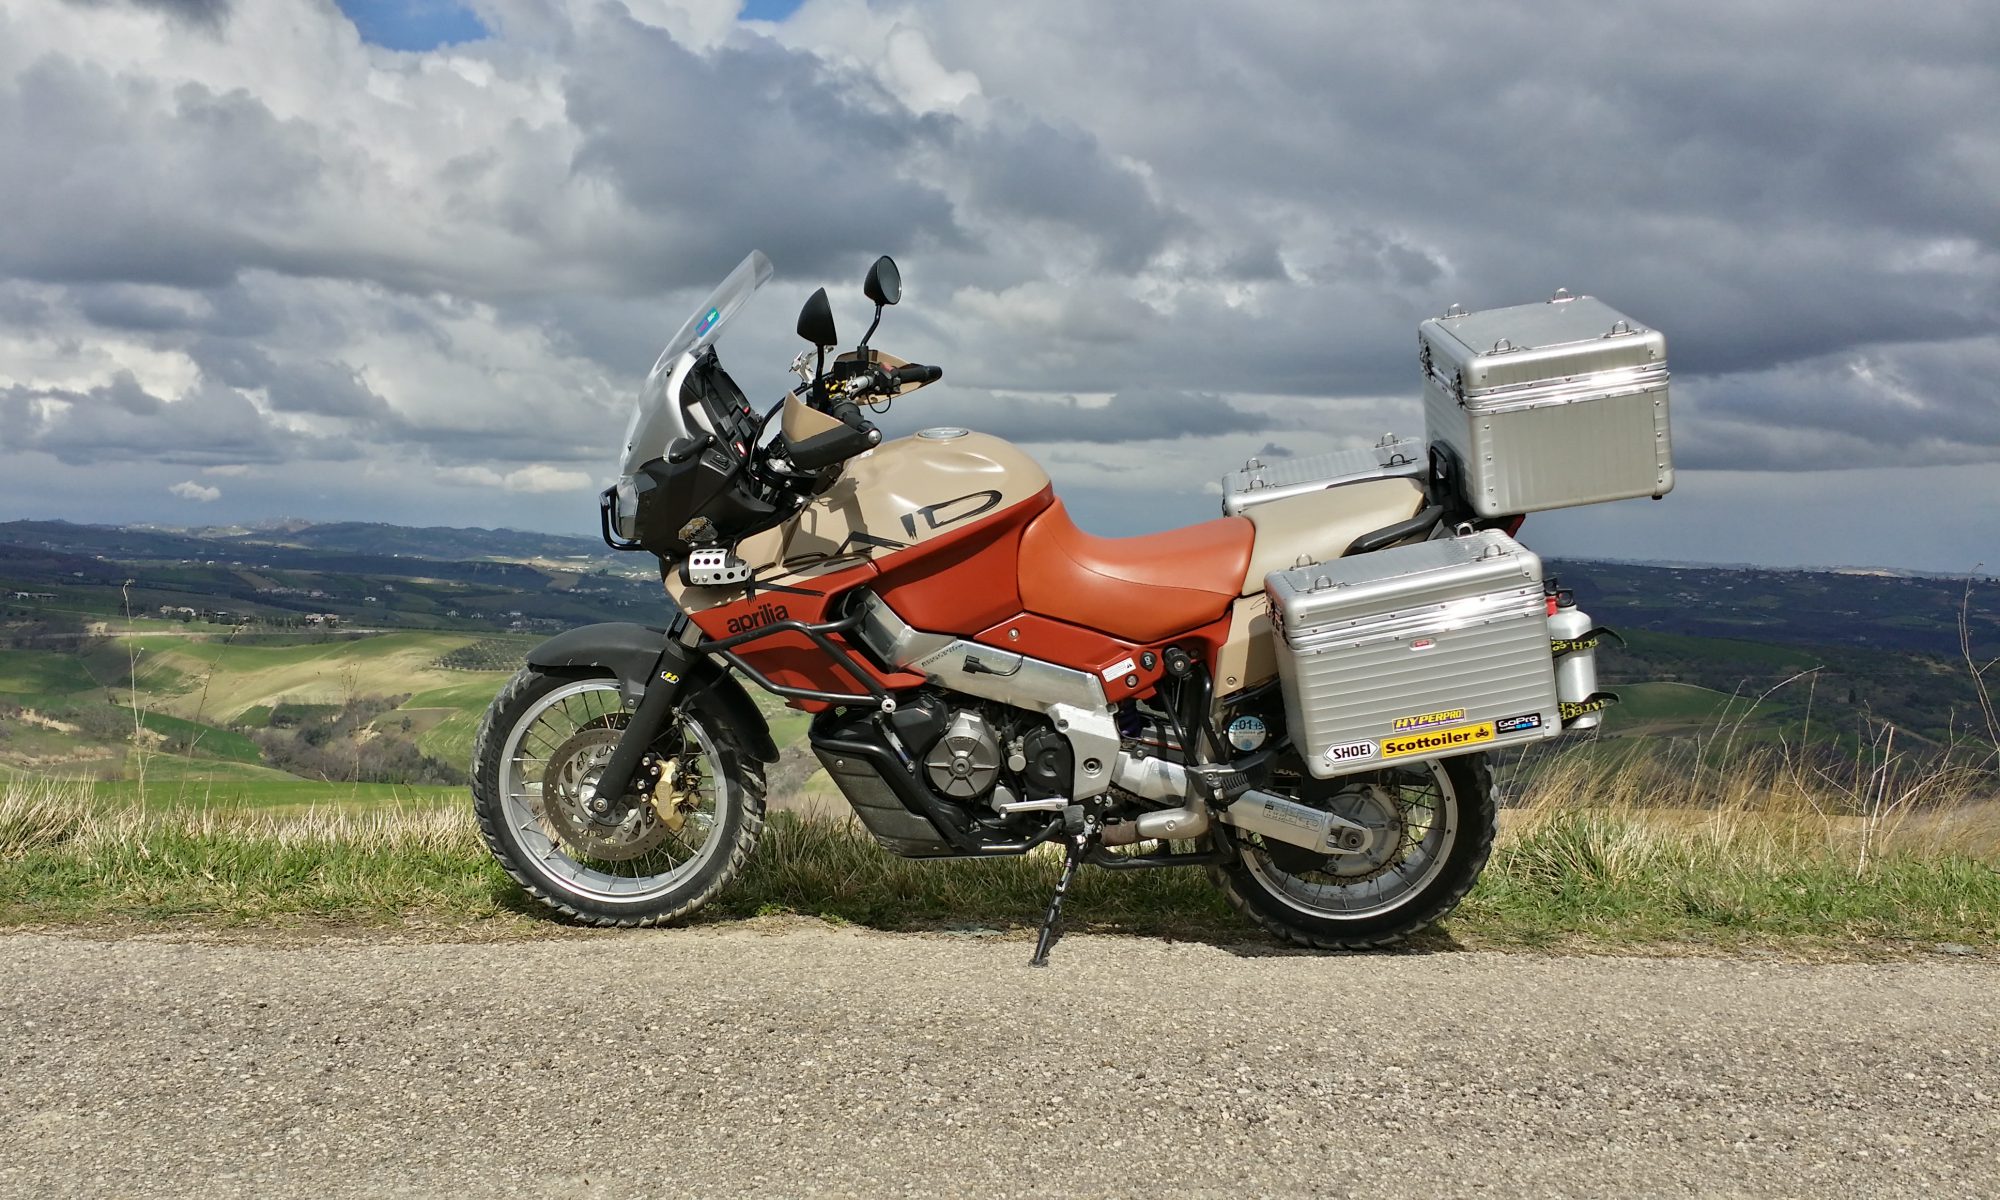
Later that evening I found them on Facebook and lo and behold, the group banner picture is of my old Caponord on a back road in Abruzzo! In fact it’s a picture of mine lifted from a post I wrote a few years ago (the post). So now I am a tad curious to see if someone from ACIM reads this over here then says something over there ….. 🙄
Anyway, I’m glad someone liked it enough to use it!
As I write this, the UK is slowly beginning to come out of lockdown and taking our beloved Caponords out to stretch their legs is finally becoming a reality …. before then I have tyres to fit, wheels to deep-clean and a poachers bag full of other little jobs to do – on the Capo and on the website.
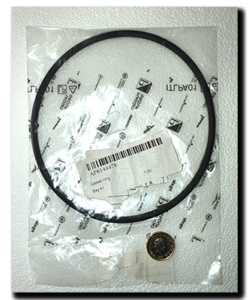
To that end I want to bring to your attention if I may, the addition of a new heading in the main menu – PARTS. Currently a work in progress, it contains two sub directories (O-Rings & Hose Clamps) but this will be expanded hopefully to include bearings, seals and hoses. All items that we may (or not!) still be able to get from Aprilia, but which may have cheaper and more easily sourced alternatives available. The idea is to present them in independent sections using graphics and hotspots so you can quickly locate the item you need and get the alternative information if there’s any available.
I appreciate some of this information and other alternative parts can be found in the likes of the AF1 forum ‘OEM manufacturers/suppliers’ thread, however it’s a random collection regarding all sorts of parts and sometimes searching can be very hit and miss. Here, I hope to make the search for a particular seal, clamp or O-ring nice and easy – enter the subsection, click on the link to the parts location – fuel pump, cooling system etc – find the highlighted item in the graphic and hover your mouse over it. There’s the part number and current UK price, click on it and any alternative and size info is given in the field on the right hand side – simple. I hope!
Anyway, to help bring this to fruition, I’ve ordered one of every O-Ring I need to measure where that info isn’t readily available, I’ve also ordered a range of Ezyclick and Zero leak clamps to do the same for particular areas of the Capo oil/cooling system. With any luck all this data will be up on the website in a week or so. After that, bearings, seals and hoses.
One last thought ………. is there any mileage is selling bags of O-Rings – say a service kit, or engine kit for example ….. maybe oil/coolant clamp kit? Just an idea to throw around, what do you think?
Finally, a huge thank you to folks who have donated toward the website this year. Without your help this little project may well have not happened or been way down the line. Website plugins are usually free, with limited functionality – Pro versions have a price tag but have infinitely more functionality – your kind donations have bought those Pro plugins! Thank you.
Did you get around to watching ‘The Last Motorcycle on Earth’? Well this post is about a little of that fiction meeting reality right here, right now.
After much deliberation it looks like E10 fuel got the UK government green-light in February 2020 and will be on a forecourt near you in 2021 … probably/maybe. It’s been on the horizon for almost a decade, but thankfully we’ve not had to deal with the tank bloating, seal destroying gut-rot fuel that’s the scourge of the EU .. but times are a changing as the song says. It looks like the current ‘Premium’ fuel (E5) will become the ‘Super-Unleaded’ and E10 the Premium. Like Europe, it’s use will be optional unlike some countries where it’s introduction and use are mandatory. One note of concern though …. the proposal only protects E5 supply for up to five years after E10 is rolled out, presumably supply could then disappear from forecourts almost overnight, making refuelling an unmodified Capo awkward to say the least. And five years isn’t a long time!
On occasion I would use it while travelling through Europe, but only one tank at a time, then I’d use E5 fuel to clear it out of the system and always on a journey where I knew I’d burn through it before I arrived at my destination. I never left it stewing in the tank for longer than a couple of hours. So this looks like it’s time for one of those other jobs that have sat firmly on the garage shelf for the last 12 months – lining the fuel tank with Caswells Epoxy resin. Even after that’s done, I think I’ll try to steer clear and take the price hike to ‘Super-Unleaded’ on the chin…… while I can anyway.
About six weeks ago Beasthonda pointed me in the direction of a Rally-Raid rider saddle up for grabs – brand new from Greece. Well, a couple of weeks ago it arrived and I gave it a quick once over. Since then it has sat in the corner looking pretty. Until today.
I took it to the garage and was just about to put the box away, when I glanced at the saddle on the shelf waiting to go back on the bike.Something wasn’t quite right, so out of the box came the new saddle, and voila ….. it turn out it’s a low-saddle. Yes, AP8793685 – what a surprise! I’ve always been on tipie-toe on the Raid, so I’m looking forward to at least trying the low saddle just to see what the trade off is. My guess, better foot-to-floor feel but knees getting bent more when riding, which will be the killer as my knees don’t do so well these days even with the standard seat. But for local/commuter riding it might be just perfect, the swap saddles for the long-haul rides.
Stuck in lockdown and looking for something biker related to watch? Well here’s a real thought provoking treat for you. I found out about this a few months ago and yesterday it popped up on Amazon Prime UK for £2.49 in HD. It’s part one of a trilogy by the looks of it. If you like bikes and worry about what the politicians may do to our lifestyle in the coming years as they push ever harder to ban fossil fuels and rush headlong toward electric and autonomous vehicles, then you might just like this film. I loved it …. and maybe the back-story sat all the harder as I work in the autonomous vehicle industry!
As I sit looking at the vast expanse of white in the WordPress editor window, fingers poised over the keys and acutely aware of the aches in my fingers and wrists and subtle waft of soap barely masking the hint of worn out engine oil clinging stubbornly to the creases in my old hands, I think to myself ….. aaagggghhhh why did I bother!
Yes, another Caponord service is over – with a valve check. Don’t get me wrong, everything went well, couldn’t have gone better in fact. Air/Oil filters and engine oil, plugs, hoses, fuel tank drain lines etc … are just perfect … but this time I had to fight my way in to check the valves, last done sometime when Crackerjack was on black and white TV’s – or so it feels.
Don’t get me wrong it’s not a hard job, just a fiddly one, especially the front cam cover bolt beautifully obscured by the coolant thermostat, oh and the buggeroo of a screw at the front of the cam cover, behind the radiator and below the finger shredding plastic mount for the front coils … otherwise, all good.
It’s none of that that bothers me in reality. It’s the fact that when you get in and measure the valves after what seems like way too many miles since the last visit, they’re all bloody fine! Couldn’t just one be out, just one require a shim change just to make the whole visit worthwhile – please! Oh well, I guess I had to console myself with fitting the powder coated cam covers and savouring the moment in the golden hour at the end of a beautifully warm day.
I think it’s reasonable to say that Aprilia got it right when they chose Rotax and the rock-solid V990 motor for their range of bikes in the late 90’s. Bullet-proof doesn’t quite do it justice, especially in the de-tuned Caponord variant. But even this wonderful piece of Bavarian engineering has it’s weak points, and probably the one most obvious from a service-by-service aspect is that damn annoying magnetic plug in the crankcase.
Yes, little old AP0241782 can be easy to install, but a stress-breeding mega-monster when it comes to it’s removal. Stubborn is just too understated for how this little sucker can behave! Even with a brand new, high quality hex-key you feel the fear rise in your throat as you apply more and more torque – until finally with a loud ‘crack’ it gives way while your knuckles accelerate toward the floor at light speed. Or as has happened on the odd occasion, the head sheers off!
Over the years I’ve tried removing it with the engine hot, cold and in-between …. with prayer, witchcraft by a full moon and plain old cursing. In the end the best remedy I stumbled upon was a bag full of the little suckers donated by a friend. Spoiled as I was, I could afford to be decadent and change the plug for a new one every three services. By that time the fit between the screw and hex-key was getting a little stretched. But then one day, the bag ran dry …. oh my!
A little online digging threw up a bit more info regarding Aprilia numbers and options. It turns out that the magnetic plug AP0241782 has now been superseded by 2R000498 AND there is an optional washer offered if you want to use one. The 07-09 RSVR and 07-10 Tuono used the same plug AND also had the crush washer AP0250640 fitted. This washer is now sold listed as a usable option on all engines that use this plug. Does it make a difference? I’ve no idea as I’ve not tried one, but I guess it moves the mating surfaces from the taper to the screw head/crankcase and washer. In the end I went a different route used by many others over the years.
Following the recent footsteps of my old mate Beasthonda, I dipped into my pocket and purchased a KTM mag plug – 58030021100 for the princely sum of just under £9 compared with the Aprilia part retailing at £32. This saving alone is worth moving away from the Aprilia part! Now the eagle-eyed among you may have noted that the magnet on the KTM plug is longer than on the Aprilia one and be concerned that this could cause a possible oil restriction – fear not. The 10mm magnet (versus 8mm) fits into a cavern …… the space inside the crankcase behind the magnet goes back at least 50mm, so there’s tons of room around for oil to flow by. So, job done ….time to move on with the rest of the lockdown service.
Just updated the heated grips and helmet graphics on the display, much nicer I think. 👍 Sorry about the stripes in picture, it’s a camera v display thing!
It’s fair to say that these strange and worrying times will touch all of us in some way or other, so may I firstly send each and everyone of you all my best wishes as we each deal with the Covid-19 pandemic. That said, life still moves on and this site is about the beloved Caponord ETV1000 we are lucky enough to enjoy, so it’s content will stay focused to that end.
Recently the fantastic company I work for has taken the difficult decision to furlough us until the end of May, but the flip side of this particular coin is that I’ll now have a lot more time to add new material to the website and spend some well needed hours spinning spanners and generally giving the Capo the TLC it so richly deserves. So please, stay safe, and pop back once in a while and see what’s been added!
First on the list ……. the front mudguard. I’d only had the Capo a year or so, when one fateful day a rather inquisitive chicken decided the front mudguard was a smashing place to perch, but not very grippy. So after lots of slipping around and trying to dig its claws in, it gave up and flapped away in a huff leaving nice scratches in the surface of the mudguard. Since then, a coat of black bumper polish every now and then has gone some way to masking the marks, but it needs applying every few weeks to maintain the effect. Later that fateful day, the chicken mysteriously decided to perch inside a hot oven with some lovely roast spuds ….. and close the door. Who knows what goes through a chickens mind eh!
Last year … yes, last year (the shame of waiting so long!), I got hold of a rattle-can of ‘PlastiDip’ satin black. This stuff is quite interesting, it sprays like a paint but can be peeled off later like a vinyl wrap. Just do a search, there are loads of YouTube videos about this stuff. So the plan is, off with the guard, a good wash and degrease then when thoroughly dry, a few coats of Plasti Dip – if I don’t like it, simply peel off re-polish and put it back on the bike – nothing lost. That’s the cunning plan anyway …
Next on the list …. another little update to the 4DSystems screen software! An extra page has been added that now allows control of heated grips and seats. Here’s a little video of it in action … again, it’s a work in progress and will have a couple of graphic tweaks and an extra function added into the software, but for now it’s a working prototype with three PWM (Pulse Wave Modulation) outputs (one per heater set) that will drive a high power circuit controlling the heater elements. These circuits are capable of handling 12A each, so more than tough enough for grips/saddle heaters.
It uses the 5-button switch assembly so that the grips can be adjusted on the fly, rather than have to use the smartphone app like the other info pages. The basic functions are:
Press and hold OK to access the screen or return to main screen
Use the UP and DOWN buttons to select the heater you want to adjust
Use the LEFT and RIGHT buttons to adjust the heat settings – a single press adds/removes 1 block (10%) while press and hold a button ramps up or down until released
Double click the LEFT or RIGHT button to set all heaters to 0% or 100% instantly. When set to 100% there is a five minute timer, then the grips return to preset values – this is ideal as a pre-heater on wintry mornings!
Finally, Double click the OK button to return all heaters to preset values
In-built safety cuts all heaters when the ignition is turned off
Updates in the pipeline …… addition of a settings page in the smartphone app to allow some flexibility. For example – a timer when the ignition is turned off, so the grips can remain live for a few minutes (like the Oxford grips do) … and the ability to inhibit the pillion heater completely if you never carry a pillion or feel the need to heat luggage you have strapped on!
This website uses cookies to improve your experience. We'll assume you're ok with this, but you can opt-out if you wish.AcceptRead More
Privacy & Cookies Policy
Privacy Overview
This website uses cookies to improve your experience while you navigate through the website. Out of these cookies, the cookies that are categorized as necessary are stored on your browser as they are essential for the working of basic functionalities of the website. We also use third-party cookies that help us analyze and understand how you use this website. These cookies will be stored in your browser only with your consent. You also have the option to opt-out of these cookies. But opting out of some of these cookies may have an effect on your browsing experience.
Necessary cookies are absolutely essential for the website to function properly. This category only includes cookies that ensures basic functionalities and security features of the website. These cookies do not store any personal information.
Any cookies that may not be particularly necessary for the website to function and is used specifically to collect user personal data via analytics, ads, other embedded contents are termed as non-necessary cookies. It is mandatory to procure user consent prior to running these cookies on your website.
 As I write this, the UK is slowly beginning to come out of lockdown and taking our beloved Caponords out to stretch their legs is finally becoming a reality …. before then I have tyres to fit, wheels to deep-clean and a poachers bag full of other little jobs to do – on the Capo and on the website.
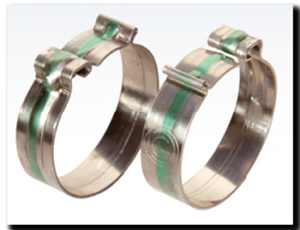 Anyway, to help bring this to fruition, I’ve ordered one of every O-Ring I need to measure where that info isn’t readily available, I’ve also ordered a range of Ezyclick and Zero leak clamps to do the same for particular areas of the Capo oil/cooling system. With any luck all this data will be up on the website in a week or so. After that, bearings, seals and hoses.
 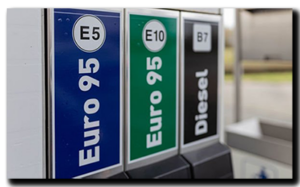 Did you get around to watching


 I think it’s reasonable to say that Aprilia got it right when they chose Rotax and the rock-solid V990 motor for their range of bikes in the late 90’s. Bullet-proof doesn’t quite do it justice, especially in the de-tuned Caponord variant. But even this wonderful piece of Bavarian engineering has it’s weak points, and probably the one most obvious from a service-by-service aspect is that damn annoying magnetic plug in the crankcase.
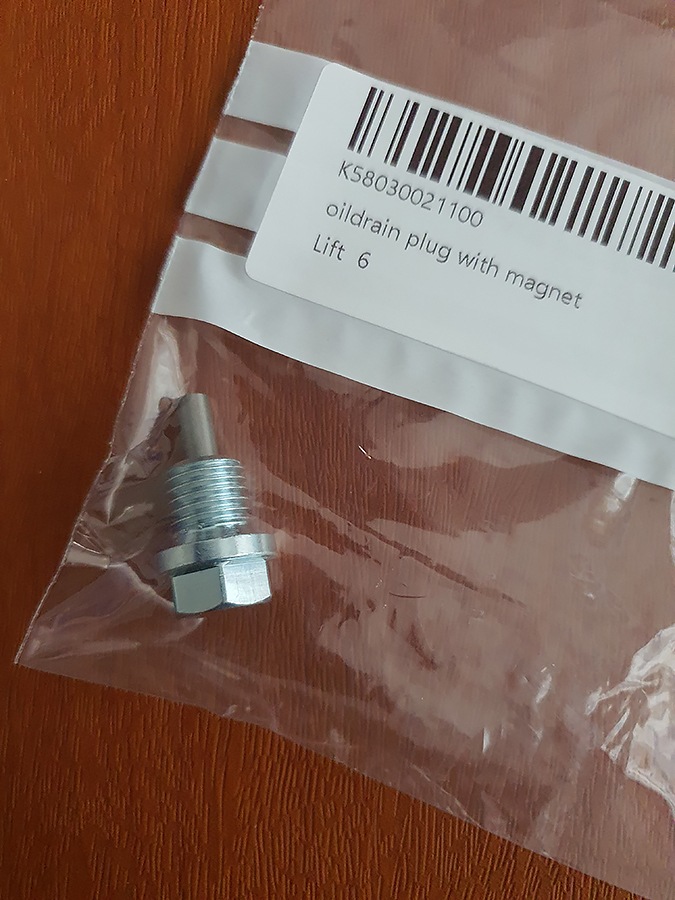


 Next on the list …. another little update to the