 I posted about this thing in 2012 and planned for it’s replacement in 2013.
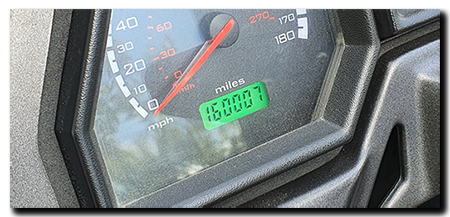
Like it or not though, it is now a rather pants 2020 …. and I have finally replaced the ageing and somewhat cantankerous Scottoiler VSystem and HCR (High Capacity Reservoir). With a total of 19 years, four bikes and somewhere in the region of 360,000 miles under its belt it was definitely time to replace it. To be fair, the last 5,000 or so of those miles it has only been along for the ride as I had finally turned it off sometime late last year due to it functioning in ‘all or ") nothing’ mode and ‘all’ really was quite a bit of oil to go sloshing around the back wheel! The RMV (Reservoir Metering Valve) had been refurbished back around 2013-14 and back then, the diaphragm was already getting a little stiff. I guess like my old joints, one day it just stopped flexing at all.
nothing’ mode and ‘all’ really was quite a bit of oil to go sloshing around the back wheel! The RMV (Reservoir Metering Valve) had been refurbished back around 2013-14 and back then, the diaphragm was already getting a little stiff. I guess like my old joints, one day it just stopped flexing at all.
In the big scheme of things, this package has only cost a couple of pennies a day and given sterling trouble-free service for 99% of its days, so there is only one clear viable replacement in my books – another VSystem and HCR. I did look at the very 2020’s techie ESystem but frankly, I couldn’t justify the 2.5x price and having to fiddle with yet more wires and mount yet another ‘control box’ on the handlebars somewhere. No, the VSystem works well and will simply be a plug-in replacement and that suits me just fine. Total cost for both parts in the UK came to £127.96 and that is not a huge hike in price over almost 20 years.
Put it another way. A DID 525ZVMX chain costs £100-£110 ish to replace and by my rough calculation the Scottoiler has saved me the cost of at least three chains, probably more during its time on my bikes. So not only has it long since paid for itself, it has also saved me a tidy sum in sprockets and the time and effort to replace them. I can comfortably live with that.
I’ll end with a brief explanation of how I mounted the HCR to the Caponord. Firstly though a disclaimer – Scottoiler do not list the HCR as compatible with the ETV1000. If you do decide to install one, it is entirely at your own risk. Personally, I am more than happy that the installation I have is safe, secure and allows the system to function as it was designed to. This is how I did it.
Using the template (download here) I have made a mounting bracket from 4mm thick aluminium plate. In the pictures below you will see the plate in perspex – this was the ‘sanity check’ test piece to confirm the drawing was correct before committing to cutting metal. This piece is mounted by two M6x20 countersunk screws, washers and nyloc nuts through the existing ‘number plate’ mounting holes in the mudguard. The HCR is mounted to this bracket by two M6x30 cap head screws, washers and nyloc nuts and a third M6x30 through the pannier frame/mudguard.
On the Rally-Raid or any Capo with the Givi pannier rack the rear brace attaches to the mudguard and provides the 4mm standoff for the HCR bottom mount to bolt through (M6x? cap head, washer and nyloc nut) – if you don’t have this bar, then you need to provide a spacer between the mudguard and HCR – a couple of M6 penny washers will work fine. You will need to fit the RMV to the HCR before fitting the whole assembly to the mudguard as there is not enough room once the HCR is fitted on its own. After that, just follow the instructions provided by Scottoiler regarding filling, mounting the feeder pipe and attaching the RMV to the vacuum system. The only additional thing I did, was drill the mudguard so I could feed the oil/vacuum pipes through to the subframe rails and hide them out of the way.
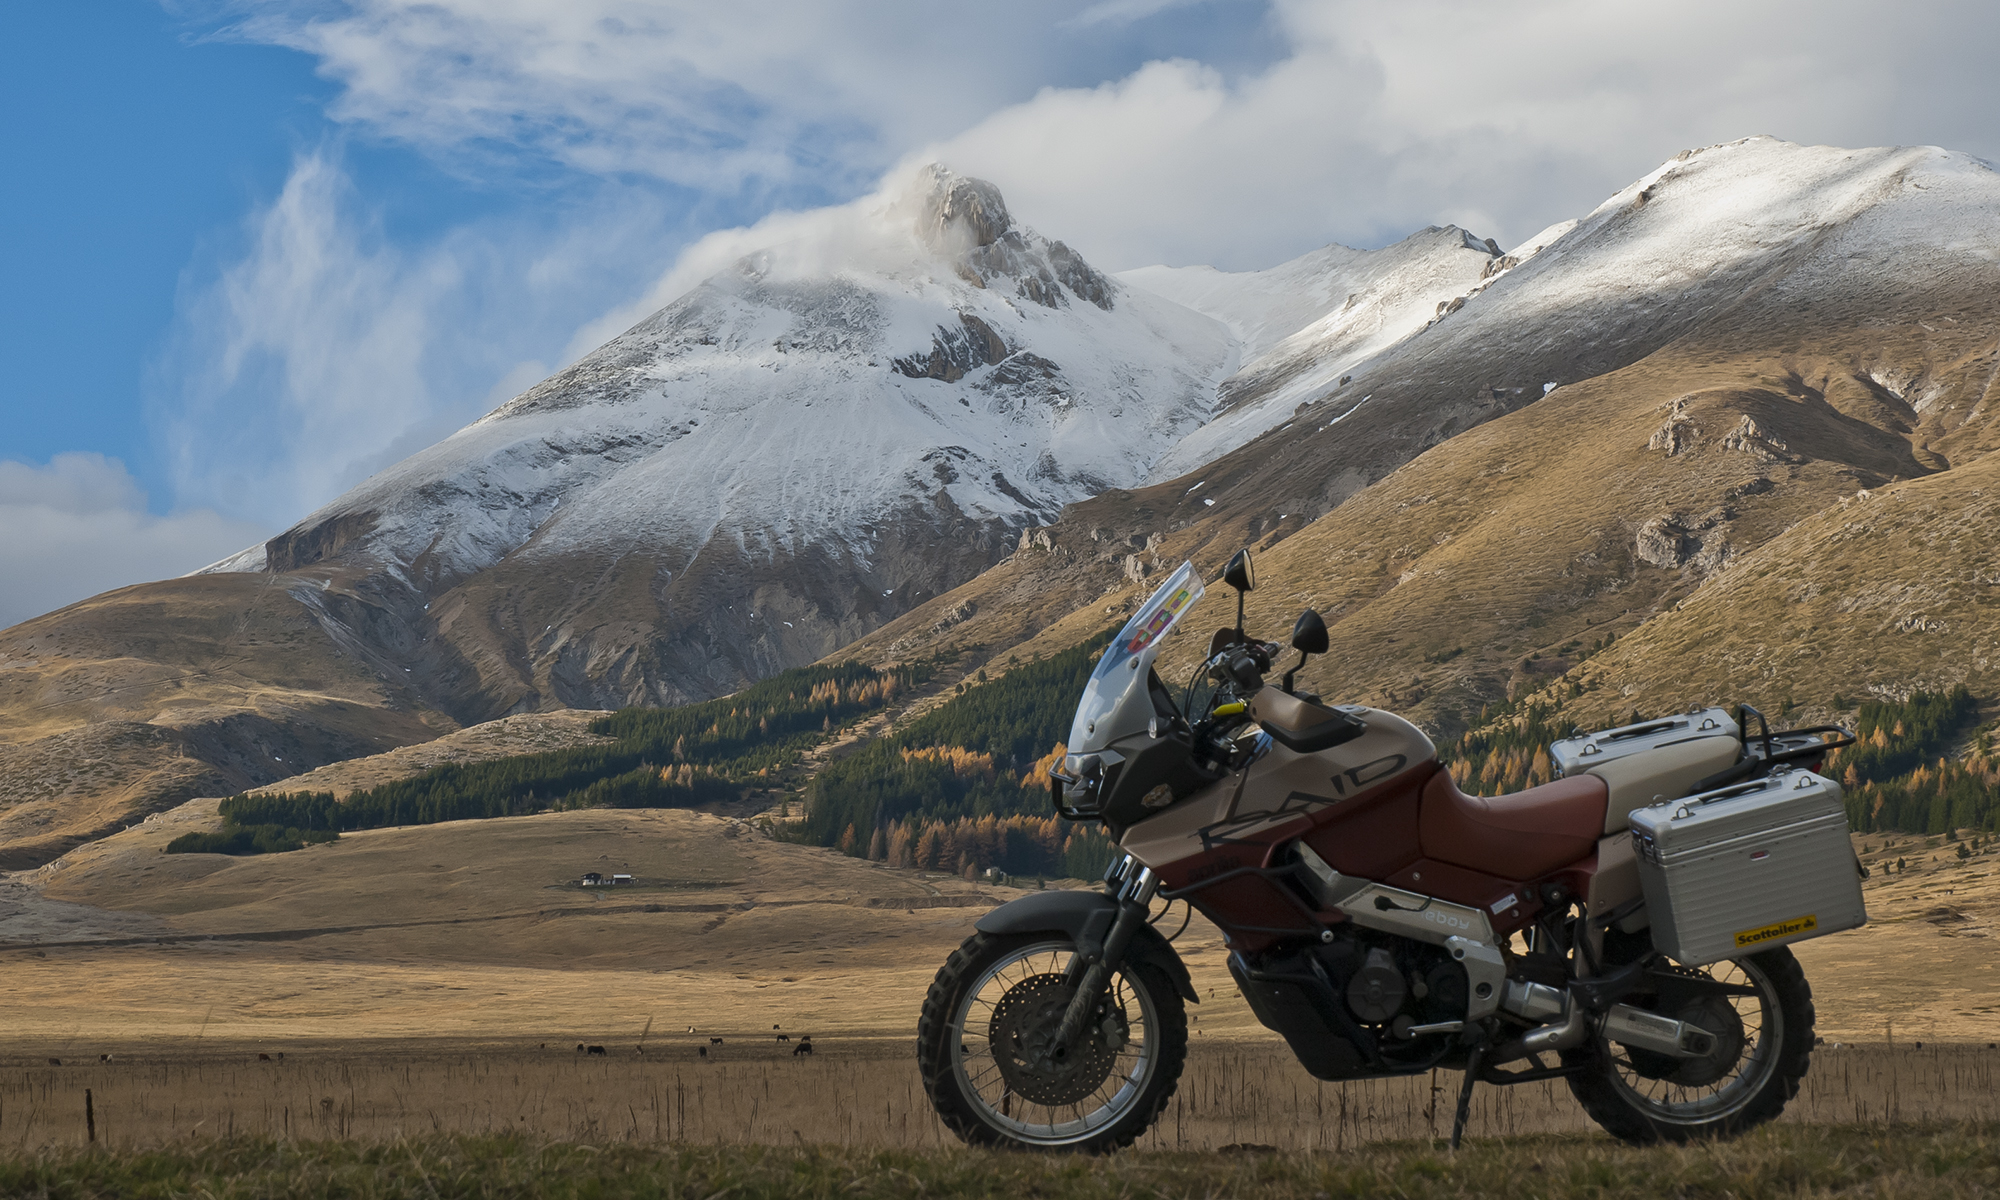
 And so the moment came and went without fanfare after a year of lockdown, no trips back and forth to home in Italy, no big holiday rides here in the UK. A year where mileage clocked up painfully slowly, the Capo sitting idle way more than doing what it does best – eat miles and promote smiles!
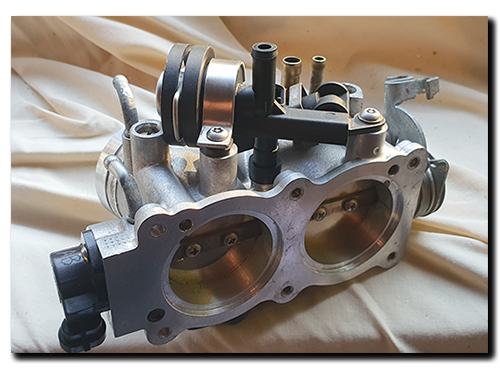
 Sometime way-back-when, I bought a used set of throttle bodies off an RTS Futura (51mm v Caponord 47mm) with the view of doing some tuning/comparison work on the Raid with the 3D printed hybrid velocity stacks (51mm diameter but Caponord height). What really happened though was far less glamourous and only involved a sturdy box and a shelf! But about a month ago I dug them out again and realised that I pretty much had all the ingredients required to do a full clean and rebuild. I had stainless steel 4x10mm and 5x12mm Torx screws on the shelf as well as all necessary seals. The ultrasonic cleaning bath would do the brunt of the work and I could send the injectors away for professional cleaning at a reasonable cost.
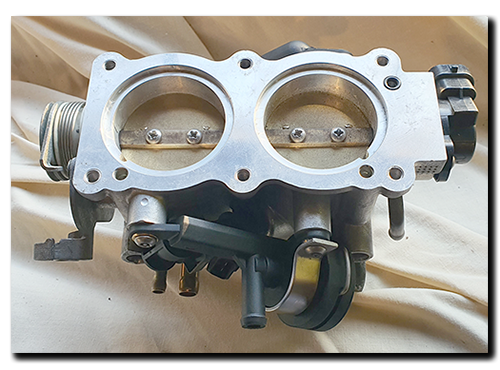

 I really like fasteners, I hate rusty, corroded or damaged fasteners. There it is out in the open, plain and simple. I think there’s something tragic about lots of hard work going into an assembly, only for those old jaded screws/nuts/bolts/washers to go back into holding it together. On the other hand I’m not a fan of those OTT ‘custom fasteners’ – pike nuts etc or gaudy anodised fasters in any colour of the rainbow. For me, they are way overkill. What I want is an upgrade from the manufacturers items that were no doubt chosen with cost in mind. I like something that looks a little more up-market, in a material that is mechanically safe for the task in hand – safety has to override looks every time! They are there to do a job and complement the work that went into the parts they represent.
  ... lovely finish and similar head to the passivate fastener fitted by Aprilia")


 Well this little job just got a whole lot more involved and costly! The idea of having lovely clean and refreshed calipers made me think about the old banjo bolts (M10x1) and bleed screws (M8x1.25) … OK, so new stainless ones were ordered from
  The standard hose assembly is a single hose from the reservoir to a T-piece just below the lower fork clamp, from there a single hose down to each caliper. To replicate this was actually more expensive than using two individual lines from the brake master cylinder. So that’s what I went with –


 calipers")


 Further to the last post about accessing the Caponord ECU, I have added a couple of new pages under the ‘Aprilia Caponord Rally-Raid / ECU’ drop-down in the menu. A further page will be written shortly I hope. Apologies if they seem to ramble somewhat, but a terrible week, a stint in hospital and some rather strong pain meds have left me a little tired and woolly-headed. But I needed to get this stuff down before I forgot it all again!


