 Job 1
Job 1
I managed to get a couple more Capo jobs out of the way recently. Firstly, replacing the clutch line for a nice new Venhill version to match the shiny ones on the front brakes. The hose required uses:
- 1x 90º Banjo
- 1x 45º Banjo
- 1x Venhill Powerhose Plus hydraulic line – 1125mm
It fitted perfectly, and while I was changing the line I also changed the banjo bolts and bleed screw for matching stainless steel units to complete the look. I have to admit, these are not cheap lines …. but I love the fit and flexibility with interchangeable ends. So for that I’m willing to overlook the extra hit on the wallet!
Job 2
 Secondly, I bit the bullet on an Innovv K3 dual camera system. As some may remember, I’ve previously tried the original K1 and the much improved K2. Unfortunately, the K1 DVR unit died after 12 months and the K2 turned itself into a brick with a failed firmware update. To be fair to the K2, it was leagues ahead of the K1 and (when it worked) was a truly fit-and-forget system. What went wrong I have no idea, I followed the update process to the letter and even had a few email exchanges with Rock Liu from Innovv, but they dried up when it looked like the unit was unrecoverable. I was lucky enough that the K1 and K2 had been supplied FOC, so nothing lost. This time however, it’s my own outlay. It’ll either be ‘third time lucky’ or ‘a fool and his money are soon parted’!
Certainly my first impressions on opening the box are:
- Slightly smaller DVR with no buttons
- Nice moulded waterproof connectors
- Comprehensive fitting kit with stainless fasteners and anodised aluminium brackets instead of plastic/steel
- Cameras physically identical to the K2 units but with different internals
- Addition of an external microphone
- Waterproof remote button for saving files and taking photographs as well as LED’s showing recording/GPS/WiFi status
Looking through the technical specification, it looks like the main upgrades over the K2 are:
- Dual core processor for better image processing
- Different camera internals ( Sony IMX291 LQR sensor)
Installation was of course, very similar to the K2. The power module connects directly to the battery positive and negative terminals and the yellow trigger wire went to the loom I still had in place that tapped into the rear lights/brake lights. As soon as the side/head lights are turned on there is a 10 second delay before the unit begins recording and when switched off, a 25 second delay before powering down the unit. The front camera comes with a 2m lead which is fine, but the rear has a 1.5m lead which for the Capo is way overkill. I only needed about 0.4m and hiding the rest away was a real pain.


To install the cameras I used two 15mm rubber lined stainless steel ‘P’ clips – the front one on the Aprilia headlight guard and the rear on the pannier frame. The included mounting kit parts fitted to these clamps just fine and it only took a couple of minutes to get a nice neat install and great picture being recorded! Oh but one bit of advice ….. the supplied screws don’t use any washers, so once happy with the install, I went back and put a dab of thread-lock on all the screws just to be safe.
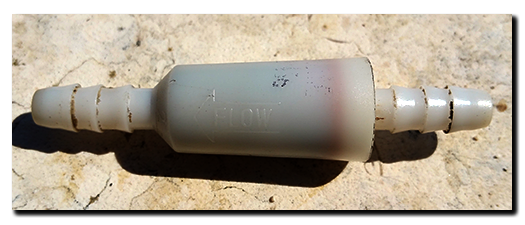
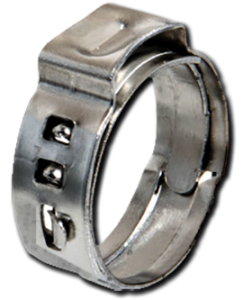 Swapping over only takes a couple of minutes …. 8xM5 bolts and a click clamp to remove. I exchanged the old one for a nice new Zero-Leak low profile Stainless Steel 11.3mm version – very snug! In fact the old one wasn’t really squashing the pipe onto the siggot anymore and could be pulled/pushed/rotated very easily, which makes me think it was no longer vacuum tight ….hmm. Anyway, the new one crimped up lovely and everything is supper-sealed once again.
 Just found out that the the Capo didn’t want to start in gear with the clutch pulled in …. so suspected a bad clutch switch. In the end it wasn’t, but I’d pulled the old one and did some homework anyway. The switch is a Saia Burgess V4NCS with an
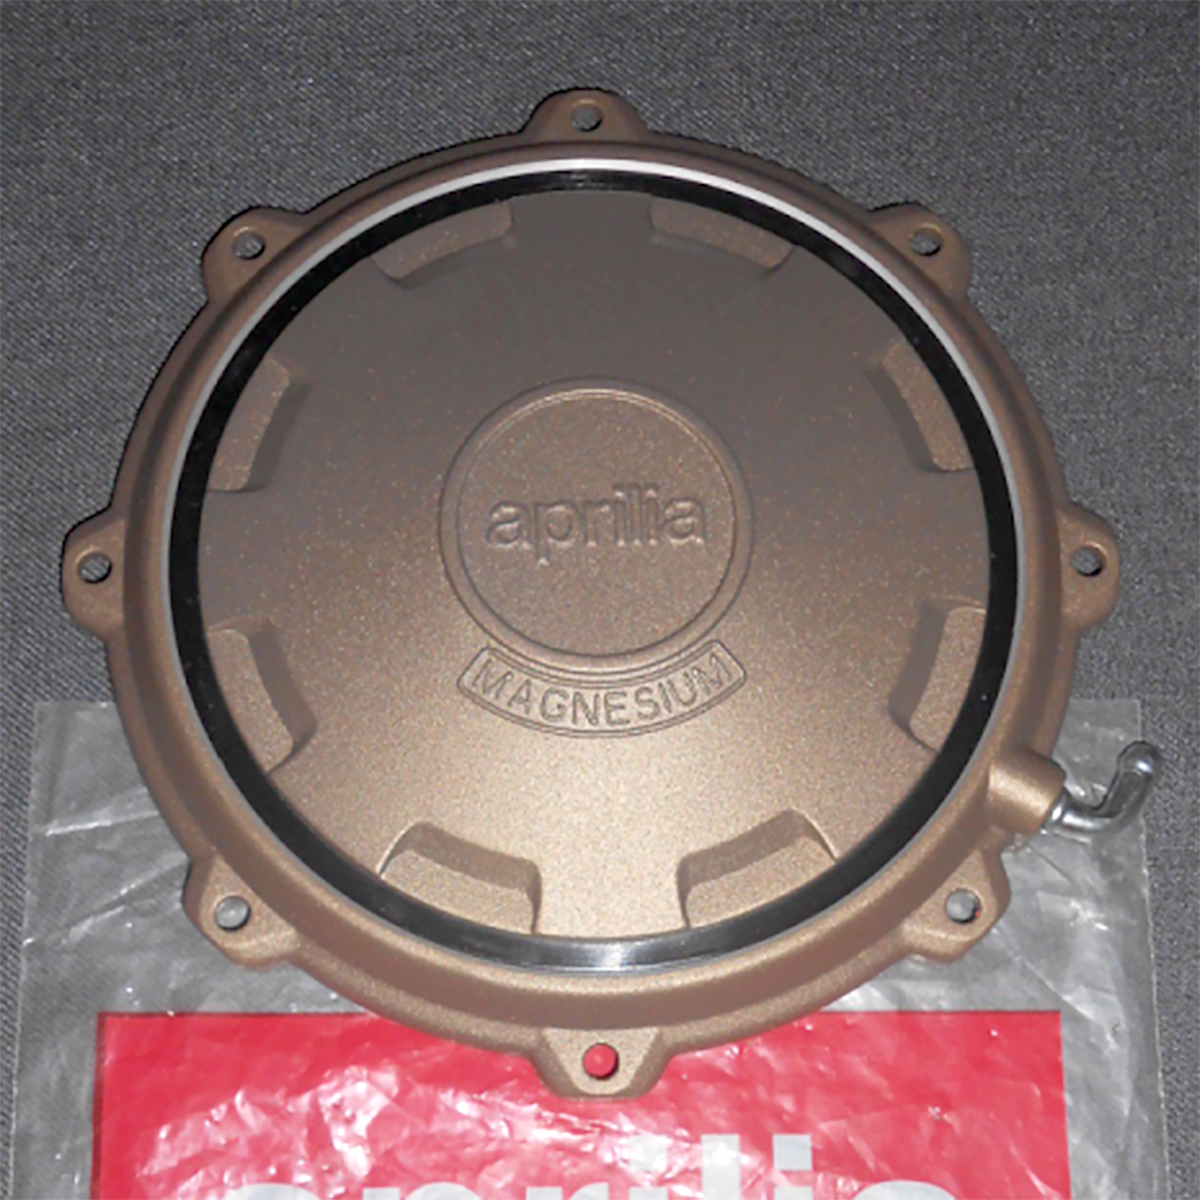
  sheath/splice the other two. A darn sight less than the £70 plus that I’ve seen on the web for an Aprilia item! The only down-side appears to be that the cables exit from the side not the rear ….. no biggie really.
 Recently while visiting the AF1 Futura forum, I saw an interesting thread about replacement clutch master / slave seals (common to both Futura & Caponord) sourced in the UK at a very good price and thought the information well worth sharing here.
 Clutch slave cylinders/seals and brake fluid can be almost as emotive as good old engine oil, everyone has an opinion. Well I’ve just changed brake/clutch fluid after about 15 months, usually I’d do it every 6 months or so, but somehow I’ve ended up getting a bit lax and let it slide. So for what it’s worth, here’s how things have worked out on my own Capo over the years.
 - Old 27K mile DOT5.1 on the right")
 And finally ….. always ALWAYS make sure the level of fluid in the reservoir is right. It is so damn easy to overfill this one. My prefered method is to drain off most of the reservoir fluid once the system is bled (don’t expose the ports) then refit the rubber bellows and use a syringe to inject fluid back in while watching the bubble. Leave quite a big bubble showing, because when you screw down the cap the volume (and bubble) shrink a little.