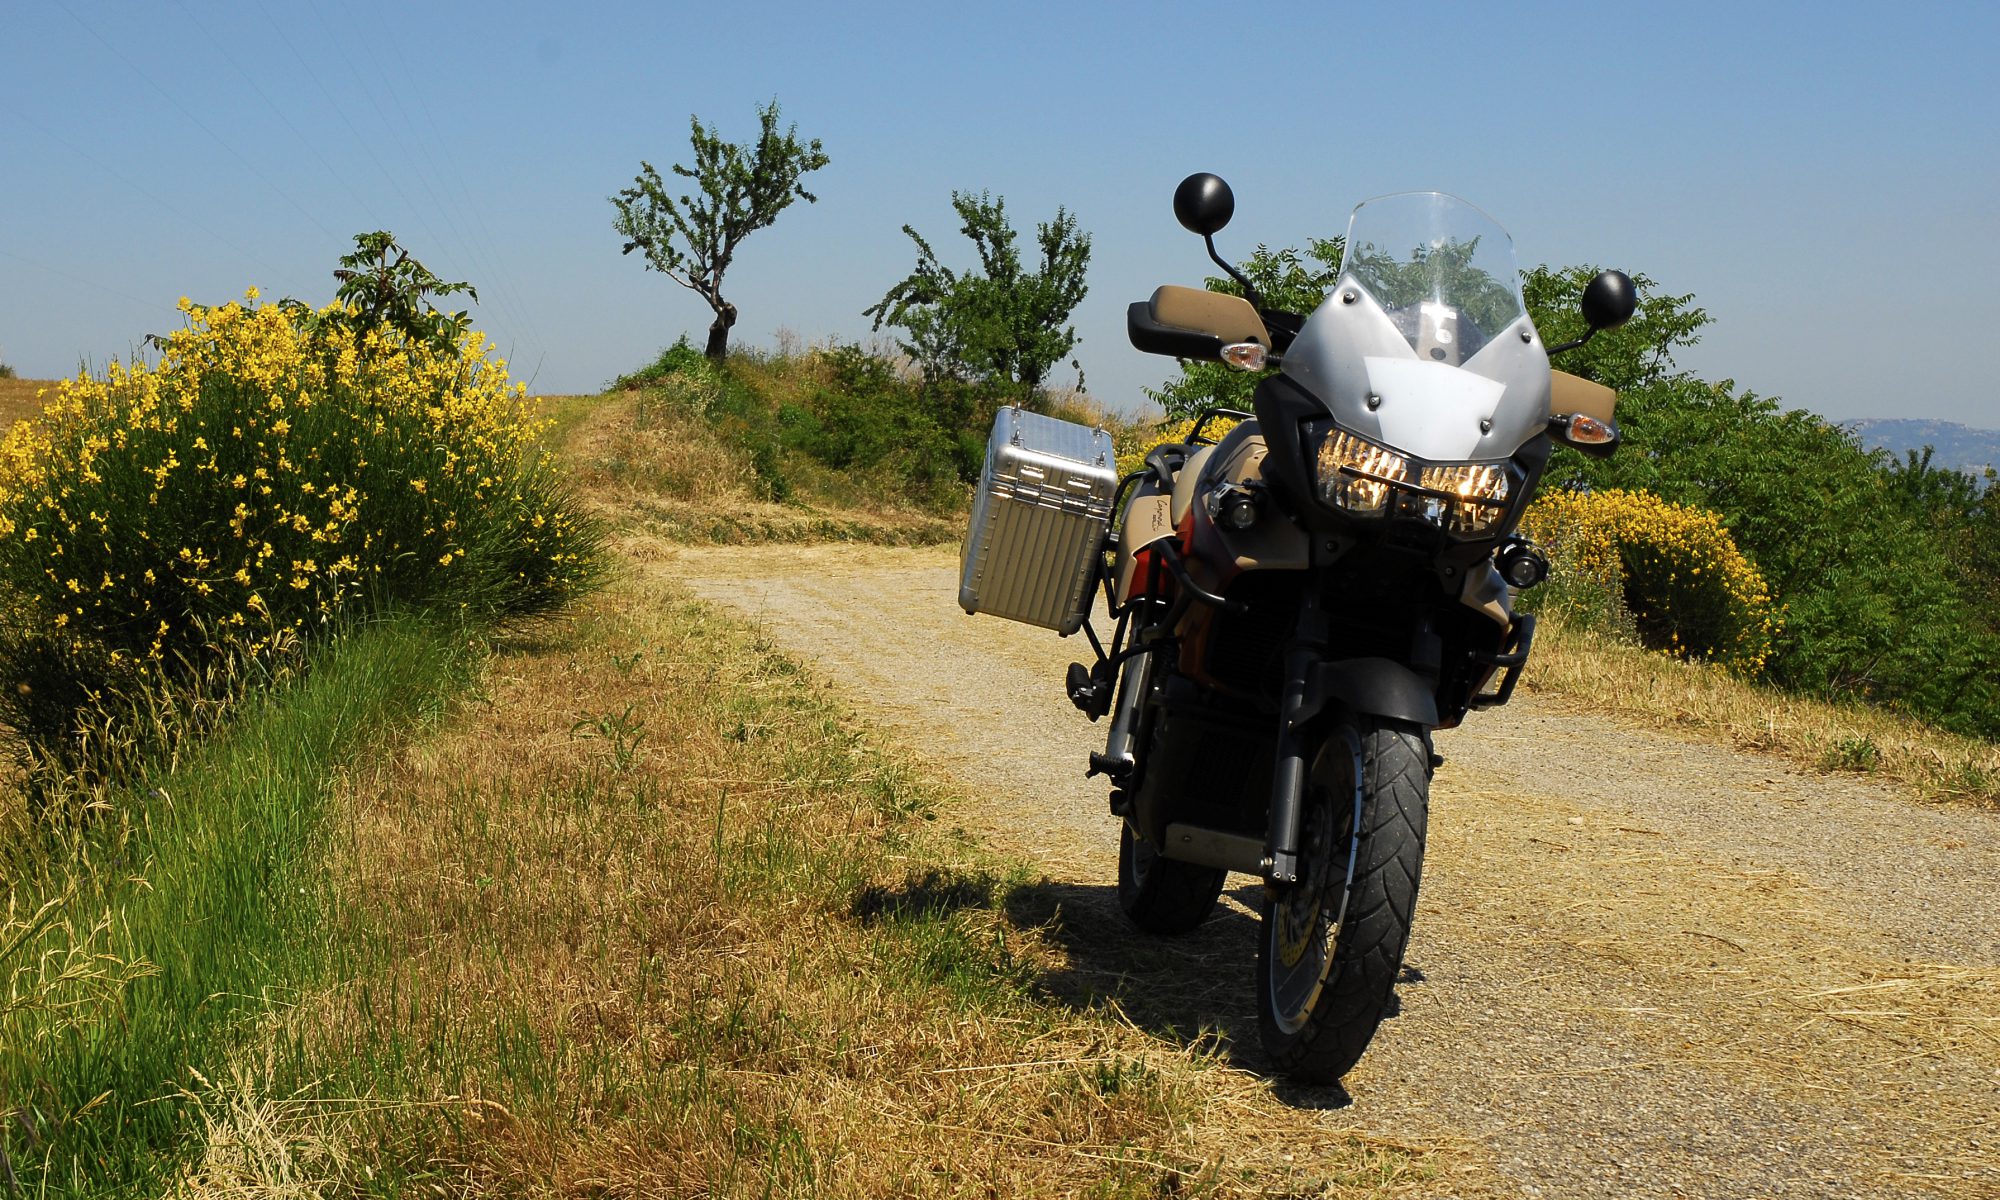
 Just got around to fixing my ‘breakdown’ – the new latch (Hepco Becker Part No: 700101 00 01) arrived today and after a hearty breakfast I set about changing out the broken one. The kit is a ‘universal’ one for all HB panniers and so a whole bunch of the bits supplied are immediately resigned to the waste bin …….. I’d have been happier with just the latch and a few quid off to be honest!
So out with the foam liner, off with the bottle rack and remove the five countersunk  bolts/washers/nuts and pull the aluminium box away from the frame. Next, drill the heads off the four solid rivets using a drill bit approx 6mm or slightly larger. Then lever the old latch away and separate it from the spacer. Job done …… now for the rebuild!
The latch as supplied comes with 3mm rivets and is drilled to suit, unfortunately the Alu Exclusive luggage was put together with 4mm solid rivets because of clearance between frame and case. No worries, down to the hardware store and a bag of 4mm Dia 10mm long stainless rivets are on hand to do the business. Once in, the heads are ground down a smidgen with the Dremel to achieve the same clearance without compromising shear strength.
 Rebuild is a straight reversal of strip-down, but everything gets a thorough clean, grease and general pampering to make it feel good. The pannier is now solid once again and if I get 13 years out of this lock and rivets like the last set, I’ll be a happy bunny.
Thanks go to Griff at hepco-and-becker-luggage.co.uk (web face of moto bins) who chased up key numbers with me and made sure the latch was on the doorstep in Oxford the next day – excellent service.
 Recently while visiting the AF1 Futura forum, I saw an interesting thread about replacement clutch master / slave seals (common to both Futura & Caponord) sourced in the UK at a very good price and thought the information well worth sharing here.
 Clutch slave cylinders/seals and brake fluid can be almost as emotive as good old engine oil, everyone has an opinion. Well I’ve just changed brake/clutch fluid after about 15 months, usually I’d do it every 6 months or so, but somehow I’ve ended up getting a bit lax and let it slide. So for what it’s worth, here’s how things have worked out on my own Capo over the years.
 - Old 27K mile DOT5.1 on the right")
 And finally ….. always ALWAYS make sure the level of fluid in the reservoir is right. It is so damn easy to overfill this one. My prefered method is to drain off most of the reservoir fluid once the system is bled (don’t expose the ports) then refit the rubber bellows and use a syringe to inject fluid back in while watching the bubble. Leave quite a big bubble showing, because when you screw down the cap the volume (and bubble) shrink a little.


 3,000 miles, six days, one exam and enough fog to last a lifetime ….. Yes, the last run of 2015 to the UK and back is over! The return bought with it oodles of goodies and an unwanted guest, the dreaded UK winter cold that then turns into bronchitis, oh what fun.


 for the Garmin 590LM")

 At the time of writing, I’ve done about 450 miles with the mount fitted, some on VERY poor mountain roads and everything is fine. The dashboard is still clearly visible (rider 182cm / 5ft 11inch) and the mount angle goes a long way to limiting screen-glare. I look forward to reviewing the mount along with the
  Say hello to Rally-Raid number 075! Yes a little lightweight I grant you …. one or two parts do appear to be missing, but a fully registered bona-fide ETV1000 Rally-Raid none the less. So in anticipation of building up a second Raid, I’ve decided to start a dedicated website ….

 A good few year back when I had a Triumph Trophy 1200, I had an issue of excessive noise from the chain/sprockets – especially on the over-run. They were almost new and as far as I could tell, it was correctly tensioned. It drove me mad for a week or so, until I decided to try changing out the front sprocket, why I can’t remember, but it worked.
 The only difference I could think of is the make of sprocket. I’ve always used