Just in the nick of time ……

20150524_131318Just when I’m done-and-dusted, the tools put away and the pannier-packing well underway with only 12hrs before leaving – Manuel’s (Motrag.com) parcel arrives with more goodies for the Capo! I really didn’t think it would be here in time, so I’d planned to fit the box-contents on my return …. but they’re here now so what the hell!

First off, a nice new left-hand lamp bracket and stronger angle-bracket with a funky new fastener – all to mount the GoPro tripod mount base. As usual, beautifully finished and perfect fit. Thanks very much for this Manuel, let’s see what the GoPro makes of it!

Next, one of Motrag’s new GPS mounts for the Rally-Raid. This one is for the Garmin 590LM and can be fitted directly to the supplied bracket or direct to the Accosoto cross-brace where the existing Touratech Garmin 2820 mount sits. Neat and unobtrusive (unlike an empty Touratech mount) it’s functional, yet simple. I’m really looking forward to trying this out (and the 590LM) in the coming weeks as the poor old 2820 has most definitely got a touch of dementia these days – it frequently forgets what day it is, or what country it’s in, bless it! More on this bracket in a later post.

20150508_180804And lastly, the replacement rear sprocket and DID drive chain. A nice slotted-steel sprocket from ‘France Equipement’ in black. I must admit to having never heard of them before, but fit is fine and the finish seems solid enough, so we’ll see what the miles make of it. The ZVM-X (in Gold/Gold) chain is the replacement for the ZVM² that has been on for a staggering 53,400 miles ….. yes one chain, one rear sprocket and three front sprockets for over 53K miles, I’ve never had one last like this before. The only thing negative I can muster against it, is that all the Gold wore off years ago – nowadays it’s just a plain old silver chain!

That’s it for the new stuff but Manuel had one more nugget tucked away in the box for me – a very clean and crack-free pair of inlet rubbers! After reading my post from a few days ago he decided to slip a pair in the box to replenish the MA spares stock – cheers Manuel you are a start indeed!

I’ll end by saying that while some of these items are product testing or favours between friends, I have to make it clear that the chain and sprocket were purchased from Motrag just as anyone else can. The price is extremely competitive and shipping very quick – so next time you’re in need of bits for your bike (not just Caponords), consider having a look at Motrag.com or emailing Manuel to see if a fellow owner/rider/engineer can help you out, I know I’d rather put a few Euro’s his way than in the pocket of some faceless multi-corporation any day of the week.

Bye bye Karoo 3 …. hellooooo Anakee 3!

Aprilia Caponord ETV1000 Rally-Raid with Michelin Anakee 3 tyre
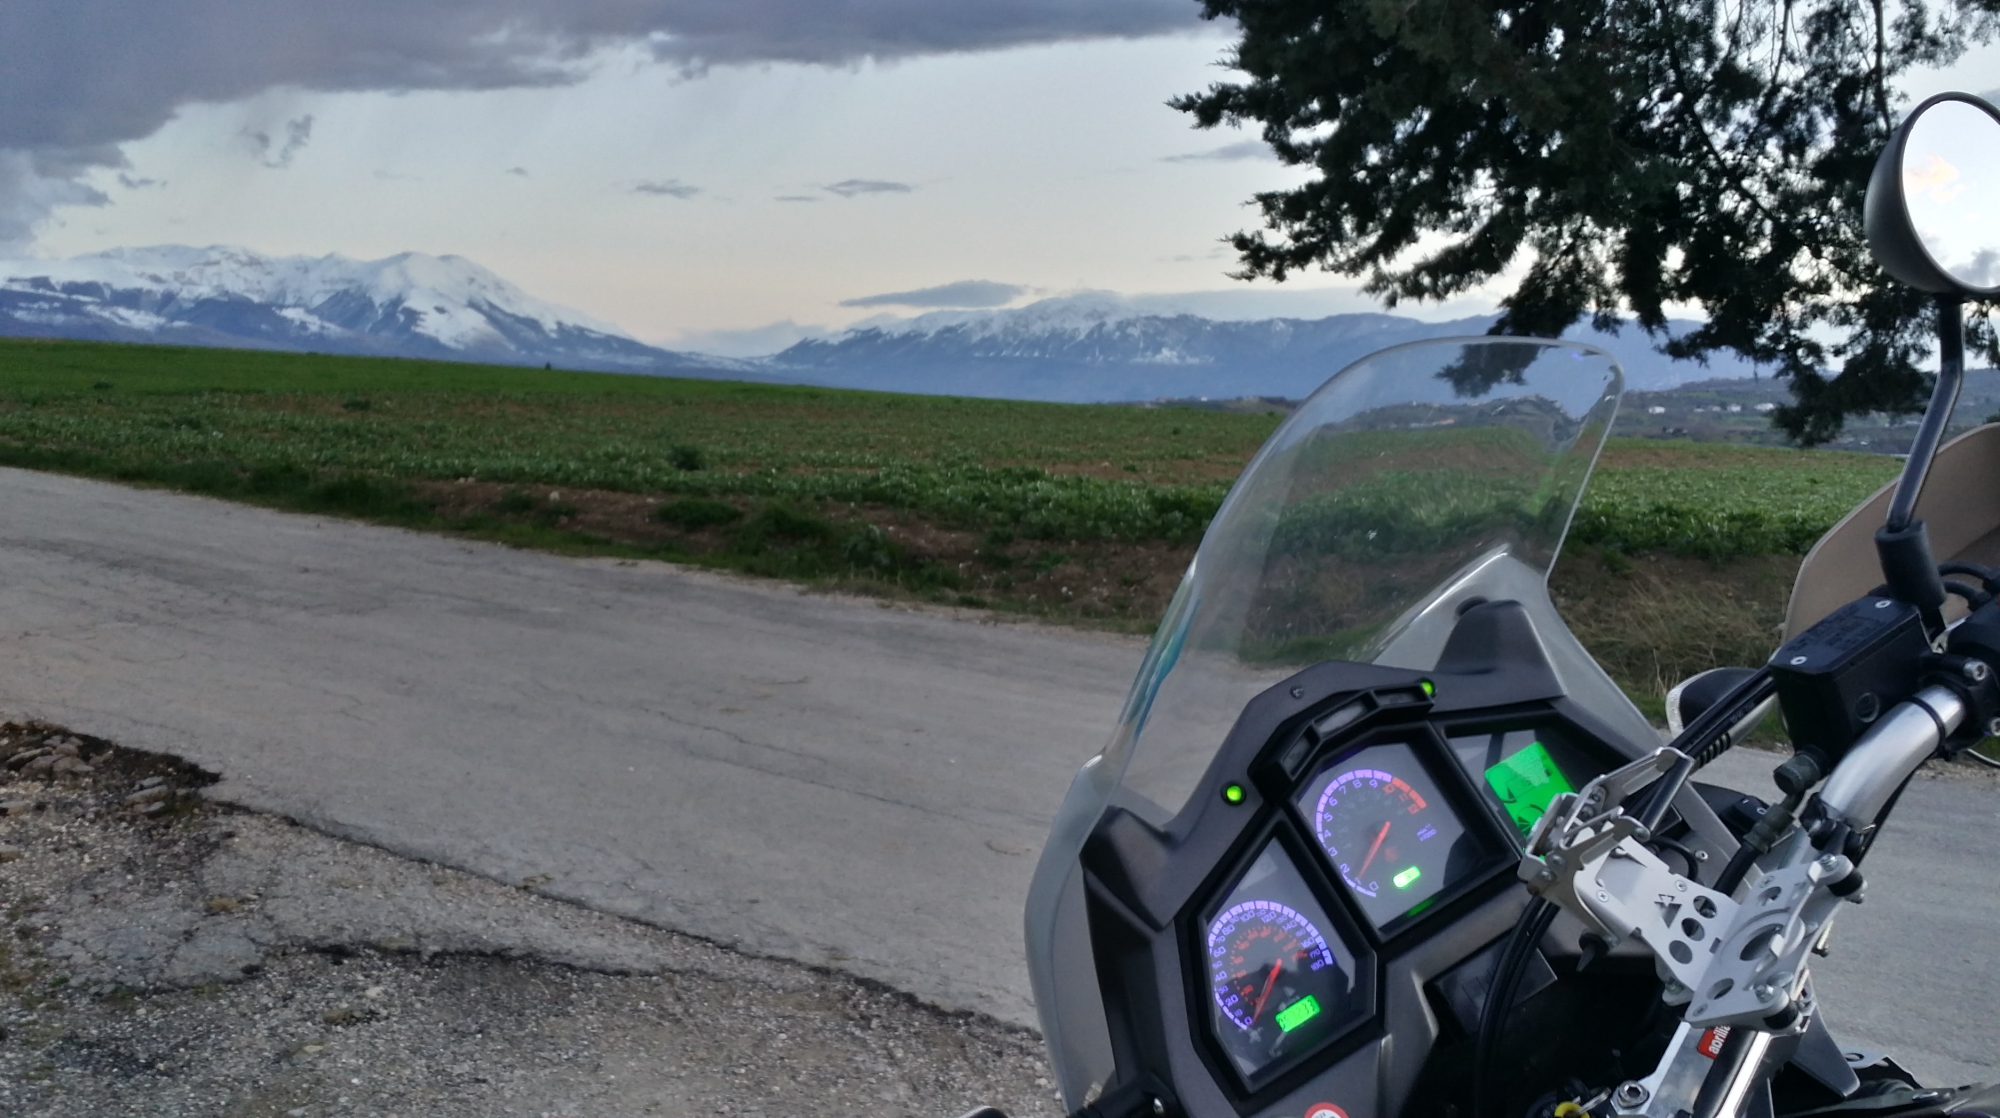
Well yesterdays arrival of a spanking pair of Michelin Anakee 3’s makes the total number of tyre types fitted to the Capo a head spinning …… 5. The OEM fit Tourance, oodles of TKC80’s and Karoo 3’s and one fantastic set of Anakee 2’s. They were by far the best with excellent grip and long life – so the Anakee 3’s have a hard act to follow, I wonder how they’ll compare.

With the back wheel dropped out, I decided to give everything a once over and quick scrub-up – nice and shiny like. The vernier showed the rear disk had finally met the minimum thickness (4.5mm), so off it came and on went a nice almost-new one from an Aprilia Caponord ETV1000 Rally-Raid rear wheel and disk with Michelin Anakee 3 tyre07 bike …. a floater instead of fixed. Now I must admit to being more than a little perplexed at what the hell Aprilia were thinking about when making the rear a floater – front yes, but rear! What for, where’s the benefit? With 74,710 miles on it, I can’t ever remember riding around thinking ‘damn this bike’s just screaming out for a floating rear disk’ But in the end, it’s what I had in my sack of goodies, so it’s what went on. With the rear done, the fronts looked a little sorry for themselves, so I pulled them off and gave them a once-over and spring re-tension …… I must say they do look rather nice again!

Rear wheel bearings, seals and cush rubbers are original and all in perfect condition, so the spares can stay in the cupboard for a while longer yet. The front bearings and seals that I replaced back in 2009 (@11,700 miles) are also fine – packing the void between the bearings and seals to prevent water getting trapped seems to work wonders! So now she’s all buttoned up and a final wipe with a soft cloth and ACF50 to fend off the corrosion gremlin should do the trick nicely.

A pivotal moment

Aprilia Caponord ETV1000 & Rally-Raid rear brake lever pivot and grease nipple CAD graphicSometime last year I decided that 2015 was going to be the year that a whole bunch of parts were going to get cleaned up and recoated – engine/sump protection bars (especially the mounting brackets), headlamp guard and passenger foot peg hangers for a start.

The accessory parts seem to be made substantially cheaper than the bike parts themselves – stamped, pressed, bent and welded with a flash of cheap paint to top it off. All well and good for a couple of years, but the elements soon work their magic and the stuff begins to look jaded and rusty. No, if you want it to look good and last, you’ve got to pick up where the Aprilia contractor left off ….. Debur, remove weld spatter and radius any and all sharp edges you can find, THEN get a quality finish applied. That’s the plan anyway!

Aprilia Caponord ETV1000 & Rally-Raid rear brake pedal and grease nippleSo to kick off I took the spare rear brake lever and began to radius the sharp edges and smooth the lumpy stamped (or laser cut) edge … I have to say it was looking (and feeling) rather nice when I downed tools and wandered indoors for a brew.

It was while standing there aimlessly waiting for the kettle to boil that I thought about adding a grease nipple to the pivot – Aprilia have done a good job in making the bolt grooved to hold a reservoir of grease AND fitting two ‘O’-rings (OR114 – 1.78mm section / 11.11mm ID) to keep the grease in …… but a grease nipple would make packing the grease in and replacing it soooooo much easier!

In the end it only took 30 minutes ….. grinding a flat on the underside, drilling and tapping a 6mm hole and screwing in a 90° fitting. What do you think?

I’ve got a screw loose!

Mummy this is going to hurt!One thing’s for sure, irrespective of how many miles you’ve travelled or how many years you’ve had that dog-eared licence in your pocket, you never stop learning. Sometimes the lesson hurts, sometimes it’s so subtle it’s easy to miss and sometimes the lesson leaves your blood-stream swimming in the hormonal avalanche from the Adrenal medulla. You know what it’s like, you’ve been there yourself – a close call, a near miss, a white knuckler, call it what you will …. and you know how it brings a fresh new perspective to the day!

Yesterday I went back to school ………

Scrubbing off speed, I approached a mini round-about where I needed to double back on myself to enter a hardware store car-park. It was a beautiful sunny day with just the right amount of breeze and all was good in my little world. Down a couple of gears, a tickle of brake and I’m eye-balling the ongoing passion play of traffic already negotiating the roundabout as I started to roll in to the left, but immediately it all went horribly wrong. The turn was too shallow, I was spiraling outwards – the steering wouldn’t turn to the left!!

Instinct (or more likely blind panic  😯 ) had me kicking in a heap of counter-steer to abort the left turn before I ran into the oncoming vehicles – swinging the bike away to the right with the left pannier a hair’s breadth from some poor sod’s pride and joy. Pulling over with my heart fit to burst, I tried the steering. Full lock to the right – fine, but it locked Aprilia Caponord ETV1000 Rally-Raid - GoPro thumbscrew drops into steering!solid 20-30° to the left. Peering over the handlebars everything looked OK, no loose bolts in the triple-clamp …… nothing. A Scooby-Doo mystery for sure!

As I was putting it on the main stand, I heard something fall from the bike. Looking down I found this fella, an innocuous little GoPro thumbscrew. Eyes snapped up to the GoPro wireless-remote mount on the left handlebar, the thumbscrew was missing. It had worked loose during the journey and bounced down into the bowels of the steering mechanism waiting for the right moment to wreak havoc …… and it very nearly got away with it too (if it hadn’t been for you meddling kids! – A little Scooby in-joke!).

The lesson? Firstly make sure I do things up properly!  😕 Secondly make sure that ANYTHING added to the cockpit / handlebars can’t work loose and interfere with the steering. Sounds obvious, so obvious I haven’t given it a second thought in countless years of riding, but What in FOD's name have you been playing at!as an ex-RAF engineer I should know better than most the catastrophic implications of our old arch-enemy FOD (Foreign Object Damage). Complacency is no excuse ……. From now on ALL GoPro thumbscrews will be tethered!

In this instance only my pride took a bashing, but it could have so easily been much worse – hero to zero in a heartbeat. Today I’ve had a whizz around the bike and checked that everything is tickerty-boo, put in a new thumbscrew and nut and said a bunch of Hail Marys just for good measure! But how about you …..

…. are YOU 100% sure that nothing can foul your steering / suspension or drive chain ….. And is that luggage really secure? 😉

Review – Motrag Hella DE fog/spot lamp brackets

Aprilia Caponord ETV1000 Rally-Raid - www.motrag.proI’ve known Manuel Hitz, owner of Motrag for over 18 months although we’ve only met once, at ACIM VI in July. At that fun filled weekend we looked around many bikes and discussed the pros and cons of many upgrades – as well as our own. Manuel was keen to show me some of the items that Motrag make and sell, he then asked if I would try a set of his fog/spot light brackets* and compare them to the Touratech ones currently fitted on the RR. ‘Why not’ I said, ‘It would be jolly rude not to!’. And so a parcel arrived last week. 😀

Off with the Touratech brackets ……

Aprilia Caponord ETV1000 Rally-Raid Touratech Fog LampLet’s start with the outgoing Touratech brackets – each has 4 parts, 8 fasteners and weighing approx. 300g. They are actually made for the Mk1 Caponord and not the Mk2, although the modification to fit them is simply a matter of bending the front mounting tab and drilling a fitting point in the fairing. However having to drill out the rear mounting point was something I hadn’t anticipated. The hole was probably a perfect fit for the screw – before they added the powder coating, certainly not after! Overall the fit/finish is average, (presumably) laser cut 4mm aluminium plate bent to shape and slapped with a coat of satin black – sharp edges, cutting marks and even a ding in one plate left for all to see. The lamps sit very close to the fairing making cleaning a real headache unless you remove the brackets each time, on a plus side however; they are well protected in the case of a fall. 4 years on, the finish is peeling away and they have started to look shabby, so I’m glad to have the opportunity to remove them.

Bottom line – Expensive and build quality/finish is average at best.

….. And so on with the Motrag brackets.

Aprilia Caponord ETV1000 Rally-Raid Motrag fog light brackets with Hella DE lampsThe Motrag brackets each have 3 parts, 6 fasteners (plus a plastic pin) and weigh in at approx. 360g**.
Opening the box was a pleasure. Each bracket wrapped securely, fasteners (all stainless steel and just like the OEM Aprila fasteners in appearance) were bagged and labelled for their intended location and last but not least a set of clear instructions and a parts list.

Fitting the brackets involved no drilling or cutting at all and they were on and aligned in less than 30 minutes – ok, the lamps were already wired in of course! In comparison to the Touratech brackets, the lamps sit slightly wider apart (approx. 25%) and slightly higher with adequate clearance for me to get behind them when cleaning the bike. The flat top of the lamp bracket lends itself very nicely to being used as a mount for my GoPro camera, something Manuel is keen for me to try out – so keen if fact, he sent three lamp brackets – a spare for me to drill for the camera mount!

OK so far … a bracket’s a bracket, heck as long as it fits and doesn’t look naff what else can I say? Well let’s save the best for last, the finish, THIS is Motrag’s ace-in-the-hole! Each bracket is exquisite, no sharp edges, no machine or cutting marks in sight. This kind of attention to detail is something we’re just not used to seeing nowadays and it pays dividends …..As the old saying goes:

Don’t spoil the ship for a ha’p’orth of tar

Proverb: Don’t risk the failure of a large project by trying to economize on trivial things.

Says it all really! And so to the bottom line – Excellent fit and finish, well documented instructions and nice attention to detail with the fasteners adding that OEM look. But you know I’ve been thinking, wouldn’t it be nice to either tweak the design, or offer a seperate bracket so that a pair of discreet DRL – Daytime Running Lights could be fitted in the space below the lamp … over to you Manuel! 😉 

Anyway, that’s about if for the initial impressions, I’ll add a new post in 2015 when I’ve had chance to bounce the brackets up and down our road and put them through winter weather to see how the finish holds up – my guess is they’ll do fine. That just leaves me to thank Manuel for kindly sending the brackets for review, we agreed it was to be fair and without bias, if I didn’t like something – say it! All good so far …….

I almost forgot – Manuel also dropped another little present in the box for me, a sexy new cap for the coolant bottle in blackest black, not sun-bleached grey. That little baby has got to be worth an extra 5mph! 😉 AP8104124 if you want to do this speed enhancing upgrade.

Aprilia Caponord ETV1000 Rally-Raid. New coolant cap!


Notes

*Both the Touratech and Motrag brackets are designed to take the Hella DE spot(Xenon) or fog(Halogen) lamps. Motrag supply the lamps/brackets as individual sets for the left or right, so you can mix fog/spot combinations as you want.

**These are a prototype set in 2.5mm steel and not the production 3mm aluminium, so they are slightly heavier.

Way too close for comfort …..

Aprilia Caponord ETV1000 Rally-Raid - Brembo 07BB05-SA brake padsYes, I put my hand up; I screwed up on this one! I’m normally pretty good at keeping on top of the Capo maintenance, but this time I let the brake pad checks slip by while doing a full service a few weeks ago. So the other day I decided to drop the front calipers (Brembo P4/34 triple-bridge), took one look at the pads, swallowed … and squeaked a silent ‘bugger!’  Thankfully I could engage smug-mode as I already had a new set of pads (front & rear) hidden away in the parts-pantry after stocking up on all sorts of Capo-consumables at the back end of last year. The new pads are 7.5mm thick; with approx. 4.5mm of material ……. the best of the old ones was about 1mm on its tippy-toes. 😯 Way too close for comfort, so I took myself around the back of the barn and gave myself a jolly good talking too! 😳

Anyway that’s another job out of the way. Total mileage on the old pads worked out at 18,150, not too shabby really. And the rear? Doing fine, thanks for asking …. although by the time it’s pads are ready for a change, my guess is the disk will be as well. It measures a hairs width over the 4.5mm limit, so time to look for a replacement I think.

Front fork service …… better late than never!

Aprilia Caponord ETV1000 Rally-Raid fork cap ....... and yes, I've used this picture before!The dodgy wrist and Dog awful weather here in Italy at the moment have both contrived to keep the Capo tucked up in the barn, a hairs breadth from the magic 100,000Km. So while the rain poured its heart out, I decided to have a look through the Excel spreadsheet of service/repairs/upgrades for the Capo ……… and realised that the front Motul fork oilforks hadn’t had an oil change for over two years!

Well I must admit to being pleasantly surprised. The oil that came out was pretty clear and a flush with a dash of 5w oil soon removed the small amount of sludgy dregs from the bottom of the legs. A refill with blended Motul 8.5w oil and a reduced air-gap of 115mm (Std 130mm) works well, so I see no reason to fiddle with settings that suit my riding style. Overall the job took about an hour a leg taking it slowly, sipping tea and watching the clouds drift down the valley!

At this point, a gentle reminder for RR owners. Please remember that the Rally-Raid supplement is WRONG regarding oil volume! The forks take approx. 580cc each for the standard 130mm±2mm air-gap – NOT 680cc as specified ….. Unless you want a mess on the garage floor when it pours over the top of the tube!

Aprilia Caponord ETV1000 Rally-Raid Marzocchi front fork spacersAnd another point that it may well be worth mentioning ….. the fork recall that Aprilia issued in 2004 – has yours been done and what exactly IS done? As far as I can gather, it was simply a new spacer below the spring as the original was the wrong size and could, under harsh riding conditions, collapse and lock the forks solid. Not my idea of a bucket load of giggles that’s for sure. Aprilia say that mine was done in 2006 (thanks Tom at Moto Forza Italia – Silverstone, UK for helping) and Marzocchi say that the current Aprilia part number AP8163475 IS the upgraded part.

The spacer in mine looks fine although definitely showing signs of compression where it sits on top of the cartridge. This time I’ve flipped them over to even out the wear, maybe next time I’ll look into adding aluminium caps to the spacers to spread the load more evenly.

Anyway, that’s all done and dusted for now …… next stop, some new brake pads I think. The fronts look like the remaining material has about the same thickness of a well sucked After Eight mint! 😳

Ruba-dub-dub …… one Capo to scrub!

Aprilia Caponord ETV1000 Rally-Raid. Twinkle twinkle little Capo ......As we fast approach the fun and games of ACIM, I figured it was time to reintroduce the Capo to two things frequently lacking in its life ……. washing and polishing. Yes, the hose pipe, chamois leather and Salvol autosol have been dragged out, dusted off and liberally applied to said Capo. My how she twinkles now, well as much as matt paint can ever twinkle that is!

Aprilia Caponord ETV1000 Rally-Raid. High mileage DID ZVM2 drive chainUnfortunately for the Capo, there has been one cleaning job on the list that I’ve been putting off, and I have to admit that the list was written several years ago – the rear wheel refurb! After a couple of cold ones, I finally mustered up the courage to tackle the gunked on grease, the lashings of welded road crud and the inevitable rusty nipples. It nearly had the better of me once or twice, but tenacity and sheer bloody-mindedness (plus a couple more cold ones!) saw the job through to the bitter end. And here’s the finished article, not too shabby if I do say so myself ….. and that chain/sprocket have now got a whopping 38,730 miles on them!!!

Before it all went back together, the Scottoiler dual-injector was checked over as were all the bearings, seals and cush-drive rubbers – and of course it would have been remiss of me to have not taken the front sprocket cover off and give it a Mk1 eyeball check – looks OK for now, but I’ll get one on order!  😉

That’ll teach me!

Cruise servo in place at the back of the tool trayHi all ….. a quick post about the cruise control and a word of caution!

I finally got the cruise control servo unit mounted into the tool-tray of the Capo today. A relatively straight forward job, requiring only a minor rework of one of the mounting lugs, a new bracket fabricating and a couple of holes drilled in the under-tray.

The old throttle cable was removed from the unit and a new 6mm Teflon lined sheath fitted ready to run forward to the throttle bodies. It fits a treat down the side of the two 30A fuses and there’s already a cut-out in the undertray for it to run through, talk about made for the job! I’ll refit the old in-line adjuster and look at routing it along the engine/throttle bodies next week. So far so good!!! 😀

And so everything had gone beautifully, with a final firm slap the rear seat was locked in place …………. Only to realise that the key would no longer release it! Yes the dreaded can’t-remove-the-rear-seat syndrome. My fault entirely, as I should have checked the cable-outer was secure at the latch when I put the luggage rack/deck back in place. So here for your info is how to sort out what seems a very daunting situation to be in. Others may have a different technique, but this one worked for me.

Firstly stop twisting the key harder and harder, while bashing the seat in a vein hope it will pop off ….. it won’t ….. The noise you can hear when you turn the key is simply the cable outer and spring moving – NOT the latch.

Secondly, remove the rear deck bolts (x4). Of course you may have to remove a topbox and associated mounting plate first – no one said it was going to be easy! Now grip the deck just above the rear light and lift, at the same time slide something like a ½” drive 12” extension into the gap to hold the deck up. You’ll need to get the extension right the way in, enough to expose the latch mechanism. With the mechanism visible, slide a flat bar or long screwdriver in and gently push on the tab where the cable end is visible – from the rear of the bike, push to the left. And you should hear a satisfying click as the seat pops up. Reseat the cable-outer, reassemble the bike and sink a cold beer, you’ve earned it!

What a muppet …. anyway, I hope you’ve learned a little something from my foolishness and don’t make the same mistake!

……. now to connect the servo unit to the throttles.

Finger on the pulse

Aprilia Caponord ETV1000 Rally-Raid. Speedometer pulse from the rear-wheel sensorWhile the wrist is healing nicely on light-duties and (thankfully) out of the heavy and restrictive cast, I’ve had a chance to play with the idea of an active cruise control for the Capo. An active system will adjust the throttle automatically to maintain a given speed even as the road rises and falls unlike a passive system which is nothing more than some form of throttle locking mechanism.

Arduino cruise control sketchThe system I’m thinking about will, when all parameters are met (speed, revs etc) lock onto the chosen speed when the ‘Set’ button is pressed. The microcontroller will then look at the error between the chosen speed and actual speed and adjust the throttle as neccessary to try and maintain the error at zero – this is done using PID (proportional-integral-derivative) in the controller. If cruise is stopped (operation of brake or clutch) or the PID error goes beyond a pre-determined maximum (high gear on a steep hill for example) the requested speed is stored and can be re-activated by pressing the ‘Res’ume button. And while in cruise, the speed can be adjusted in 1Kmh increments by using the same two buttons, now working as ‘Acc’elerate and ‘Dec’elerate. That’s the theory anyway!

Aprilia Caponord ETV1000 Rally-Raid. Opto-isolated and cleaned Speedometer input signalInputs

  • Power – 12v on/off switch
  • ‘Set/Acc’ &Resume/Dec’ buttons – 12v
  • Front and rear brake light switches – 12v
  • Clutch lever switch – 12v
  • Speedometer signal from the dashboard (output on pin 14 of the 16-pin connector) -12v square wave 85% duty cycle frequency modulated
  • Tachometer signal -12v square wave 50% duty cycle frequency modulated.

Honda GL1800 Cruise ServoOutputs

  • Two colour LED for power, cruise engaged & error codes – 5v
  • Motor drive signal – 5v PWM to motor control board.

To date the inputs and safety stuff has been written and from the tacho/speedo signals it’s calculating what gear the bike is in pretty quickly, but I’m sure it can be speeded up …… I just need to learn more programming! The operating parameters I’ve decided on are:

  • Cruise enabled between 50Kmh and 160Kmh (30mph – 100mph)
  • Cruise enabled between 2,750rpm and 6,000rpm but might change the lower limit to 3,250rpm in 6th gear
  • Cruise enabled in 4th, 5th and 6th gears only.

At the end of the day, I just want a system that will give my old worn out wrist a rest at motorway speeds on the run between Italy and the UK, taking into account the (very!) variable speed limits and ascents/decents especially through Switzerland. If it can do that I’ll be a very happy bunny indeed.

Of course this is all well and good, but I’ve got to get all the bits talking to each other first and make it robust enough for long-term and safe use on a motorbike ….. the problem is that in amongst all this enthusiasm my wrist still has a way of letting me know who’s really in control while swanning around on light duties!