 Just a reminder for those that have asked for dashboard repairs and those that are thinking about it …. I’ll be back in the hot-seat, all set up and ready to receive boards after the 8th January. As some of you know, life has been rather hectic with one thing and another over the past weeks, but soon the dust will settle. The bright side of this little waiting game is that the cost of return postage and transit time should be much improved …… especially for those in the UK! 😉
Charge of the fright brigade
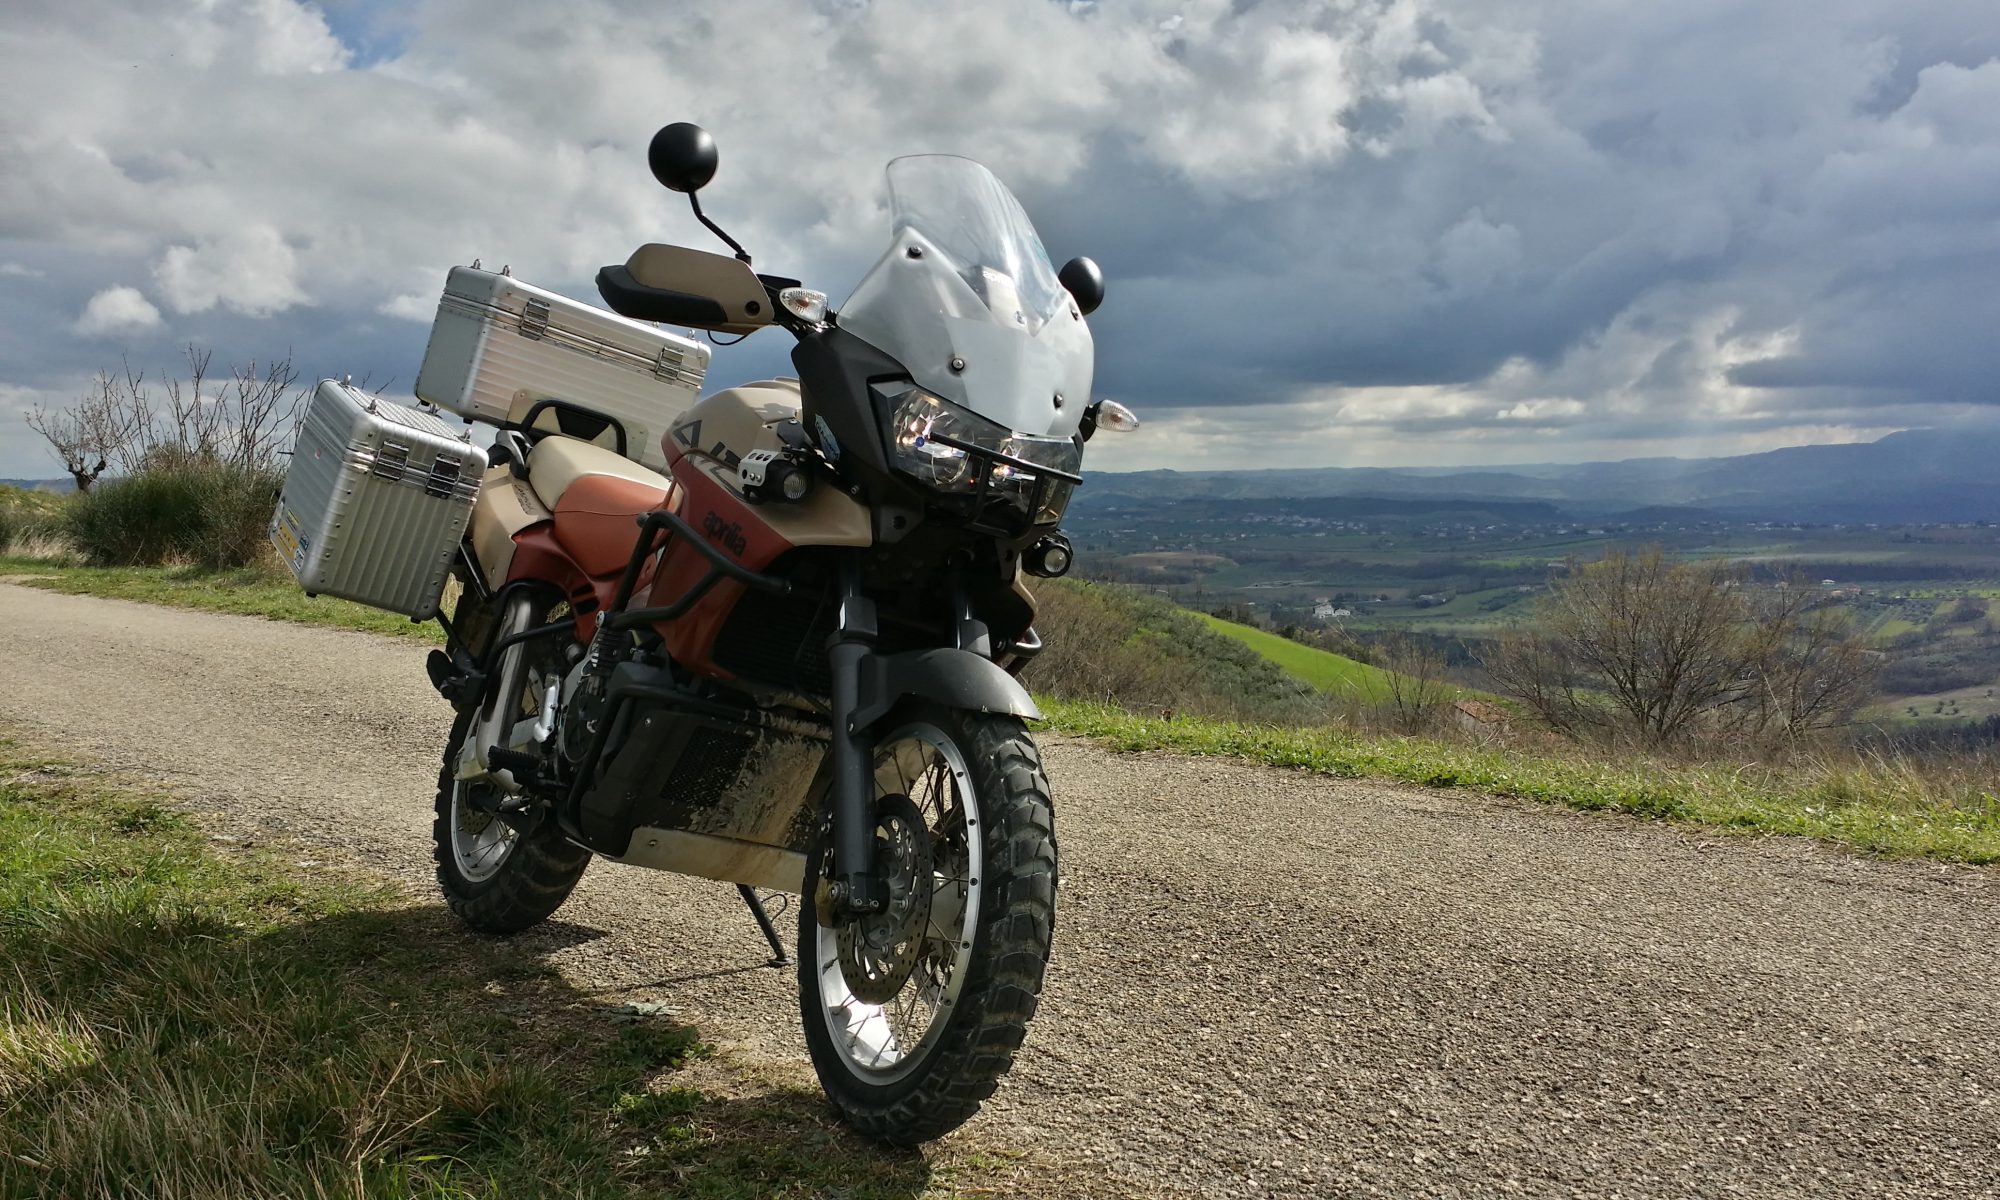
 I had a bit of a stress-monster moment last night. After finishing off a bit of work on the Capo, I fired it up and stuffed the multimeter probes across the battery terminals – 16.1V with the lights on! My heart skipped a beat and thoughts of a toasted rectifier rumbled across my mind. However the Sparkbright battery monitor LED showed steady green and should have been flashing red/green at this voltage. A prod of the ‘mode’ button activated the tacho/voltmeter in the dashboard and it said just over 14V. What gives? Then another glance of the multimeter channelled my thoughts in a whole new direction – an itsy-bitsy low battery icon was showing. A fresh PP3 and a calming cup of tea later and the Capo was in fact charging at a healthy 14.2V all along ……. So with the stress-monster firmly back its box, I made a note to check/change batteries in all the other tools in the workshop ASAP!
CGI dashboard – 2
Saturdays lovely sunny weather gave way to thick fog and a definite chill in the air – time then to hunker down on the PC and finish the CGI dashboard and add a couple of extra bits to make it a touch more interesting on the eye.
")
")
")
")
CGI dashboard – 1
 Slowly getting more parts of the Capo into CAD/3D …. finishing the dashboard motor off (after almost 2 years!) gave me the nudge to get the circuit board done. Here’s a work in progress, only a couple more chips to fit. Then the inlay and case / lens will see it polished off. Can I keep up the momentum or will galloping apathy step in … hmm who knows! 😕
 Capo charging system ….. a new page going up shortly with a fair bit of (new) info regarding alternator output, waveforms, voltage, current and how those are affected with the attachment of different technology regulators – plus how exactly those regulator-rectifiers do the job of producing rectified DC. Pitched at electrical newbies I’ll be running through each of the components and what they do electrically (hopefully) in a way that makes sense, including why some wires can be thin and work just fine and why some regulators get hot and others don’t.
Dashboard motors – an update
 An old (ironic) joke in England states that you will stand around for an eternity waiting for a bus – only for three to come along at the same time! In the same way, dashboard faults sometimes do a similar thing. Recently I had three boards arrive; all had defective speedo/tacho motors. All six motors were physically broken and two electrically dead.
The motors mount to the circuit board by four soldered pins and two push-fit pegs. The arms on the motor case that grip the pegs break off and that leaves the motor pivoting  on the four soldered pins. With time and vibration, the armature wires that are soldered to the pins flex and break – one dead motor.
Replacements are available from flea-bay for between £30 and £45 –not exactly a cheap part, especially when the old one may still be working fine. Now it seems a cheaper solution is available in the form of a replacement front cover (part with arms) for a fraction of the price of the full motor. On close inspection it doesn’t look like a 1-for-1 copy of the original (the arms are slightly different) but it’s well worth a punt at that price to see if it works.
So why are they failing? Well my guess is, it’s a combination of age, vibration and heat/cold cycling that causes the arms to fracture. Once that support has gone, the motor is left suspended on the four soldered arms – and they in turn are press-fitted into flimsy  plastic spacers. The armature wire (very thin!) is soldered onto these pins, with very little slack ……. So any flex between motor and pins will inevitably stress the wires and cause them to break. They can be repaired of course, you just need good equipment, a magnifier and VERY steady hands!
Unfortunately, spotting a broken motor is difficult without striping the dashboard, but here’s a little something to look out for …… have a good close look at the needle, where it passes through the inlay. If the speedo needle looks like it’s drooping downwards or the tacho needle looks like it’s leaning to the left – suspect a broken motor. Remove the dashboard and give it a gentle shake – hear something rattling inside? That’ll be the broken arms floating around – tick-tock, tick-tock – it’s only a matter of time now before the armature wires give way!

Accuracy is everything …..
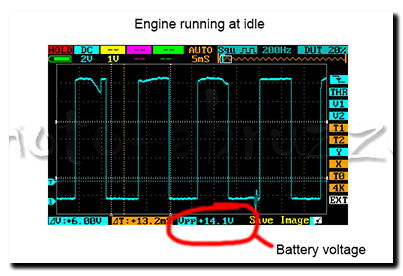
Way back when I started playing with the idea of using the dashboard tachometer as a voltmeter, I was aware I had one stumbling block …. I didn’t have a decent workbench power supply to calibrate the software/voltmeter against. In the end just using a battery and resistors the ball-park calibration wasn’t too bad, reading within a needles width of the correct voltage from 13 – 14v but it drifted terribly above and below this range.
 Then in summer along came a gift from ABSL via Andy (Beasthonda) …. A very nice Thurlby 30V-2A dual power supply, which unfortunately had to languish in Oxford as it was too heavy to transport back by Capo! But patience is rewarded and it finally sits on the workbench, performing brilliantly and its first job has just been to calibrate the dashboard voltmeter once and for all. In the end it required a little code revision to get it just so, but it was worth it – now the voltmeter is accurate to a needles width over the full range of 9 – 16V. Happy Days! One more job to tick off the must-finish list. 😀
I really can’t say how much I appreciate Andy for thinking of me and ABSL for letting this power supply go to a complete stranger, I look forward to putting it to good use and hope that some of the tinkering on the workbench can make its way into other Caponords.
Flat-line dashboard
 With just over 82,000 miles on the Caponord, the dashboard died. Yes, while about to set off from a rather innocuous little shop car park on a hot and humid afternoon, the dashboard shuffled off its mortal coil … Curled up its toes, bought the farm – as dead as the proverbial Dodo.
On the way home I mulled over the possible cause, was it the additional microcontroller/hardware I added in 2013 or simply a failure of some part of the original Magneti Marelli circuit board? By the time I got home, I had a few possibilities rolling around my head, but nothing concrete. 15 minutes after cutting the ignition, the dashboard was on the test-bench.
Ultimately the fault was traced to a ‘Via’, a hole where a signal/power track passes from one side of the board to the other. In this case, where there should have been 12 Volts, there was 2 Volts! A simple wire link bypassed the problem and the dashboard popped back into life.
So is it a design flaw or manufacturing defect? I’d say probably a bit of both! Below is a photograph of the faulty area on a Mk1 and Mk2 board. Notice the Mk2 (right hand) has a much larger track area AND has 4 Via’s instead of the Mk1’s single Via bringing power from the top of the board to the underside. All well and good BUT both boards still only have a single Via (red dot) to pass power to the regulator on the front ……….. And it’s this Via that failed!

It seems that this was known to be a troubled area and was re-designed …. sort of. But the fact that the last Via was never upgraded, simply left this as the weak link – unfortunately, one of many on these boards!
Anyway, this one’s a runner for now ……. and that’s a jolly good excuse for a run around for an hour or two to thoroughly test it out! 😀
Stuff …. 6 months and 12 months on
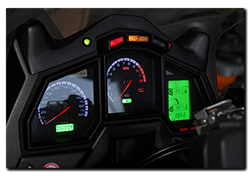
 A couple of anniversaries this week ….. firstly the dashboard. Yes a full 12 months since it was finished and put back into the Capo for the last time, resplendent with its new inlay to complement the electronic changes. The auto-dimming back lighting and split indicator repeaters have been absolute winners – I couldn’t go back to a standard board again without missing them. Moving the side-stand and low-fuel lights to accommodate the twin indicator repeaters has had no impact, positive or negative. The voltmeter has been a different kettle of fish …. generally unused as the Sparkbight battery monitor handles voltage feedback when riding around – however it has proved a real benefit during start-up when the dashboard goes through its self-test phase. Now it’s become second nature to eye-ball the tacho needle to see what the battery voltage is pre-start. >12.6v and I know I should get a good kick from the battery!
 The second anniversary, although shorter at 6 months and a tad over 11K miles, is the MCCruise cruise control. After a rushed install (not clever) I knew I had a heavier throttle than pre-installation ….. this was purely down to throttle cable routing and nothing to do with the cruise control itself. It simply didn’t like being re-routed behind the radiator, so I gave up and relocated the CIU (cable interface unit) to a new location by the throttle bodies. Now everything works fine – a light throttle and a happy cruise control. It’s been 100%
  reliable and functional. As a demonstration of its finesse I ran the bike in 1st gear at 25mph and let the cruise control take over the (100 horsepower!) throttle – all I can say is WOW! I would never have believed that the system could have the sensitivity to operate the throttle with such precision, but it did – up hill, down dale – never an ounce of jerkiness. Ok I admit no one wants to ride around in 1st gear …. but as an experiment, it proved to me that MCCruise have indeed developed an absolutely fantastic piece of kit.
Dashboard repairs
 Yes I admit it here and now, I’m doing a U-turn – a full 180° – and NOT stopping dashboard repairs at the end of January 2015. Jeez …. You’re thinking, I wish this chap would make his mind up!!
Why the change of heart?
A couple of reasons actually …. Firstly, a few emails over the past couple of weeks that have made me reflect on the initial decision, secondly a Christmas card. Yep – a lowly piece of card with a simple season’s greetings from a Capo owner in Finland.
Risto sent his board over almost 18 months ago and by all accounts is happy with the work done and each Christmas he has sent a card. That connection across the continent would never have  happened without the dashboard repair service. This year I opened the card and felt a twinge of regret, uneasiness, a sense that a decision I was making was the wrong one. The bottom line is that I would miss the emails/calls and involvement if I stopped something that I’ve been involved with since the beginning of unravelling the dashboard circuits.
Jan and I sat down and worked out some ways to free up a little more time and I’ve decided to put other projects on the back-burner for now. So I will not stop doing what I’ve done for almost two years ….. Give folks a grain of hope that a piece of their pride and joy can be repaired or upgraded. Sorry for the wobble, but hey, I’m only human.
And Risto ….. If you read this, just remember that opening your Christmas card changed the course of moto-abruzzo as he staggers into 2015. That’s pretty awesome when you think about it! 😀
New fault code
A few days ago while doing a bit of investigating for an AF1 forum member regarding the tachometer signal from the ECU, more specifically what would he observe on a multimeter instead of an oscilloscope, I momentarily shorted the tacho line against the chassis with the bike running. The tacho shut down and the bike just kept chugging along quite happily – no EFI light, no tacho. Recycling the ignition bought the tacho back to life and it’s been fine ever since ……… but two points came out of this that may be of use to other owners.
- Check for a fault code with TuneECU – ‘P1386 Tachometer, open circuit or short to ground’
- When the ignition switch is first turned on the Tacho line should show a solid DC battery voltage – if you don’t see this the ECU may well have shut down the output to protect it. Only once the engine starts will you see this signal:-
Anyway, just a quick observation, a new (to me) fault code …. one to file away in the compendium of Capo facts. It certainly proves that the tacho signal isn’t just a ‘dumb’ signal, it’s one the ECU monitors and protects as neccessary by shutting it down.