Oils well that ends well

A last item remained on the Capo service ‘To-Do’ list … fork oil replacement, a job I hadn’t tackled before. It turned out to be a nice simple job, the only fly in the proverbial being the Aprilia document itself ….. or to be more exact, the amount of oil specified in the document.

Firstly lets clarify terminology – the shiny 50mm shaft clamped to the bike is the ‘fork tube’, the painted part that holds the wheel/mudguard is the ‘fork slider’. The complete thing is the ‘fork leg’.

Removing the wheel, mudguard, crash bars and lower fairings only takes a few minutes and with the bike snugly supported below the sump guard, it was time to remove a fork leg. Tip1 – break the seal of the fork cap first (19mm socket) before dropping the leg out, Tip2 – only remove one leg at a time, it makes both the job and re-alignment much easier. Releasing the clamp bolts with the bodywork removed as you can see from the pictures, also makes for less hassle, swearing and knuckle grazing as well!

Once out, secure the leg vertically and remove the cap completely. I found it easier to hold the cap still and rotate the fork tube anti-clockwise to do this … don’t worry, nothing pings out under spring pressure on this type of fork. Once undone, you can let the tube drop down, oil won’t pour over the brim. Next, you have to remove the cap itself from the damper rod … use a 19mm spanner to break the seal between the locking nut and the cap. Once done, you can remove the cap by hand – again, don’t worry about spring pressure. The spring releases all it’s tension before the cap comes off.

Put the cap to one side and slide the spring out – make sure you have plastic inserts still attached at each end. Do it slowly to allow the oil to drain back down the coils and back into the slider … much less messy! No doubt the damper rod dropped into the slider, it’s not a problem. Now you’ve got to drain the oil out. I place a finger across the end of the tube to catch the damper rod and spring spacer while draining the oil. Once drained, tip the whole thing upside down and catch the spring spacer – careful the damper rod doesn’t shoot out and damage itself by hitting the bench. After pumping the slider/tube and damper rod, several times leave the leg upside down to drain for at least a few hours.

Clean everything and when you’re ready, start the refill. Now the book says to refill with 680cc of oil – 130mm below the lip of the compressed leg. The problem is that if you do this, oil will pour over the rim of the tube – clearly wrong! The book is also very woolly regarding oil grade and never mentions the grade that was used by the factory. Comparing the old oil to 5/10/15/20w fork oil, I’m pretty confident they used 10w, however I chose to use 8.5w based on load and riding style. After some experimentation and riding, this is the refill that works for me (updated 03/09/2014).

  1. Insert the fork spring spacer and compress the leg completely.
  2. Fill the leg to a depth of 115mm ±2mm (130mm ±2mm in the book) – blended 8.5w fork oil works for me. This is approx. 600cc of oil (580cc for 130mm air gap).

Remember to extend and compress the leg / damper rod while filling to expel as much air as possible. When done, rebuild and refit the leg. Repeat the exercise with the other leg. One fork leg controls rebound, the other compression damping – stripping is identical though. Don’t forget to torque the clamp bolts – 25Nm (18ftlb). Reassemble the mudguard, wheel, brakes and bodywork and sit back and relax, celebrating a job well done with a nice cool beer!

UPDATE 21/07/2011

In hindsight, the original oil may well have been closer to 15w …. the only thing touched outside the factory on this bike was the fork recall at 600 miles. The oil the dealer used and the oil used by the manufacturer may well be different!

Since then, I’ve replaced it for a blend that works out at 8-8.5w …… and it’s bloody fantastic! The bike tracks well off-road and both front/rear suspension work in unison on-road. The blend used is Motul  5w (78%) and Motul 20w(22%) with a combined range of approx. cSt@40c = 29 and cSt@100c = 7.5
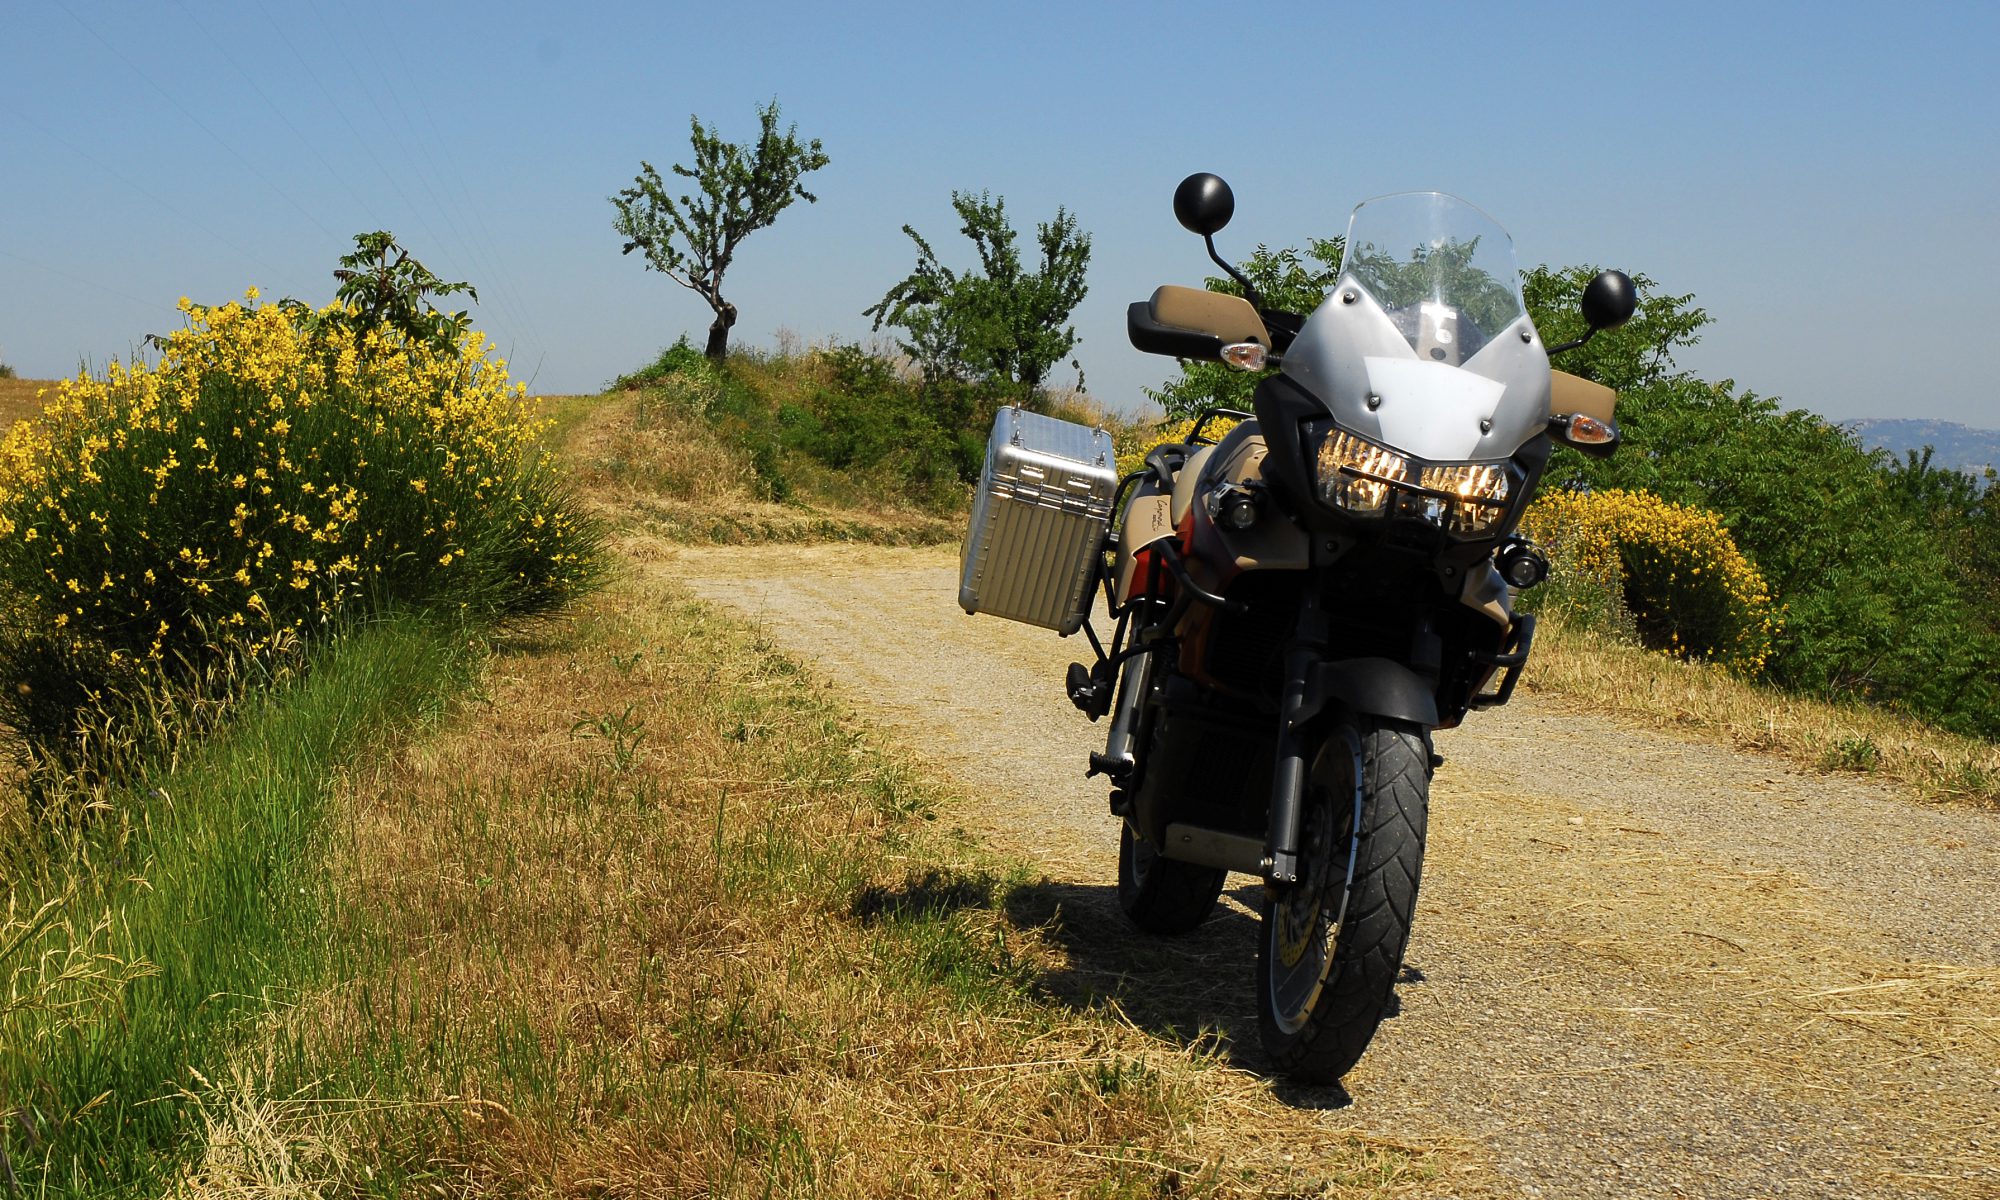
Linking out loud

The left hand link pipe on the Quill Exhausts has never fitted correctly (it hit the swing-arm & side-stand) …. nor sadly, did the manufacturer show any interest in sorting it out. So a friend kindly offered to make a new one to replace this sad excuse for British workmanship. And here, admittedly not looking like much, is the template link pipe that I’ve just trialed on the bike for a few miles.

It fits, it doesn’t foul the swing-arm … nor does it leave one silencer sitting 30mm further back than the ‘official’ one does! Soon, a few will be made from the same 2″ stainless steel as the original, then they and the silencers will have new mounting lugs welded on to make the whole system a nice snug fit with no nasty dirt-trapping straps in sight. Gone will be the days of wasting ages tweaking and tapping to get them all to line up ….. they’ll now slide on, bolt up and be done, fit and forget in a few minutes – smashing!

After demonstrating their enthusiasm for after sales care, would I want dealings with this manufacturer again …..

Thinking inside the box

Aprilia Caponord ETV1000 Rally-Raid - arti-farty pic!The Rally Raid comes as standard with luggage – Aprilia badged Hepco & Becker ‘Alu-Exclusive’ luggage to be exact. And pretty good it is too … if a little wide. Each of the panniers – from Aprilia £421.02 each (unbadged – £317.25 each) holds a quoted 41L but in fact holds nearer 28L once you take into account the room lost to the foam lining. In fact that lining is one of the case’s endearing features. It not only provides added rigidity to the case, but also makes it very thermally efficient – excellent for keeping stuff cool on long hot ride-outs.Aprilia Caponord ETV1000 Rally-Raid Hepco Becker Alu Exclusive hinge

The lid hinges forward about 120° to a stop – a nice touch that prevents the lids dropping down against the pannier body and stressing the hinge. A single locking latch keeps the lid locked tight against the weather seal which, though not completely waterproof does a damn good job (rain for 1,500 miles/24hrs and only let in an egg-cup full).

So far so good … but now the not so nice bits. Firstly, the pannier is only held in place by one latch. A latch that can be easily broken in a low-speed ‘off’, leaving the pannier to fall away to its lonesome fate bouncing down the carriageway. Secondly, fitting water bottle frames etc. That foam liner now becomes a pain .. you either have to remove it, or drill it Aprilia Caponord ETV1000 Rally-Raid Hepco Becker Alu Exclusive hingeto fit screws/bolts through . I used a tool that takes a 10mm ‘core’ out, then re-glued it into place – neat, but fiddly. Lastly, the rigidity the foam provides – it’s deliberate . As the aluminium body is thin, VERY thin .. like 0.5mm thin, it needs the foam to hold its shape. That means that in a spill the cases deform alarmingly easily as the aluminium has no strength of its own – not good at all.

This all leads to the question of upgrading the pannier system. I want to use the original frames and just replace the boxes. I don’t want to compromise on space or water-resistance, but I do want to improve on pannier strength – albeit at a slight weight gain. I want boxes that only scuff, not crush like a bag of crisps when the bike drops on its side …. and are relatively burst-proof when faced with a BIG impact – sadly, the Hepco-Becker has neither of these virtues.

Here are the systems I’ve looked at:-

Hepco & Becker – straight swap, different models but mass produced to a budget. Up to approx. £550 per pair.

Touratech – Easy to fit with provided kit but expensive and living off their name. Up to approx. £600 per pair.

Caja Sahel – Hand made and easy to fit with Touratech mounts. Powder coated with tie-down points provided. €450-550 per pair.

Project VND – Hand made and easy to fit with Touratech mounts. Anodised finish with hinged and removable lid. £500-600 per pair.

Metal Mule – Nice, but expensive and needs dedicated mounting system. System from £1,300!

Aprilia Caponord ETV1000 Rally-Raid - CAD panniersOr the other option … design and build your own! Well almost. I’m happy to do the designing bit, but manufacturing is a tad more complex, at least to get a ‘factory’ finish …. and frankly, my aluminium welding leaves more holes than welds. So I’ve enlisted the help of a local metal guru to turn my drawings into reality … and when finished, they’ll look something like this.

500mm Long x 430mm Tall x 250mm Wide (using 2mm aluminium) ….. so the same width as the originals but longer and taller, giving a (hopefully) usable volume somewhere around 47L each. They’ll be mounted to the existing 15mm dia. rails with Touratech mount kits (01-053-0010-0 approx. €47).

Service time

With 36,195 miles now on the clock, the Capo was due its service. Another biggie …. the one with the valve check. Well after an uneventful days spannering, I’m happy that the whole thing went to plan. Nothing’s broken ….. no nasty surprises … just a straightforward service as per the Aprilia manual. Until now I’ve used the Agip oil as specified in the handbook, simply because it’s easily available here in Italy …. this time however, I’ll be running Castrol R4 10w50 fully-synthetic that I bought back from the UK.

As the bike is now 7 years old, I decided on replacing some of the seals and gaskets displaced during servicing – not because they leak, just getting old. These included both cam cover gaskets, the oil filter cap seal and both air box seals. Also on the list was a replacement magnetic drain bolt …. they seem to seize solid in place and take a real beating to get off. As you can see, after several services my old one had seen better days!

The valve check took a couple of hours taking it nice and steady. As it turns out the valves are all in spec at the moment and have hardly moved since the last service. Aprilia calls for the check at 9K mile intervals …. I think I can sleep easy leaving them alone for the next 12K miles as the Rotax engine is notorious for having stable valve clearances – and mine seem to agree. The Iridium sparkplugs came out to make hand-cranking the engine into TDC easier …. they looked fine and went straight back in. Iridium plugs might be expensive, but they do last well!

Although not called for … the fuel filter and fuel tank gasket were changed. Not too hard, but re-using the ‘click-clamps’ on the hoses is ‘challenging’ to say the least! I ended up using a modified set of tile-nippers. As far as I know you have a choice of alternative filters that can be used …. the Ducati item (42540101A) is a straightforward swap, while the  Ryco Z200 / Baldwin BF1049 filters can be persuaded to fit with a little modification (untested by the author).

If you’ve ever wondered what exactly is in that very expensive plastic cylinder …. then here you go.

Last item on the engine to-do list was  balancing the throttle bodies …. and they turned out to still be nicely in sync – fantastic! So as the sun set behind the barn, I left the old girl burbling away happily while I took the dogs for a walk.

Tomorrow, a last quick check to make sure everything is oil-tight and that’s that for another few thousand miles.

PARTS USED

Genuine Oil filter (long) – AP0956745
Oil filter ‘O’ ring – AP0650500 (size 62mm O/D, 2.5mm cross section – (£3.90+VAT for 2 from simplybearings.co.uk)
Magnetic drain plug – AP0241782
Genuine air filter -AP8104169
Air box seal -AP8120615 (comes as a single length you trim to fit)
Genuine FIAAM FT5452 fuel filter – AP8102971
Fuel tank seal – AP8144478
Valve cover seal (x2) – AP0650345

Triennial reflections

Another couple of ticks of the great celestial clock will see the Capo and I celebrating our third anniversary. Something of a miracle, as over the years my bikes have averaged about 12 months each. In fact the Capo now equals the previous record holder – the Triumph Trophy 1200 and will no doubt storm on ahead to claim the crown.

So why have I kept it so long? Well, truthfully, a few reasons …. moving to Italy and a change in lifestyle for one. Secondly, riding motorbikes was no longer to be my source of daily income, but mostly because it’s a damn good all-round machine that suits my riding style at this time in my life.

By sheer luck I heard about an RR languishing in a garage in Southern France, UK-registered and unbelievably low mileage. Contact was made, photographs were emailed and finally on a dismal day at the dawn of 2008, I said goodbye to the Blackbird and stood freezing my nuts off admiring the RR, freshly delivered from Lyon to Oxford. Within 24 hours we were  off the ferry and tanking down through France together, panniers fit to burst and a spare pair of tyres strapped on for good measure …. this was most certainly going to be a make-or-break relationship.

Well of course we bonded … and three years and over 30K later I can’t see me  changing  it just yet. Simply put, the Capo works fantastically as a luggage toting motorway mile-muncher and even better on the mountain  roads where its flexibility and torque by the bucket give me all the fun I can handle. And yes, there’s no getting away from the fact that it tips the scales at a knee trembling 250Kg … but it’s still surprisingly usable off-road, like anything, you just have to get used to it!

I’d like to end by saying that in today’s world, the internet plays its part in the ‘ownership package’, and on that point the support and friendship of the AF1 Caponord forum is second to none … if you’re in the market for a Capo,  don’t read the rag-mags, or listen to anecdotal “I had a mate who…..”, visit the forum and get genuine first hand info. Some of these guys have topped 100,000 miles!

So what’s 2011 going to bring …. maybe a trip back to the UK, but the jewel in the crown looks like it might be the ACIM Caponord International meeting in Portugal. If it all comes together, we’ll overnight in Barcelona on the way and maybe, just maybe, we can rumble into the Gothic Quarter and quaff an ice cold beer at Bar del Pi ….. bliss!!!

Who could forget ‘Little Tibet’

Over the past few weeks the old Capo has had its ECU (brain!) pummelled, all in the name of research. The release of  the freeware program – TuneECU, saw a flurry of activity as some of us tested its functionality against the long-serving TuneBoy package.  I can say without conviction, it works, it’s stable …. in fact it’s now my programming tool of choice for the Capo.

So on a lovely sunny and warm Friday, while Jan was away in Rome, I decided it was about time the Capo got a run to make sure everything was ok and it wasn’t short of a few marbles after all the brain surgery. I wasn’t sure how low the snow line was  on the Gran Sasso, but I guessed it was worth a look.

Duly suited’n booted I headed out toward Farindola, then detoured through Macchie and Vicenne on some very narrow and deserted mountain tracks. The heavy scent of damp woodland giving way to a wonderful aroma of burning logs as I skimmed past lonley building not yet abandoned to the mountain. Back at the main road I turned west, climbing through Rigopano and the eerily atmospheric woodlands, finally popping out at the top with a view of Campo Imperatore (Little Tibet) that never ceases to amaze. When I left home it had been a balmy 19ºC, now it was down to 3ºC …. the ‘Halvarssons’ suit kept me toasty and it was a good excuse to test the heated grips!

The roads coming up are sadly in a terrible state and made all the worse with lots of leaf mulch and a fair sprinkling of rocks and bits of tree. They are however thankfully quiet … I only saw one other vehicle on the way up, so you can take advantage of the whole road to pick the best bits. The roads on the West side though are another story, sweeping bends, fantastic surfaces and excellent visibility.

I stopped for a while, just enjoying the tranquillity before heading down to Castel del Monte, a quick refuel then onward to Villa Santa Lucia Degli Abruzzi, Offena, Brittoli and towards home before dark. If I said I saw half a dozen vehicles the whole way, I’d be exaggerating! In the end I’d really tried hard to stick to bobbling along in ‘tourist’ mode ….. I couldn’t resist it any longer ….. I just had to go back up the road, turn around and give those bends a damn good spanking! The Capo runs beautifully, pulling like a train and happily using the extra 1,000 RPM before the rev limiter kicks in. Only thing to sort out is a slightly nervous tickover,  a smidgin more fuel added on the ‘Idle trim’ should sort that out. Happy days!

Back in the barn, the Capo is contentedly ticking away to itself as it cools down, while I tweak the map in the ECU one last time. Then it’s lights out, night-night old girl ….. till tomorrow.

‘Ow long’s the mot boy?’

I think it’s fair to say the last two years have fairly whizzed by ……it’s hard to believe that in September 2008 the Capo first wobbled out onto the Italian highways with its new ‘targa’ (registration plate). The next ‘revisione’ (MOT) would be in Sept 2010, two years away and no more than a passing thought. And now it’s here, dragged kicking and screaming into reality on a balmy Saturday morning.

I finish my second ‘wake-me-up’ brew, faffing about over documents and thinking about what to expect … is the old girl indeed as road worthy as I like to think? I hope so, I’ve spent a fair few hours over the past weeks checking this, fettling that and oiling the other. I’d be miffed if they do find anything … or would I in fact be offended, my rickety chair of motorcycle mechanical superiority kicked from under my feet … left dangling on the rope of the tester’s bureaucratic whim and devastating ability to empty a wallet quicker than a Vespa sump. No fear, I’m not having any of that! So to be safe, I’ve remapped the fuel injection for emissions and generally returned it to ‘factory’ condition. ‘I’s crossed and ‘T’s dotted, nothing left to chance, all very secret squirrel actually.

As I’d not been through this particular delight before, a neighbour kindly went along to pave the way. On arrival I handed over the ‘Carta di Circolazione’ (logbook) and we wandered off for a coffee – they don’t like being watched … I was told.

Coffee over (remember, they’re small cups!), we walked the twenty meters or so back to the bike, still basking in the rising morning sunshine. Time ticked on and a few cars came and went. A van went into the bay marked ‘revisione’ in big red letters – the only bay for revisione – the bay my bike ought to be in by now I thought. My neighbour and I chatted, each trying to hide the mild irritation that nothing much seemed to be happening to the Capo, despite the two minute promise, half an hour ago.

Then activity … a chap wanders out of the dark bowels of the office waving a logbook around, my logbook. Is this yours? Yep! 65 Euros please … and that was it, done. A little sticker attached telling me to sod off for two more years. That was painless. How were the emissions? Fine. Brakes? Fine … all fine in fact, nothing to worry about, a lovely bike … bye-bye.

So I thank my neighbour for his time and as he drives off, I get kitted up, clamber on board and lift the side-stand, it folds away leaving the little ‘x’ scratched on the tarmac … the little tell-tale mark I’d made just before wandering off for coffee.

Damn if the tester hadn’t parked it RIGHT where I’d left it …………

………. now that is skill. See you in 2012, Ciao, Ciao!