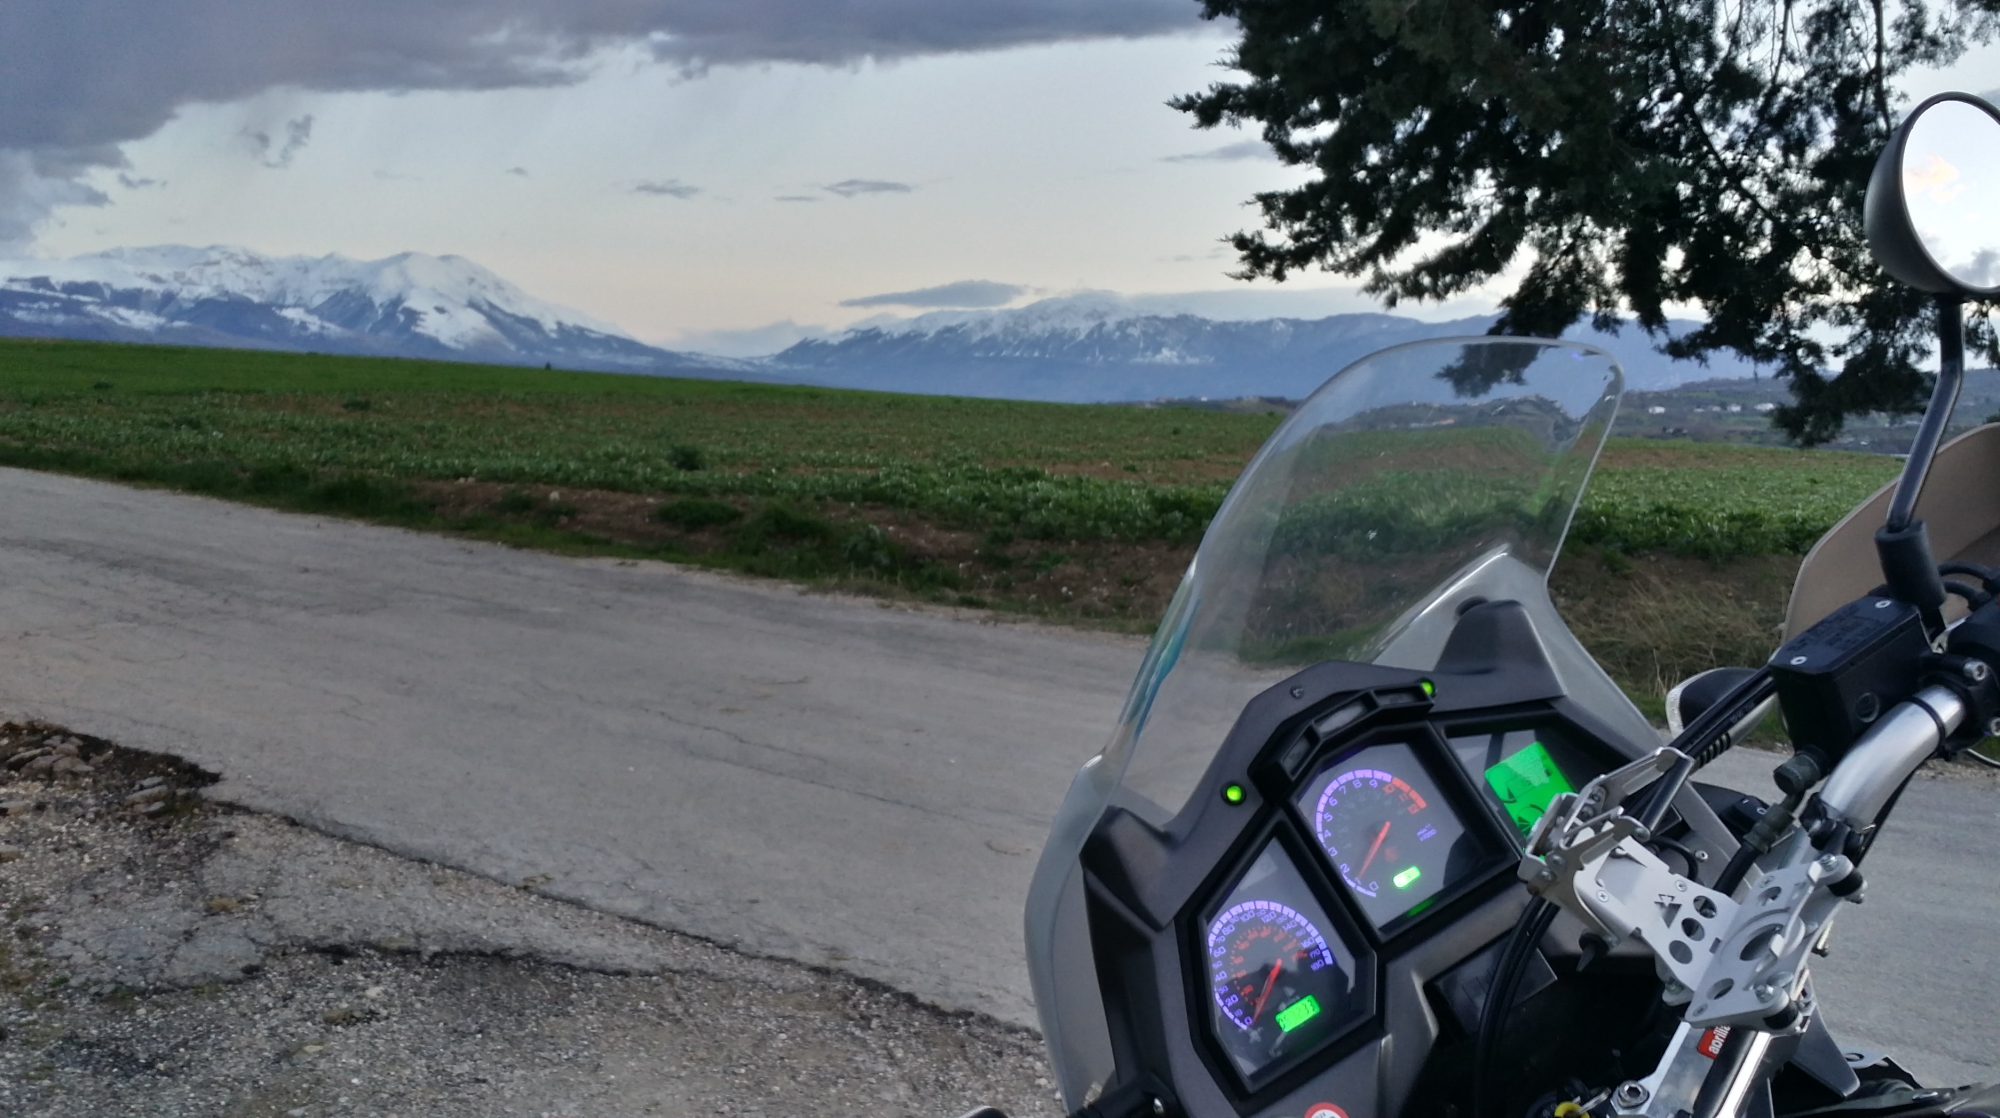
Time for a change – 2012

It’s that time for reflection as one year fades into another, time to take stock of Moto-Abruzzo and in what direction I want to push it in 2012. Well to start with, I guess I have to think back to exactly what got me motivated enough to start the blog in the first place. It was (and still is) my Caponord Rally-Raid of course. I had this idea to write-up my own experiences, nothing anecdotal from others, only what I knew and experienced first hand. To that end it’s been quite successful – but limited, if nothing needs tinkering with, or breaks … what do I write? And that’s the Achilles heel of the blog.

So for 2012 I need to expand, to keep the blog fresh, to introduce a little pace …. but I don’t want to lose the essence of what I started. After plenty of dog walking and time to reflect, these are the meager ideas that popped into a tired mind.

  • Abruzzo: More content, but from the perspective of a bikers eye. Abruzzo websites/blogs abound with more general info than I could, or want to accumulate …. but none are from a bikers viewpoint as far as I can see.
  • Caponord: I’ll stop taking the mundane jobs for granted, everything is questionable to someone. So I’ll cover the basics with text/photos/video/3D to add more depth to the Capo content. Simply put … more detail.
  • Blog layout: Devote a little more time and effort to increasing the blog look and speed for mobile/smartphone use. The technical content may be useful when you’re stranded by the side of the road! Mobile content is where it’s all heading I guess.
  • Mystery project: Yep, the one and only. The dusty canvas draped over the mysterious artifact that gently pulses and hums hypnotically in the shadowy corner of the barn may well be pulled back to reveal ………… all in good time!

So I hope dear reader, you’ll still pop by now and again and see what’s new, maybe drop me a line – good or bad. Constructive feedback can only help move the blog and it’s content forward. Layout or display issues would be very useful …. I’m no internet wiz-kid. I’ve an ageing laptop running Vista and access to a couple of old clunkers with Windows XP. Combined they let me see the site in Firefox, Explorer and Opera but I’ve no idea what it looks like on Windows 7 or any other browser. Time to upgrade? Yeah, you may well be right…….
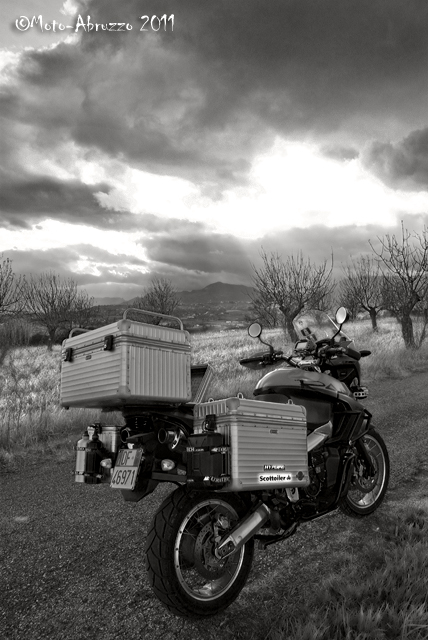
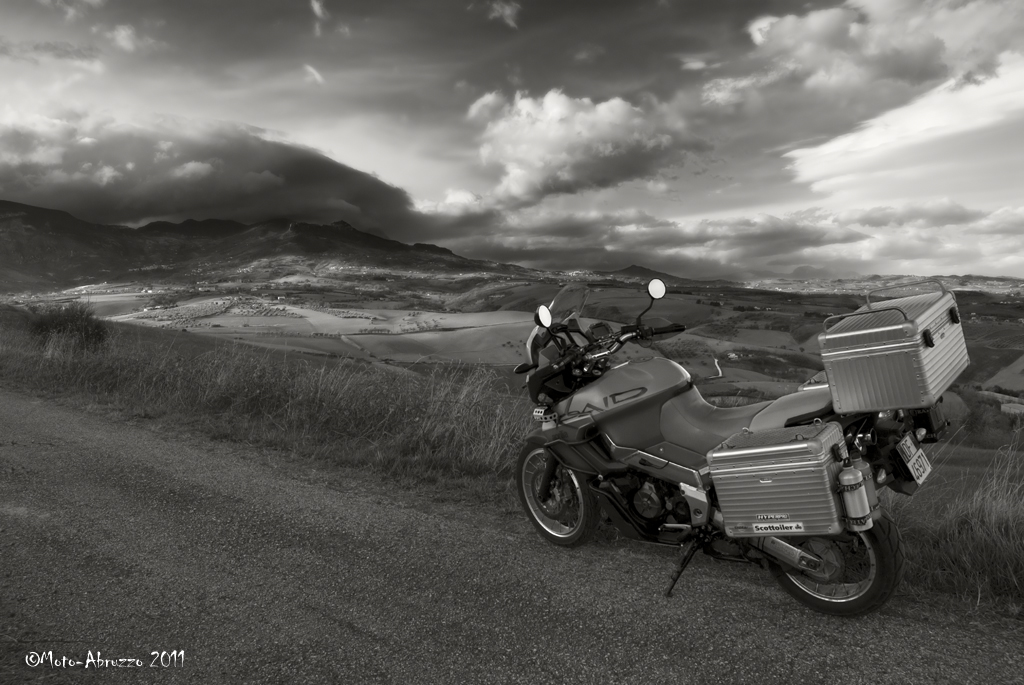
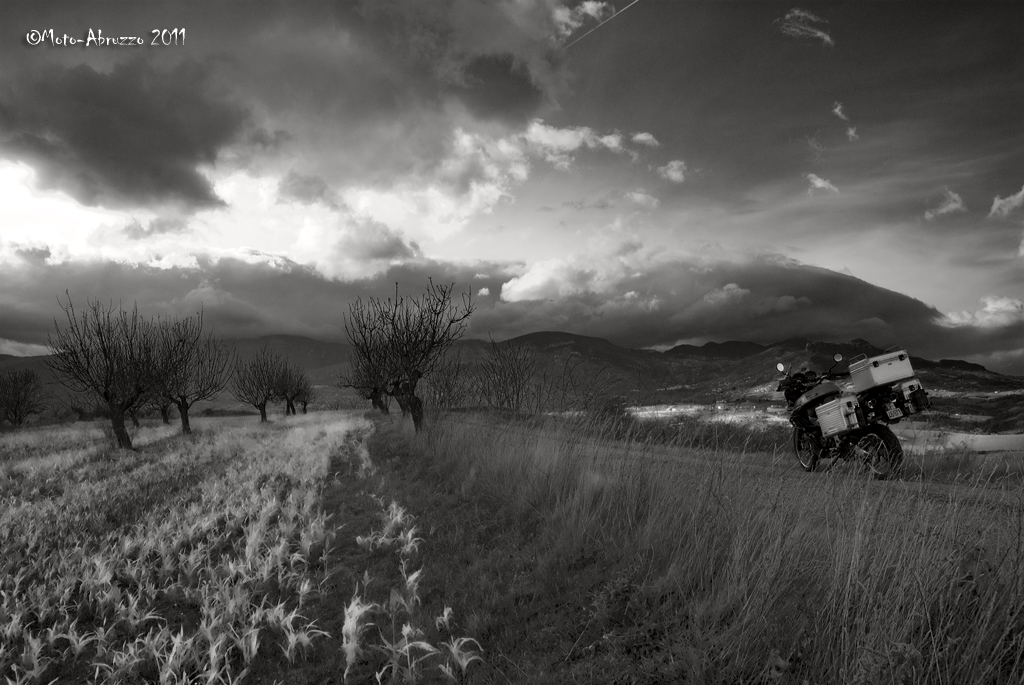
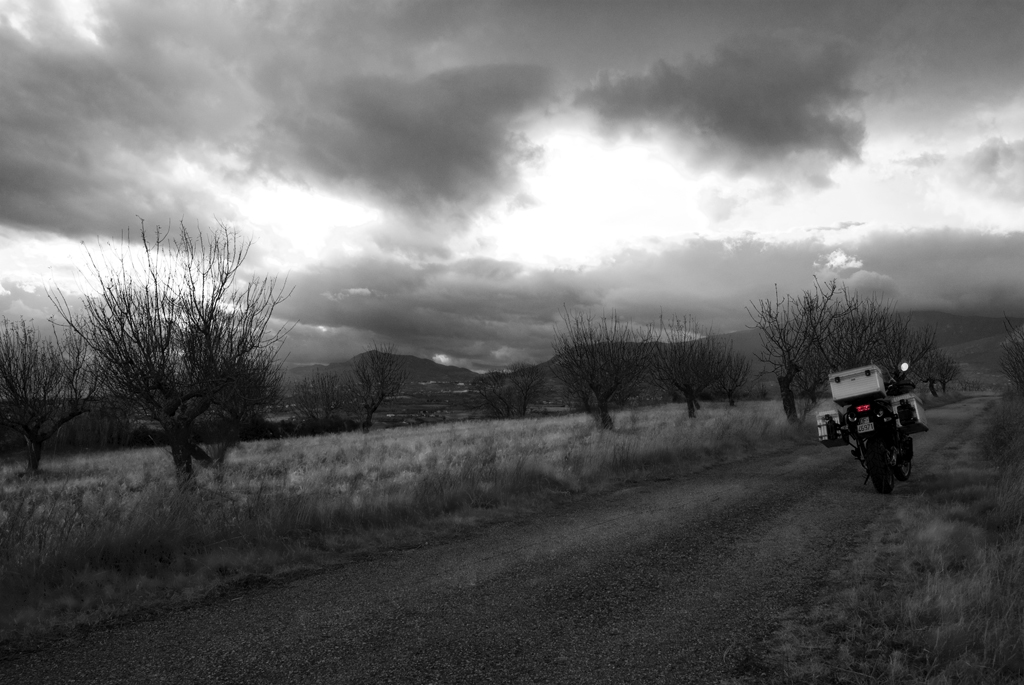
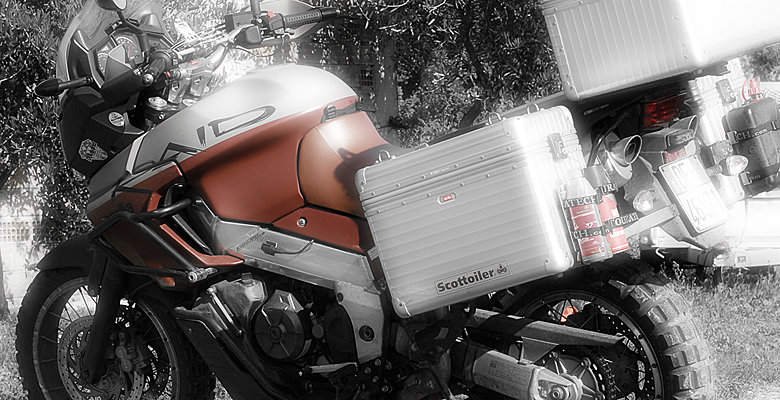
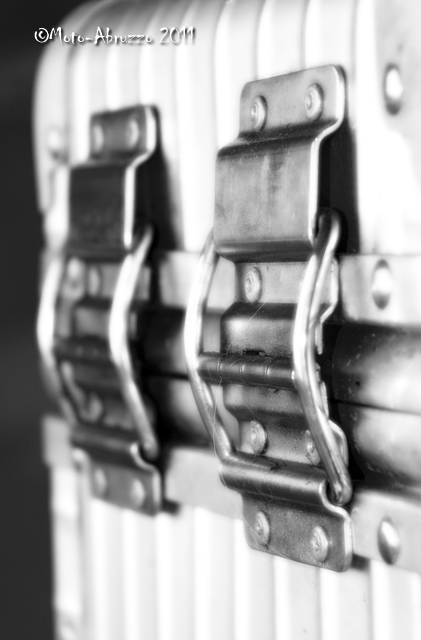
A warm, windy and atmospheric December day, that was ideal for a nice ride out and few moody pics dropped to black and white. Picture 2, looking over the saddle …. I can see my house from here!
 

Motolombia – Colombia Motorcycle tours … on a Rally-Raid!

Occasionally I get emails asking for info or help and I’m more than happy to assist if I can. Frankly, I’m flattered that people think I have something to offer. The other day, Mike from Motolombia contacted me about his Rally-Raid ‘Bella Donna’ ………. and frankly, it knocked me for six! For the past couple of years or so, I’ve followed the adventures of Mike and ‘Bella Donna’ – their highs and lows as he travelled extensively, finally planting roots in Columbia. Now married with two children he’s the owner and driving force behind Motolombia Adventure Motorcycle Tours.

It’s been a real delight for me to make this connection across the continents and I hope that if all things work out, next year I can visit Columbia and we can sink a cold beer or two. Mike and ‘Bella Donna’ have proved beyond a doubt that the Aprilia Caponord is as capable as any bike out there at this over-landing lark. Please, take a moment and have a look at his site – especially the videos. What a beautiful country! www.motolombia.wordpress.com

Quill Exhausts – new straps in a Jiffy!

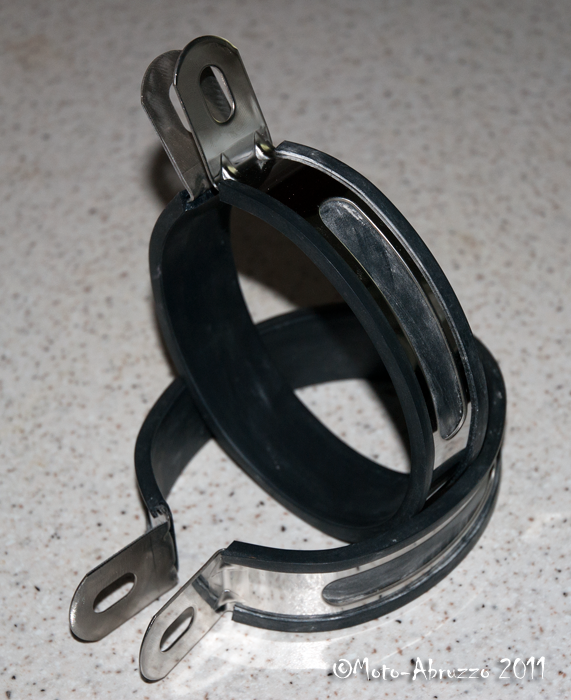
It’s nice to write something positive especially when it’s a British company involved! Some of you may remember that I didn’t have the best of dealings with Quill Exhausts in 2009. Well last month I contacted them again by email and this time – wow, what a difference! I enquired about a new silencer strap as I lost one and have been using a flimsy ‘universal’ one since. In the end I got two …… free ….. yes, free! Just send a pre-paid jiffy bag and we’ll have them in the return post, I was told … and sure enough, a couple of days later they arrived. So firstly, thank you James at Quill Exhausts for your exemplary customer service and quick email replies, I’m very impressed, thank you. And secondly, thank you to Jim Smith (Abbey Motorcycle Instructors) for sending the Jiffy bag on my behalf, you sir are a star!!

The Nautilus pays for itself!

Years ago I was reversed into …… a HGV stopped on a main A road, we and the traffic behind us stopped as well. Then he reversed. Instinct 1 – horn, instinct 2 – bale out, or be crushed. As accidents go, being reversed into is quite a slow affair, time enough then to process the outcome, time enough to let the dread take hold. My step father and I were lucky, trapped by the car behind with nowhere to go, a quick thinking German jumped the line of traffic and drove alongside the tractor unit with his horn blaring.
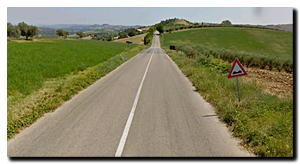
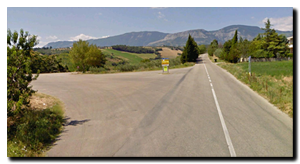
Role on to yesterday ……. heading back home on the heavily laden Capo. I take a right turn onto a decent section of road I know well. Ahead is a HGV. He’s moving at a reasonable speed and I’m in no hurry, so I settle on the crown of the road about 100m behind. In about 2Km I’m turning left (pic. above), about 75% of traffic turns there …. So it’s quite conceivable this chap will as well. In my mind I’m setting up for the overtake once we’ve settled down after the turn.

We approach the junction doing about 70Kmh and his left indicator starts flashing. A second later I indicate as well. He starts braking and I back off the gas. I’m thinking he’ll shave off 20-30Kmh to make the turn. As you can see from the picture above, it’s a wide open junction with good visibility.

Then things rapidly unravel.

I’m still at the crown of the road, so I can see his mirror clearly …. And the fact that he’s scrubbing off way more speed than I’d anticipated – he’s stopping! I’m now about 30m behind.

He stops …. I stop about 15m behind, in clear view of his mirror. He’s still indicating left.

Then it happens. The engine revs, the reversing lights go on and with a lurch he’s accelerating backwards towards me.

It takes 0.7 seconds to process and react so they say.

14m, 12m, 10m ……..my thumb hits the horn button …… and the Stebel Nautilus sings out. It echoes off the back of the truck and floods through my earplugs, it gets the job done. Sleeping Beauty is awoken from his afternoon siesta by the 139db kiss on his delicate eardrums.

And just like that, the situation is defused, my pulse falls as I ride away and I realise my tongue is well and truly stuck to the top of my desert-dry mouth. The weak knees and tremors take a bit longer to fade away.

Why this muppet did what he did I have no idea, the nearest entrance behind us was about 400m and anyway, the junction is so spacious and quiet he could have turned around easily. I guess I’ll never know what thought was crossing that barren wasteland called his brain.
The question is, would the situation have had the same outcome if I hadn’t recently fitted the Nautilus …..

A datalog slog

As many of you are aware, last year was a breakthrough one for Capo owners because we got the fantastic (and free!) TuneECU software. One thing we haven’t got though, is a datalogger …… the only thing I’ve seen to date is the very basic offering with the extortionately priced TuneBoy software.

One thing he did though, was supply the Visual Basic 6 source code with it – and that set the old brain cogs whirring once again. Could I turn my hand to programming and figure out how to do the job myself? Well it’s been a week or so and if I say so myself, I’m rather chuffed at the progress so far. It took a few days to get my head  even marginally around what the hell I was looking at … and a few more to port it over to a more modern (Visual Studio) software and deal with the additional problems that caused.

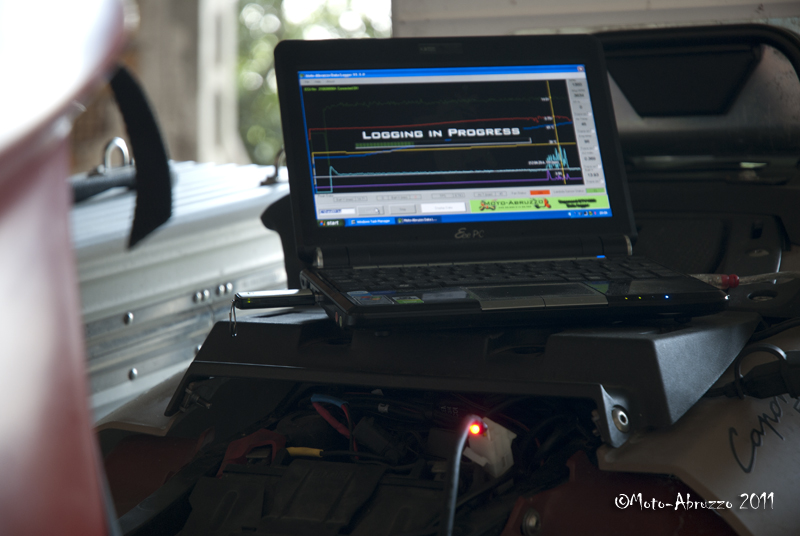
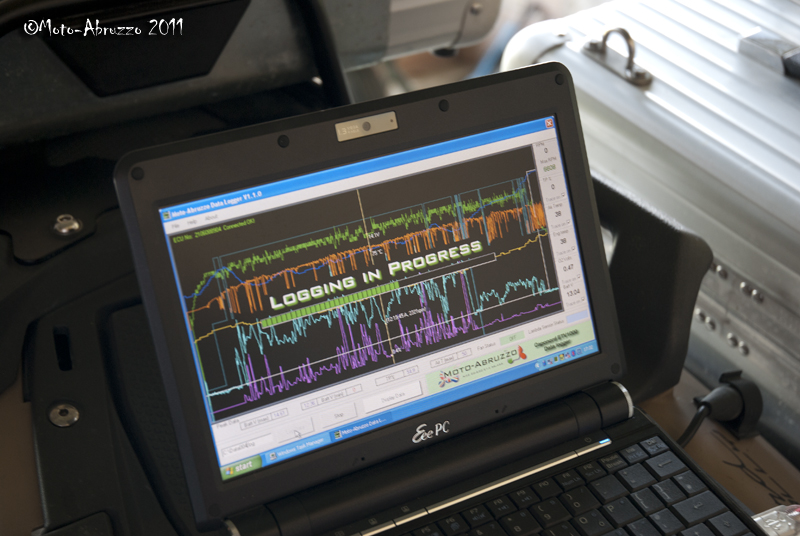
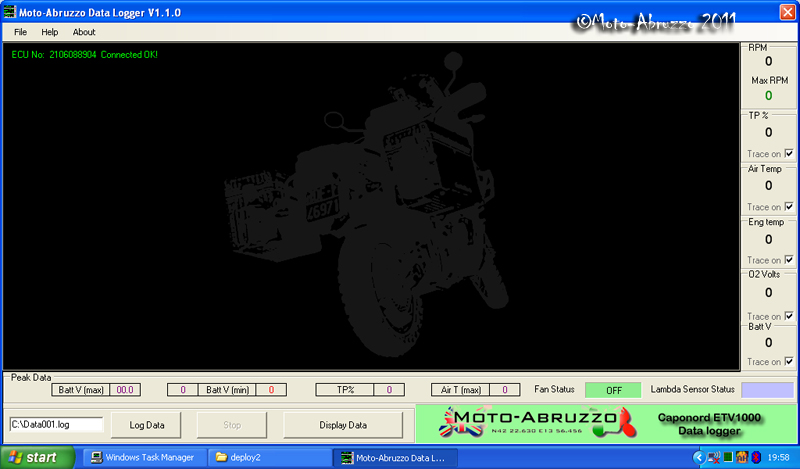
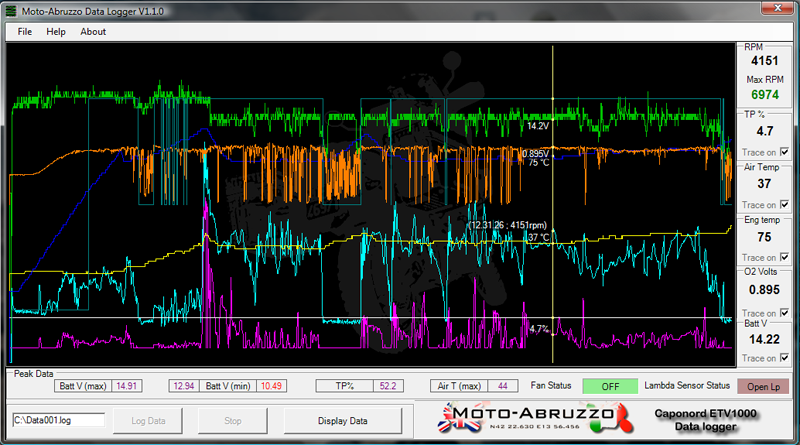
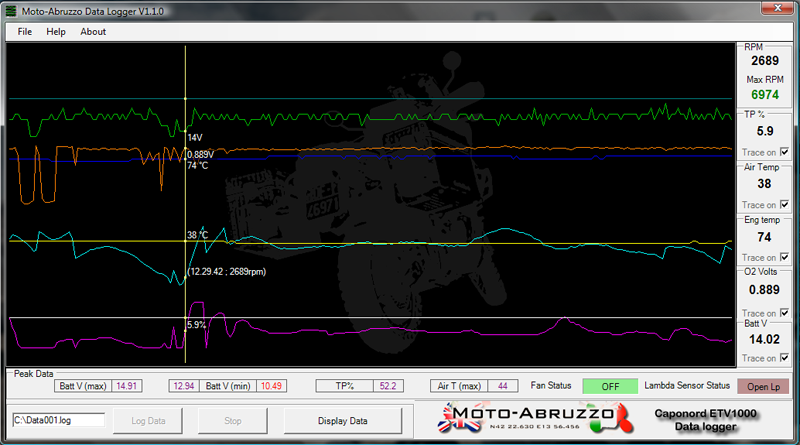
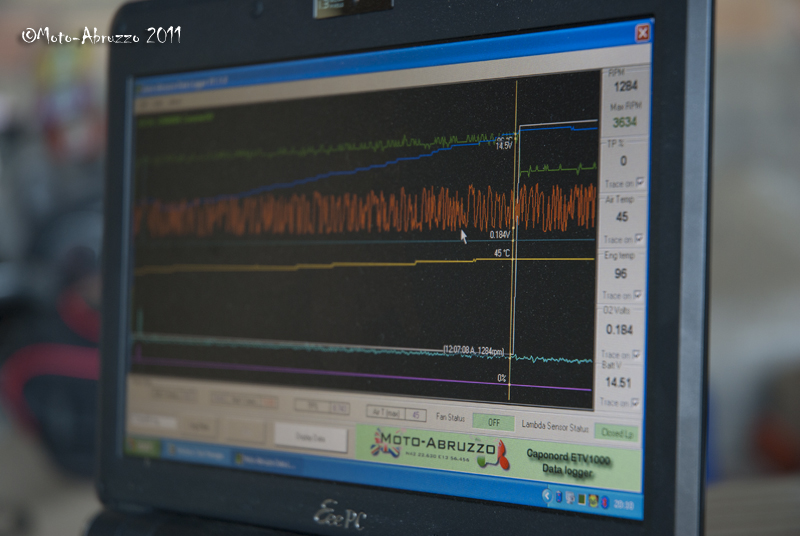
Anyway, here I am on a sunny Tuesday afternoon with a couple of screenshots from the little darling as it did the business with the Rally Raid.

So what’s it do?;

  • Logs RPM, throttle position, Air temperature, Engine temperature, O2 Volts, O2 Status, Cooling fan activation and Battery volts.
  • It also calculates and logs Maximum RPM, Minimum and Maximum battery voltage ( twice for minimum – starting and general running), Maximum Air Temp and throttle position.
  • The graph initially projects the complete data run and can be zoomed into for extra detail. The cursor locks onto the data plots and displays the reading from that point.

It looks as though data files are about 100Kb per hour in size, so storage space isn’t going to be an issue ….. unless your logging to a ZX81! There’s still more tweaks and twiddles I want to make but the majority of the work is done ….. the down side? Well, because it’s a derivative of the TuneBoy package, it uses the same modules to connect to the ECU – and therefore, needs the a TuneBoy cable. So if you haven’t got a TuneBoy cable …………………

Extra stuff I’d like to do;

  • Add GPS location/Speed data to the file from my Garmin.
  • Add a timecode or some way of keying the log to a video/audio feed.
  • Add extra analogue inputs via another USB – brakes, fuel pressure etc.
  • Tea making and cashpoint functionality ….. eh???

But of course, one step at a time …… chickens in, dogs walked and fed, play with kittens …. oh look it’s time for bed, maybe another day. Night, night.

The slippery slope to oblivion.

Aprilia Caponord ETV1000 Rally-Raid - slowly dissapearing from TouratechThe new 2011 Touratech catalogue turned up yesterday – well both of them actually. The main phone-directory tome (all 1,219 pages) and the positively sylph like ‘Timeless’ catalogue for “Enduros of the first generation”…. no doubt sporting a nice line in aluminium false-teeth containers and enduro incontinence pants!

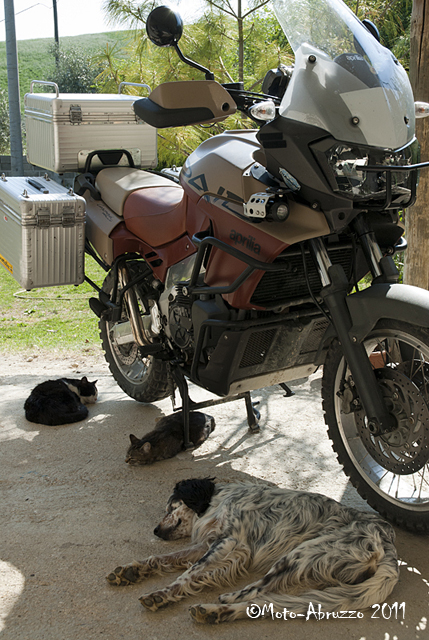
Well I thumbed through both … then thumbed again. Oh dear, it appears the Caponord no longer gets its own chapter. In fact its accessories are relegated to a chapter called ‘Travel Enduros’ …. us and the Triumph Tiger 955i. No longer worthy of our own pages we’ve shifted sideways to the Twilight Zone pending a place in the ‘Timeless’ catalogue of 2013 no doubt. Or are we destined to be wiped from the accessories catalogues for good?Aprilia Caponord ETV1000 Rally-Raid - good shade for the animals!

Some bikes of course become the darlings of the media, some the riding public – and some are  a hit with both. The Capo though, slipped through the net. Neither loved or hated by the press and frankly let down by Aprilia themselves by virtue of a poor dealer network, hardly the stuff that attracts hard earned dosh to swap sweaty palms. The public hardly got to see one, let alone try it … so the Capo came and went … and wasn’t missed with its passing. That, frankly, is tragic.

Oh well, mine still makes for a nice bit of shade ……

Oils well that ends well

A last item remained on the Capo service ‘To-Do’ list … fork oil replacement, a job I hadn’t tackled before. It turned out to be a nice simple job, the only fly in the proverbial being the Aprilia document itself ….. or to be more exact, the amount of oil specified in the document.
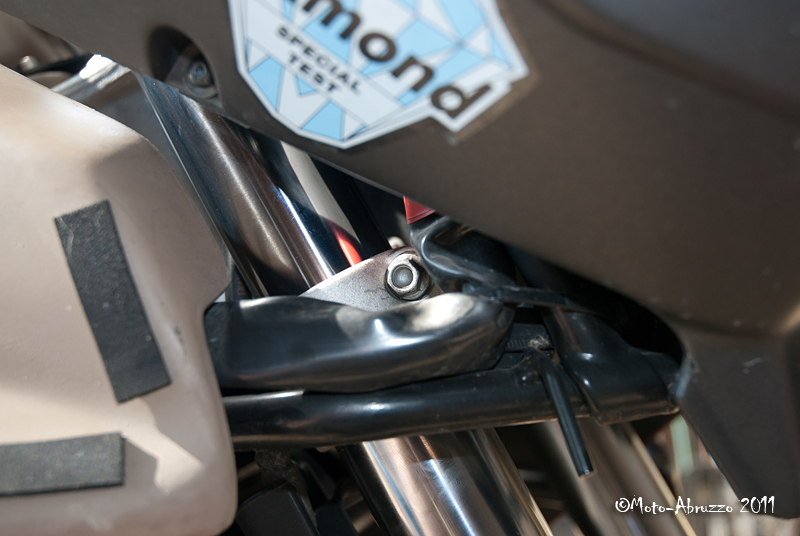
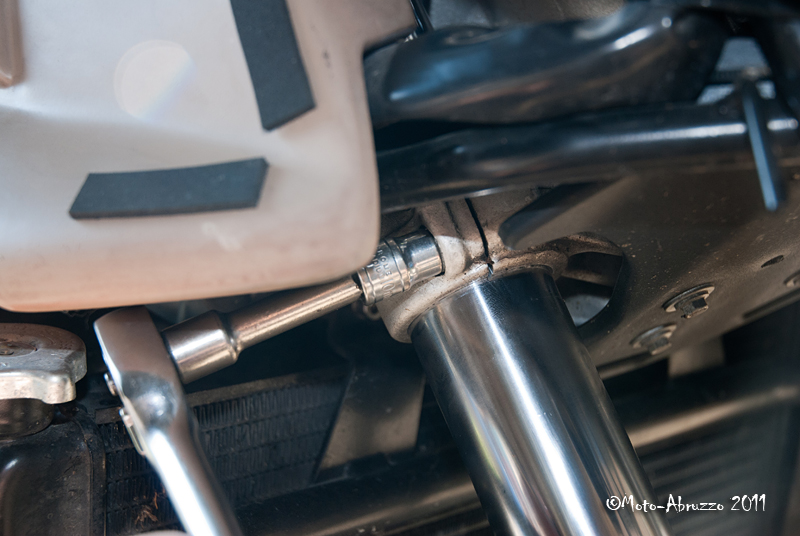
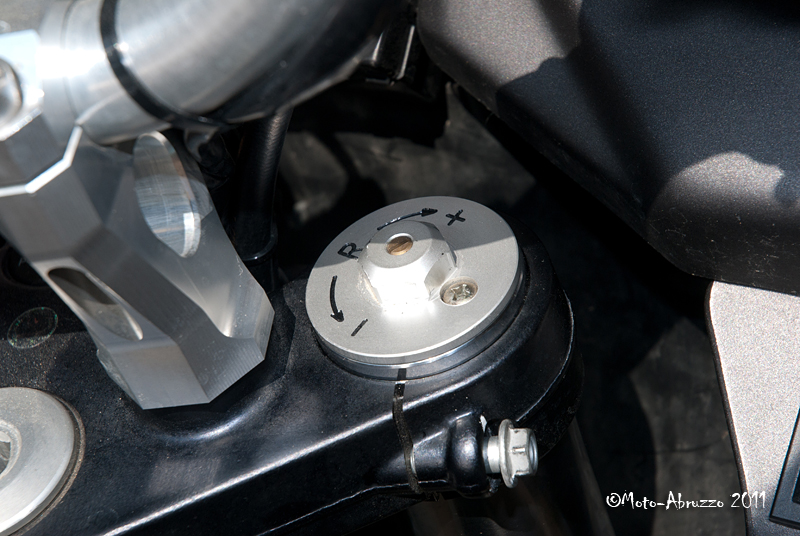
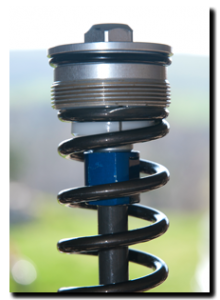
Firstly lets clarify terminology – the shiny 50mm shaft clamped to the bike is the ‘fork tube’, the painted part that holds the wheel/mudguard is the ‘fork slider’. The complete thing is the ‘fork leg’.

Removing the wheel, mudguard, crash bars and lower fairings only takes a few minutes and with the bike snugly supported below the sump guard, it was time to remove a fork leg. Tip1 – break the seal of the fork cap first (19mm socket) before dropping the leg out, Tip2 – only remove one leg at a time, it makes both the job and re-alignment much easier. Releasing the clamp bolts with the bodywork removed as you can see from the pictures, also makes for less hassle, swearing and knuckle grazing as well!

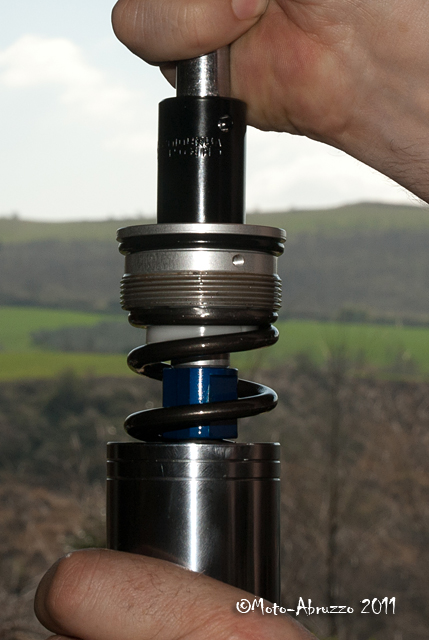
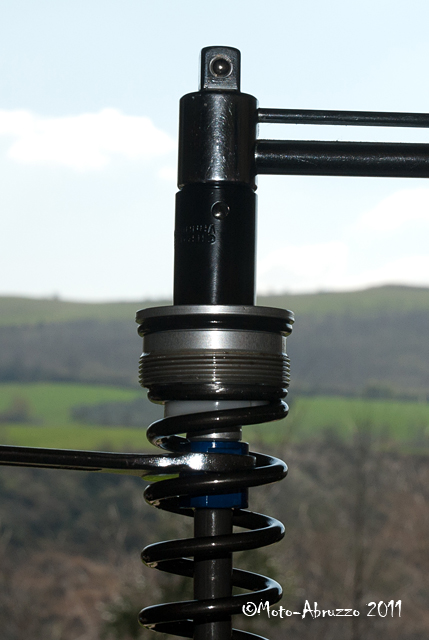
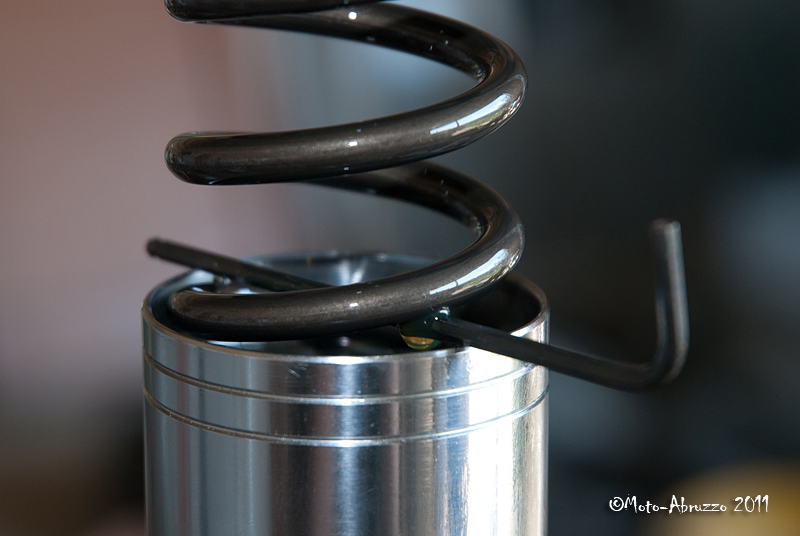
Once out, secure the leg vertically and remove the cap completely. I found it easier to hold the cap still and rotate the fork tube anti-clockwise to do this … don’t worry, nothing pings out under spring pressure on this type of fork. Once undone, you can let the tube drop down, oil won’t pour over the brim. Next, you have to remove the cap itself from the damper rod … use a 19mm spanner to break the seal between the locking nut and the cap. Once done, you can remove the cap by hand – again, don’t worry about spring pressure. The spring releases all it’s tension before the cap comes off.

Put the cap to one side and slide the spring out – make sure you have plastic inserts still attached at each end. Do it slowly to allow the oil to drain back down the coils and back into the slider … much less messy! No doubt the damper rod dropped into the slider, it’s not a problem. Now you’ve got to drain the oil out. I place a finger across the end of the tube to catch the damper rod and spring spacer while draining the oil. Once drained, tip the whole thing upside down and catch the spring spacer – careful the damper rod doesn’t shoot out and damage itself by hitting the bench. After pumping the slider/tube and damper rod, several times leave the leg upside down to drain for at least a few hours.

Clean everything and when you’re ready, start the refill. Now the book says to refill with 680cc of oil – 130mm below the lip of the compressed leg. The problem is that if you do this, oil will pour over the rim of the tube – clearly wrong! The book is also very woolly regarding oil grade and never mentions the grade that was used by the factory. Comparing the old oil to 5/10/15/20w fork oil, I’m pretty confident they used 10w, however I chose to use 8.5w based on load and riding style. After some experimentation and riding, this is the refill that works for me (updated 03/09/2014).

  1. Insert the fork spring spacer and compress the leg completely.
  2. Fill the leg to a depth of 115mm ±2mm (130mm ±2mm in the book) – blended 8.5w fork oil works for me. This is approx. 600cc of oil (580cc for 130mm air gap).

Remember to extend and compress the leg / damper rod while filling to expel as much air as possible. When done, rebuild and refit the leg. Repeat the exercise with the other leg. One fork leg controls rebound, the other compression damping – stripping is identical though. Don’t forget to torque the clamp bolts – 25Nm (18ftlb). Reassemble the mudguard, wheel, brakes and bodywork and sit back and relax, celebrating a job well done with a nice cool beer!

UPDATE 21/07/2011

In hindsight, the original oil may well have been closer to 15w …. the only thing touched outside the factory on this bike was the fork recall at 600 miles. The oil the dealer used and the oil used by the manufacturer may well be different!

Since then, I’ve replaced it for a blend that works out at 8-8.5w …… and it’s bloody fantastic! The bike tracks well off-road and both front/rear suspension work in unison on-road. The blend used is Motul  5w (78%) and Motul 20w(22%) with a combined range of approx. cSt@40c = 29 and cSt@100c = 7.5

Linking out loud

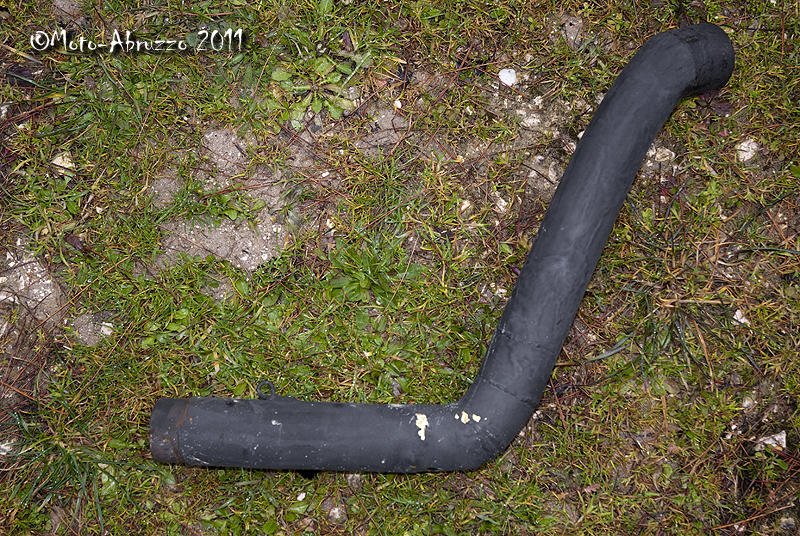
The left hand link pipe on the Quill Exhausts has never fitted correctly (it hit the swing-arm & side-stand) …. nor sadly, did the manufacturer show any interest in sorting it out. So a friend kindly offered to make a new one to replace this sad excuse for British workmanship. And here, admittedly not looking like much, is the template link pipe that I’ve just trialed on the bike for a few miles.

It fits, it doesn’t foul the swing-arm … nor does it leave one silencer sitting 30mm further back than the ‘official’ one does! Soon, a few will be made from the same 2″ stainless steel as the original, then they and the silencers will have new mounting lugs welded on to make the whole system a nice snug fit with no nasty dirt-trapping straps in sight. Gone will be the days of wasting ages tweaking and tapping to get them all to line up ….. they’ll now slide on, bolt up and be done, fit and forget in a few minutes – smashing!

After demonstrating their enthusiasm for after sales care, would I want dealings with this manufacturer again …..

Thinking inside the box

Aprilia Caponord ETV1000 Rally-Raid - arti-farty pic!The Rally Raid comes as standard with luggage – Aprilia badged Hepco & Becker ‘Alu-Exclusive’ luggage to be exact. And pretty good it is too … if a little wide. Each of the panniers – from Aprilia £421.02 each (unbadged – £317.25 each) holds a quoted 41L but in fact holds nearer 28L once you take into account the room lost to the foam lining. In fact that lining is one of the case’s endearing features. It not only provides added rigidity to the case, but also makes it very thermally efficient – excellent for keeping stuff cool on long hot ride-outs.Aprilia Caponord ETV1000 Rally-Raid Hepco Becker Alu Exclusive hinge

The lid hinges forward about 120° to a stop – a nice touch that prevents the lids dropping down against the pannier body and stressing the hinge. A single locking latch keeps the lid locked tight against the weather seal which, though not completely waterproof does a damn good job (rain for 1,500 miles/24hrs and only let in an egg-cup full).

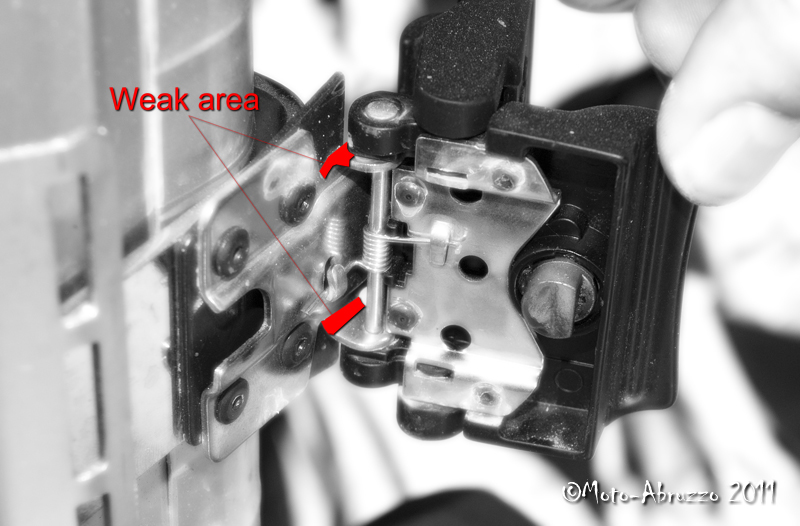
So far so good … but now the not so nice bits. Firstly, the pannier is only held in place by one latch. A latch that can be easily broken in a low-speed ‘off’, leaving the pannier to fall away to its lonesome fate bouncing down the carriageway. Secondly, fitting water bottle frames etc. That foam liner now becomes a pain .. you either have to remove it, or drill it Aprilia Caponord ETV1000 Rally-Raid Hepco Becker Alu Exclusive hingeto fit screws/bolts through . I used a tool that takes a 10mm ‘core’ out, then re-glued it into place – neat, but fiddly. Lastly, the rigidity the foam provides – it’s deliberate . As the aluminium body is thin, VERY thin .. like 0.5mm thin, it needs the foam to hold its shape. That means that in a spill the cases deform alarmingly easily as the aluminium has no strength of its own – not good at all.

This all leads to the question of upgrading the pannier system. I want to use the original frames and just replace the boxes. I don’t want to compromise on space or water-resistance, but I do want to improve on pannier strength – albeit at a slight weight gain. I want boxes that only scuff, not crush like a bag of crisps when the bike drops on its side …. and are relatively burst-proof when faced with a BIG impact – sadly, the Hepco-Becker has neither of these virtues.

Here are the systems I’ve looked at:-

Hepco & Becker – straight swap, different models but mass produced to a budget. Up to approx. £550 per pair.

Touratech – Easy to fit with provided kit but expensive and living off their name. Up to approx. £600 per pair.

Caja Sahel – Hand made and easy to fit with Touratech mounts. Powder coated with tie-down points provided. €450-550 per pair.

Project VND – Hand made and easy to fit with Touratech mounts. Anodised finish with hinged and removable lid. £500-600 per pair.

Metal Mule – Nice, but expensive and needs dedicated mounting system. System from £1,300!

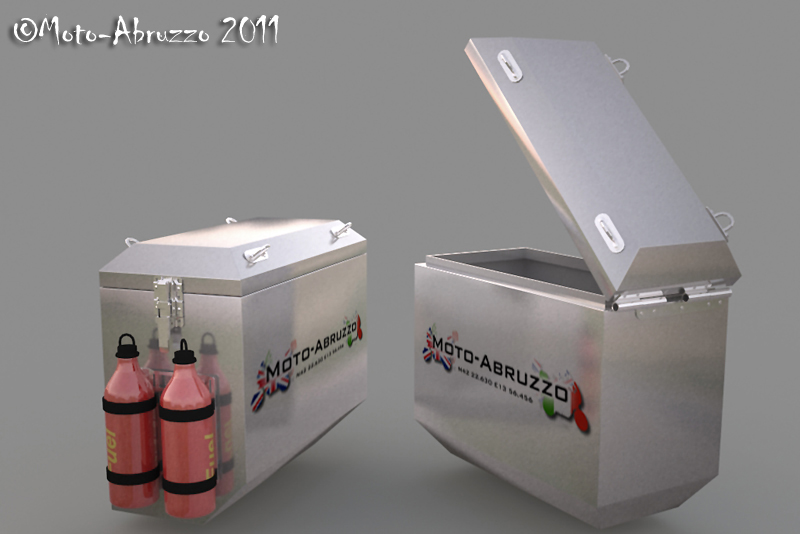
Aprilia Caponord ETV1000 Rally-Raid - CAD panniersOr the other option … design and build your own! Well almost. I’m happy to do the designing bit, but manufacturing is a tad more complex, at least to get a ‘factory’ finish …. and frankly, my aluminium welding leaves more holes than welds. So I’ve enlisted the help of a local metal guru to turn my drawings into reality … and when finished, they’ll look something like this.

500mm Long x 430mm Tall x 250mm Wide (using 2mm aluminium) ….. so the same width as the originals but longer and taller, giving a (hopefully) usable volume somewhere around 47L each. They’ll be mounted to the existing 15mm dia. rails with Touratech mount kits (01-053-0010-0 approx. €47).

Service time

With 36,195 miles now on the clock, the Capo was due its service. Another biggie …. the one with the valve check. Well after an uneventful days spannering, I’m happy that the whole thing went to plan. Nothing’s broken ….. no nasty surprises … just a straightforward service as per the Aprilia manual. Until now I’ve used the Agip oil as specified in the handbook, simply because it’s easily available here in Italy …. this time however, I’ll be running Castrol R4 10w50 fully-synthetic that I bought back from the UK.

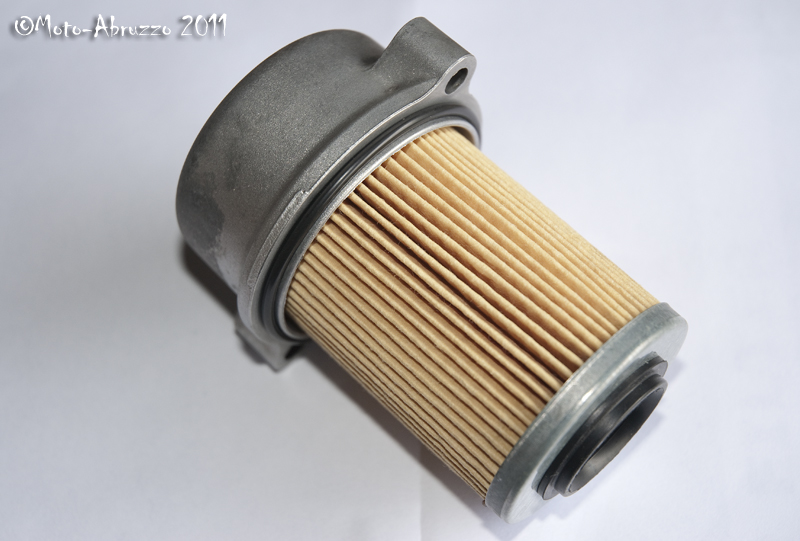
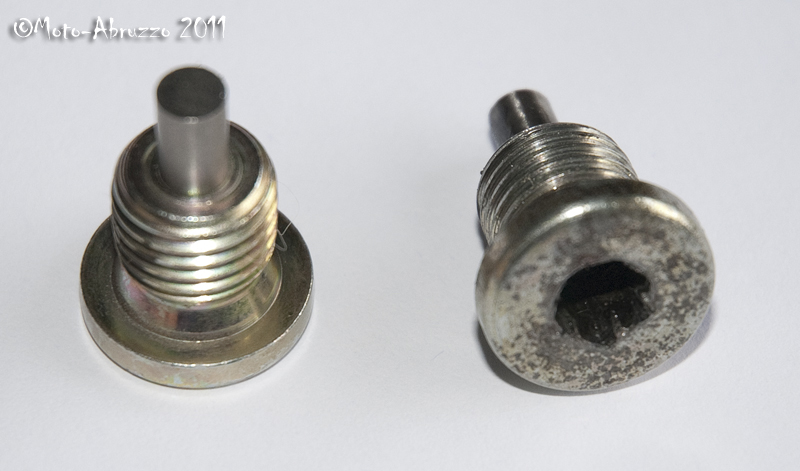
As the bike is now 7 years old, I decided on replacing some of the seals and gaskets displaced during servicing – not because they leak, just getting old. These included both cam cover gaskets, the oil filter cap seal and both air box seals. Also on the list was a replacement magnetic drain bolt …. they seem to seize solid in place and take a real beating to get off. As you can see, after several services my old one had seen better days!

The valve check took a couple of hours taking it nice and steady. As it turns out the valves are all in spec at the moment and have hardly moved since the last service. Aprilia calls for the check at 9K mile intervals …. I think I can sleep easy leaving them alone for the next 12K miles as the Rotax engine is notorious for having stable valve clearances – and mine seem to agree. The Iridium sparkplugs came out to make hand-cranking the engine into TDC easier …. they looked fine and went straight back in. Iridium plugs might be expensive, but they do last well!

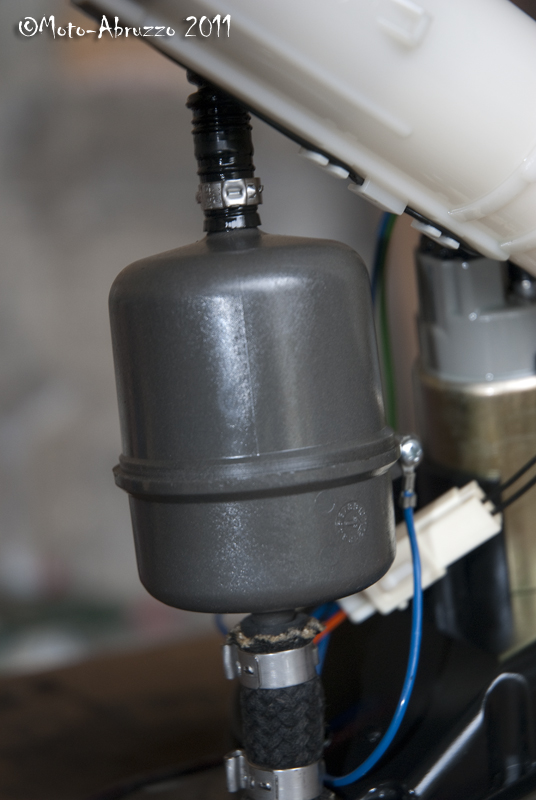
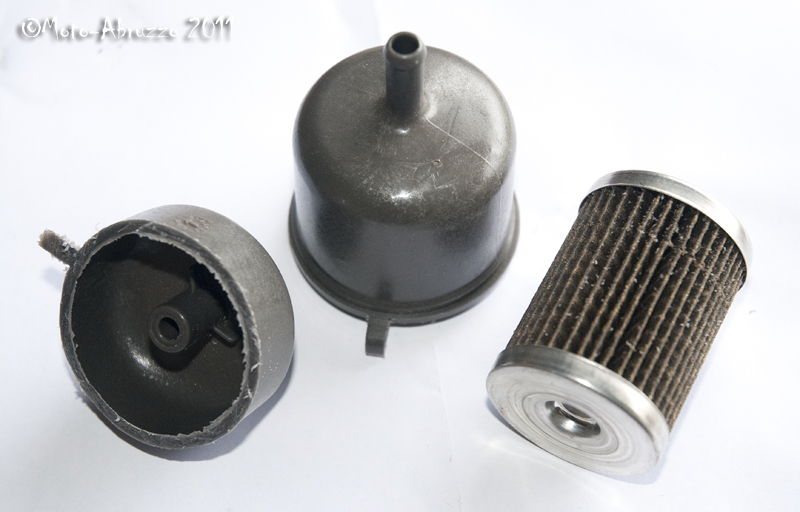
Although not called for … the fuel filter and fuel tank gasket were changed. Not too hard, but re-using the ‘click-clamps’ on the hoses is ‘challenging’ to say the least! I ended up using a modified set of tile-nippers. As far as I know you have a choice of alternative filters that can be used …. the Ducati item (42540101A) is a straightforward swap, while the  Ryco Z200 / Baldwin BF1049 filters can be persuaded to fit with a little modification (untested by the author).

If you’ve ever wondered what exactly is in that very expensive plastic cylinder …. then here you go.

Last item on the engine to-do list was  balancing the throttle bodies …. and they turned out to still be nicely in sync – fantastic! So as the sun set behind the barn, I left the old girl burbling away happily while I took the dogs for a walk.

Tomorrow, a last quick check to make sure everything is oil-tight and that’s that for another few thousand miles.

PARTS USED

Genuine Oil filter (long) – AP0956745
Oil filter ‘O’ ring – AP0650500 (size 62mm O/D, 2.5mm cross section – (£3.90+VAT for 2 from simplybearings.co.uk)
Magnetic drain plug – AP0241782
Genuine air filter -AP8104169
Air box seal -AP8120615 (comes as a single length you trim to fit)
Genuine FIAAM FT5452 fuel filter – AP8102971
Fuel tank seal – AP8144478
Valve cover seal (x2) – AP0650345