Introducing the ‘Capogiro’ unit ….

Aprilia Caponord ETV1000 Rally-Raid & Capogiro dynamic brake light unit
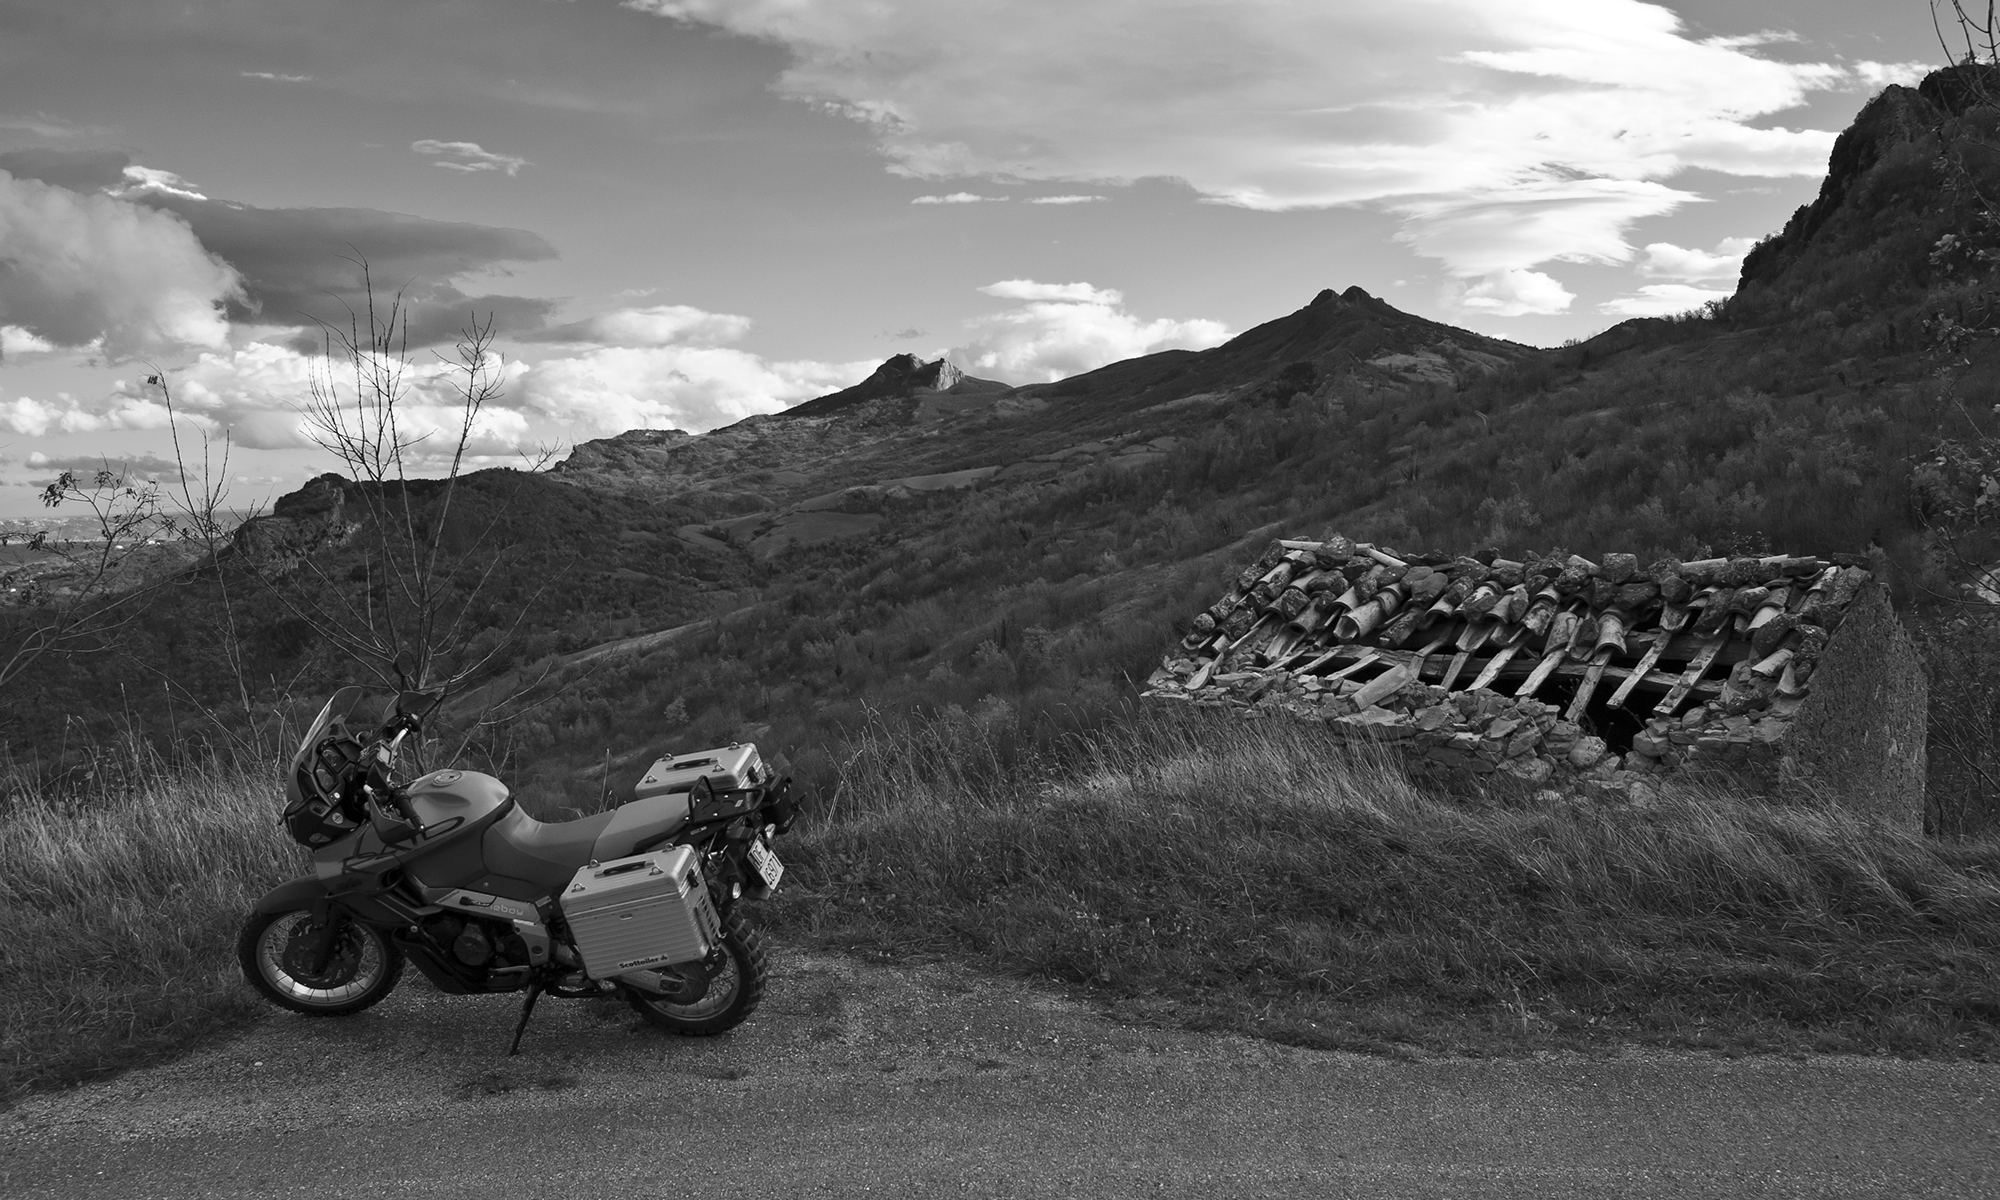
Firstly may I say that we here at moto-abruzzo wish each and every one of you a very Merry Christmas and hope that 2018 brings good roads and big smiles on those shiny Caponords of yours!

Secondly, fellow Capo owner and electronics whizz Michele from Italy (MCR on AF1 forum) got in touch about his Mk3 ‘Capogiro’ unit. Based on the BMW Dynamic Brake Light system, it uses a microcontroller and a 3-axis gyro/accelerometer unit to control the brake light and hazard warning lights, as well as having other useful outputs. In a nutshell the DBL function is:

    • Normal brake light function under all light/medium braking conditions
    • Brake light pulsed at 5Hz when braking hard (>0.35g) from between 14Kmh (9mph) and 60Kmh (37mph)
    • Below 5Kmh (3mph) normal brake light function is restored
    • If still braking hard at below 5Kmh (3mph), the hazard lights are turned on automatically
  • They will then remain on for 60 seconds OR until the speed is greater than 20Kmh (12mph) for xx seconds

This then is the primary function of the unit. But Michele didn’t stop there, he’s added a raft of other useful functions as well, including:

    • Add a handlebar switch and you have rider switchable hazard warning lights
    • Drop the bike on its side and the opposite (high side) pair of indicators will operate in a kind of half-hazard mode to alert others of an obstruction on the road
    • Leave the indicators on too long and the system will give you an audible alarm to remind you to turn them off …. who hasn’t done that!
    • A basic but useful alarm function. Add a hidden switch and intercept a relay and the unit will use the gyros and accelerometers to know if it’s being moved and set off the horn/hazards as well as immobilise the engine.
    • It also has the ability to do what Aprilia never did – keep the headlights switched off until the engine is running, then turn them on, vastly reducing battery drain on starting.
  • And last but not least the ability to interface with an eCall device that alerts others that you may need assistance.

Each of these functions is well thought out with outputs all protected and battery status being analysed so as to not activate certain functions which could possibly prevent the bike from starting due to low voltage. All in all, a well thought out and professionally built unit. All this fits into a neat 122mm * 39mm * 31mm package that is designed to locate on top of the headlight behind the windscreen. Granted, if you use all the functions then there are a fair few wires to be connected, but if you don’t want to use a particularly function(s) then just don’t hook up those particular wires, easy! And the cost for this little box of wizardry …… currently €120, not cheap granted, but for the safety features and added additional functions thrown in, I think it’s well worth the money. You can download a copy of the installation instructions in English HERE or in Italian HERE.

OK, sounds great but is it legal to use? Well BMW have added a similar system because it conforms to EU legislation and they sell bikes fitted with it in the UK. But the fact is they DO appear to fall foul of the Highway Code rule 116 (watch their own videos):


“….. You MUST NOT use hazard warning lights while driving or being towed unless you are on a motorway or unrestricted dual carriageway and you need to warn drivers behind you of a hazard or obstruction ahead. …… “


In other words, if the hazard lights activate while moving on any other road than motorways/unrestricted dual carriageways then that’s a legal no-no …. even if it is helping to save your pride and joy (and skin) from some inattentive muppet driving too close behind!

So the bottom line seems to be that a big manufacturer can bend the rules but we, no doubt cannot. Fitting it then may be legally questionable, on the other hand if it increases safety, makes no visible changes to your bike in day-to-day use AND will most likely never be noticed during an MOT test or roadside inspection ……….. well then that’s up to you, I cannot condone anything that would possibly break local or international law in any way shape or form, no siree Bob. Me? I’m only testing it off-road of course. 😉

If you’re interested in more information or would like to buy on, please drop me a line with your details and I’ll forward them to michele for you.

And that just leaves me to express my own gratitude to Michele for not only sending me a Capogiro to try, but also sharing ‘under the bonnet’ details so that I can get a better understanding of how the functions work. I owe you one Michele! 😀

LED headlights …. verdict

Aprilia Caponord ETV1000 Rally-Raid Sealight LED headlightsSince fitting the Sealight X2 LED H4 headlight ‘bulbs’ I’ve managed to squeeze in a couple decent night-rides to see how well they work – about 100 miles in all. In fact it’s worked out perfectly, as there’s been no moon, so when riding in unlit mountains – dark means dark!

So how did they fare? Well let’s just say I’ve been pleasantly surprised. Make no mistake, they’re not really any brighter than a standard H4 but the bright white light and fast changeover (Hi/Lo) is a nice touch. The beam is surprisingly good, although the Aprilia guard on the front does mess it around by causing shadows/reflections but it does that with Halogen bulbs as well. Overall it’s fair to say that I didn’t have to adjust my pace at all to compensate …. as long as I can stop safely on my side of the road, in the distance I can see well-lit, then that’s fine with me! Oncoming traffic never seemed upset, so I’m of the opinion that there’s little scatter caused by the LED’s not being exactly in the lens sweet spot.

In the end though, the real benefit from these lights is the saving in energy. With about 4-5 Amps less being drawn, I’ve found I can now use my dinosaur Hella Micro DE fog lights and still show a charging voltage of 14.1V, even the fan cutting in only drops the voltage to 13.7V! It’s like a breath of fresh air and quite amazing how a simple redistribution of Amps makes the Capo a happier bunny. The main point now is how long will they last ….. only time will tell! 😀 

Who’s bright idea was this?

Range Rover P38 and a littel under bonnet fire!I bet you thought I’d run away with the circus it’s been so long since I posted anything!

Well in fact I’ve been rather preoccupied with other stuff of late ….. bad wrist, car barbecuing itself at the side of the A14 Adriatic (autostrada) motorway and getting a shiny new job (and car!). But more about all that another day. For now though it’s upwards and onwards with the fitting of a new toy for the Capo, or should I say toys … there are more posts to come about fatter/heated grips and reducing the torque on the twist grip for my wonky wrist!

A pair of X2 H4 (Hi/Lo) Sealight LED units in the headlights. These were recommended by Ravenranger over on the Aprilia AF1 forum and for a splash under £40 a pair (delivered) in the UK, I decided to take a punt. A neat and simple kit with bulb/box/plug connected by cables – just the right length for the Capo which is nice. Double sided Scotch 3M pads and some cable ties to mount the box’s out of the way complete the parts list. They’re rated at 12-24V and an output of 4,000lm (hmmm really?) and apparently fully waterproof, even the cooling fan.

I found fitting them really easy, hardly any worse than changing a standard bulb. All rubber seals and panels fit straight back into place as well. The little boxes were attached to the back of the headlamp shell with the double-sided sticky pads and it was all reassembled no problem.

NOTE: Look at the pics of the locking ring and bulb, two lugs 180º apart. The lamp can be fitted upside down if you’re not careful! Don’t ask me how I know this …. just be careful to check which way up the lamp is when clicking it into place.

Measured current draw on fuse A is:

Dip beam:     Halogen  8.35A   ( 53.4W * 2 )   LED  4.9A  ( 31.4W * 2 )

Main beam: Halogen  9.6A      ( 61.4W * 2 )   LED  4.9A   ( 31.4W * 2 )

So a saving of approx. 3.45A on dip and 4.7A on main. As you would expect, the light is a very bright white that made the existing halogen look dull and yellow in comparison add to that the very rapid turn-on and switch between dip/main and you certainly know it has LED’s installed!

But of course, this is all academic if the light pattern is junk! Night couldn’t arrive quick enough for me to get out to the barn and have a good look – low beam cut-off and high beam spread being paramount. Well I have to say that initial impressions are excellent. In the pitch-black of the Abruzzo evening the dip showed a nice crisp cut-off line and distinctive kick up to the left of a UK headlamp …… flick to main and the olive grove over the road practically burst into day light – OK, not quite! But bright enough to be surprised at just how decent these things appear to be. So far so good. I’m impressed enough to want to go get kitted up and hit the road rather than head for the tool kit and swap back, which is a damn fine start in my books. The weather looks nice for the next couple of evenings so I’ll dig out the INNOVV C5 and see if I can get a bit of night-time video!


Coils, cruise, camera – action!

Aprilia Caponord ETV1000 Rally-Raid Renault V6 HASS ignition coil - 413745171After waiting a week for the delivery from carparts4less, the Capo is happily running on four coils again! 😀 I bought the Renault V6 coil (413745171) made by HAAS. While plug’n play at the LT connector, it does need some excess plastic removing and the HT end requires a modification. I’ve seen this coil modified in a couple of ways – one simple and one requiring a bit of soldering skill. I chose the latter because I think it gives a more positive connection. New page here.

Aprilia Caponord ETV1000 Rally-Raid INNOVV K1 rear HD camera 1920x1080With the bike buttoned up, I ran the INNOVV K1 cameras again – no sign of RF issues anymore, so that’s a step in the right direction. It was about 6pm and dark inside as well as outside the barn as I stood tweeking the throttle and glancing at the INNOVV DV recorder while it captured the rear K1 camera. I watched the vapour from the exhausts to the left and right of the camera as it swirled in the red glow of the tail light. Then it all went blank and the INNOVV rebooted again – WTF!!! 👿 

However …… in that moment I saw something that was a revelation. A real game changer as they say. The fact is, I started to suffer an intermittent fault a few months ago and as any engineer knows, you’ll go bald fast if you waste time chasing an intermittent fault – wait for it to come to you. I think of these sorts of faults a little like the TV serial killers on any number of cop shows – they always want to get caught. At some point an intermittent fault will give itself away, that one clue that unlocks the puzzle. In this case, when the INNOVV rebooted, I saw a momentary flicker of the red glow from the tail light out of the corner of my eye. If I hadn’t been doing this in the dark I would never have spotted it!

This fault goes back quite a while, back to a hot summer, a long day on French motorways and a cruise control that would occasionally stop working. Sometimes it would engage for the whole 1½-2hr ride, the next it would drop out after a few minutes or maybe after a ½hr – it was completely random. However …… I did find that by turning the headlights off, the cruise could be re-engaged and would work just fine! At that point I was suspecting a fault with the headlight loom, the 6-way connector is known to burn if the Aprilia Caponord ETV1000 Rally-Raid light switchEarth (Ground) connection is bad. Unfortunately all tests and checks came up with nothing. So I sat back and waited for the fault to give me the one clue I needed to bring the bugger to justice!

In that momentary tail light flicker, all the parts came crashing together. It was the light switch all along! You see the switch isn’t just one switch but two-in-one. One for the headlight and one for the sidelight …… and this is the circuit that the MCCruise control AND the INNOV are powered from! The switch was stripped, the hard dirt-filled goo that had once been grease that was stopping the springs working was cleaned out and the contacts treated to a splash of contact cleaner and fresh lubricant. Now it looks better, works smoother and above all, delivers a constant voltage to where it’s required. 😀 Aprilia Caponord ETV1000 Rally-Raid Innovv K1 camera screenshot

And afterwards? Well a couple of days eating up the miles and clocking up the hours have been rewarding (and fun!) to say the least. Both cruise and cameras have worked perfectly and the Capo is pulling like a little train again thanks to its refreshed ignition!

Wonkey headlight!

Aprilia Caponord ETV1000 Rally-Raid headlight adjuster screwLast year the tester at the MOT station didn’t like the slightly low headlight beams (set to offset loaded panniers) and wanted to raise them. Unfortunately I think he raised the left-hand to the point of possibly unseating the ball at the end of the adjuster screw from the reflector. Friction alone on the other pivots probably only holding it in place to his satisfaction. About a month ago the same headlight went out of vertical alignment a little, then  finally the other evening, suddenly dropped completely (and very noticeably!) so the low-beam was now tripping over the front wheel!

First check – bulbs out and try to move the reflectors up and down. Right-hand no movement – fine, left-hand very wobbly, plus the adjuster unscrewed completely by hand. So, headlight out as it’s far easier to work on.

Remove the rubber gaiter and bulb and a visual check of the reflector mountings is possible – they looked OK, so I cleaned up the adjuster and applied the lightest wipe Aprilia Caponord ETV1000 Rally-Raid headlight reflector adjuster socket and clippossible of grease on the ball to help it seat more easily, I honestly couldn’t have applied less if I’d just shown it a photo of a grease tub! Then screw in the adjuster and kept going (very gently!) a half turn at a time once it had seated against the reflector socket. I also used a little brass-tool to help pull lightly) on the reflector mount to help the process. I guess I went about three full turns before the ball made a loud ‘pop’ and dropped into position. I don’t know which was more relieved – the stresses in the reflector or my pulse-rate!

Aprilia Caponord ETV1000 headlightOnce the day was at an end, it was time to set the beam height …. the manual quotes 90% of the bulb height from the ground at 10m distance while sat on the bike. I did them one lamp lit at a time, then double checked with both lit and also checked the horizontal alignment at the same time. Total time about 10 minutes and hopefully a happy MOT guy in a few weeks time!

Aprilia Caponord ETV1000 Rally-Raid rubber shield for dashboard lower and headlight 8158255Buttoning it all up went OK, but it was obvious the rubber dashboard lower/headlight shield has finally seen the best of its days with numerous splits starting. So a template was drawn, then reproduced in CAD and some 2mm rubber sheet ordered from Flea-Bay – cheaper than Aprilia, who want over €60 for the same part (AP8168916)!