 cable kit") Ok, so with the old starter solenoid removed and a little starter-circuit modification simmering in the old mental stewing-pot, it was time to remove the OEM solenoid-starter cable, along with the Earth(Ground) cable and the battery-solenoid-30A-fuses cable and fit the new upgraded items from John Walker (UK).
Ok, so with the old starter solenoid removed and a little starter-circuit modification simmering in the old mental stewing-pot, it was time to remove the OEM solenoid-starter cable, along with the Earth(Ground) cable and the battery-solenoid-30A-fuses cable and fit the new upgraded items from John Walker (UK).
Removing the ground and starter cable required the removal of the crash bars and side panels along with lowering the sump guard (remove front bolts and pivot on rear) to allow extra room to lower the oil tank and move the oil cooler – both to illicit a little more room to remove nuts/bolts more easily with the tools at hand. With the respective ends disconnected it was just a matter of a few tie-wraps to be removed and the old cables slid out of the frame. The battery-starter cable requires a bit more work (care?) as the two wires to the 30A fuses need to be cut. These will be spliced with the new ones on John’s loom, so I carefully pulled the black sleeving back as far as possible, matched the old/new looms together then cut the cables at what seemed the sensible place!
Now with all three cables clear of the bike I could lay them out and compare them to John’s replacements. Not only am I impressed by the workmanship of the new cables, but also that they are approximately 15mm longer than the old ones – not over the top and certainly not too short, just nice – a little extra flexibility when fitting. One thing I really like about John’s cables is the extra mounting point on the Positive and Negative lugs – very useful indeed.


After lunch, in they went with no drama at all. I spliced the 30A cables together with crimp/solder joints that are then sheathed with heatshrink. John doesn’t provide the splices, but he does supply the heatshrink! With that done, the old black sleeve can be wiggled back up into place and the whole thing then looks very ‘OME’! Running the cables down the frame is easy enough as they’re quite flexible – surprising as they’re almost (if not more!) than twice the diameter of the old cables …… this does make things a little tight getting the cables in place either side of the battery, but a bit of patience and a wiggle here and there gets them seated comfortably.
Before tie-wrapping everything and refitting panels and guards it just left the little matter of trying it out! So ignition on …. no pop, bang or fire (good start!) then thumb the starter button and ………….wow! What a difference, the engine spins like a hyperactive puppy spotting its tail for the first time – fantastic! Putting the multimeter on the battery (fully charged), then cranking the motor over showed a minimum voltage (momentary as the starter takes the in-rush current) of about 10.8V. That’s way better than it used to be. Steady cranking voltage rises back up to about 11.8V…….. and as mentioned cranking speed is very impressive now!
With that done, it was time to button the rest of the bike back together and try it all out on the road. What a difference a week makes eh? From ‘Dear dog please start, please start …. oh and starter please disengage, pppplease disengage’ to ‘Oi you, call that a starter? …… Listen in awe my wayward friend because THIS is a starter!’
In the end did I really need them? Well truthfully, no the originals are fine, no corrosion and the insulation is intact, but at the time of ordering I really didn’t know one way or the other. Yes I could have made my own, but sometimes like having a meal served to you rather than cooking yourself, it’s nice to buy in the finished item ready to fit. Besides, I just wanted upgraded replacements not some fancy parts made from gold wire finer than badger bum-fluff with diamond encrusted unobtanium connections! In the end I’m glad I did buy them ….. the starting is much more energetic now and that’s worth its weight in gold right there!
So if you are in any doubt at all about your wiring, then drop John a line and I’m sure you will also be as pleased as I am with the results. Price including postage in the UK (May 2017) is £70.00GBP
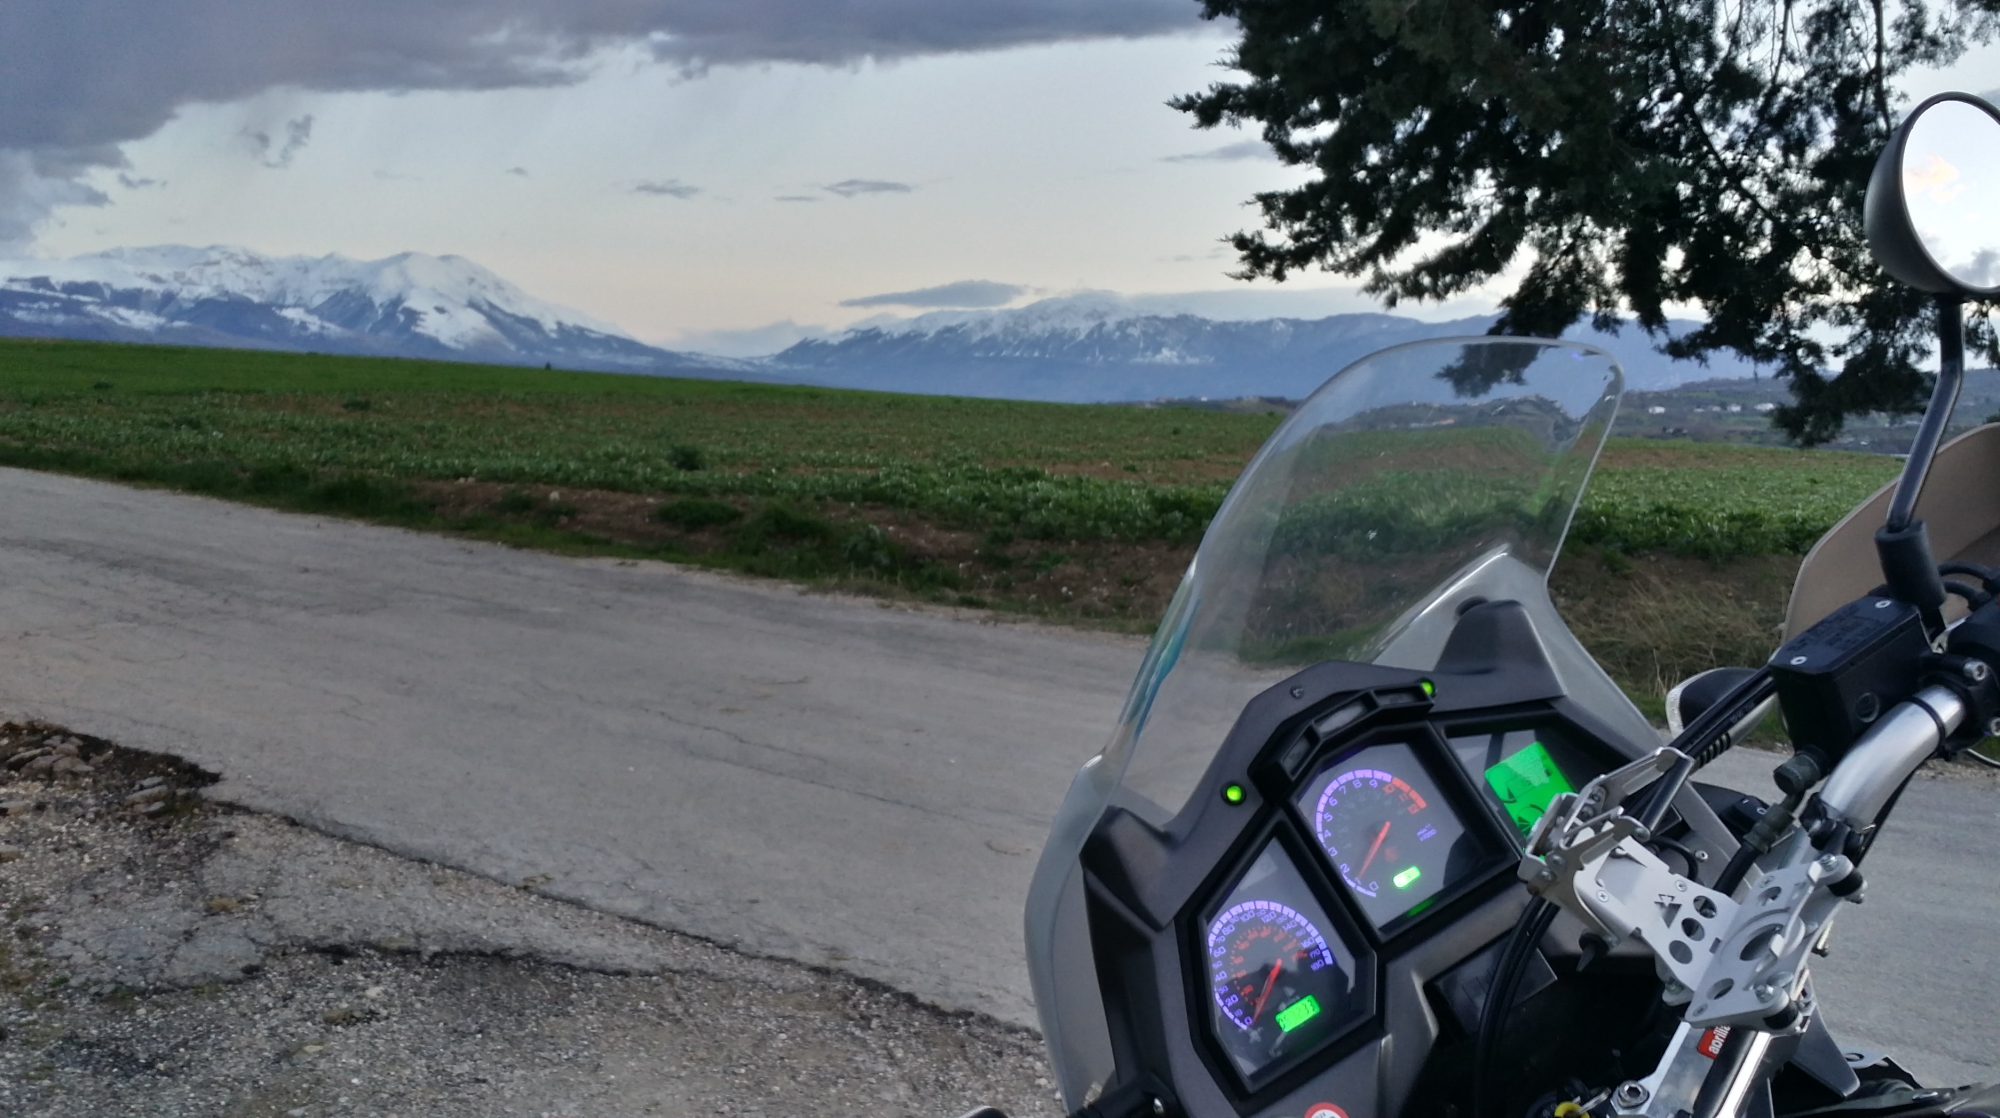
 With a hot brew to the left and a warm mouse to the right, I’m ready to reflect on the last ten days as the Capo sits outside soaking up the morning Abruzzo sun. After the hiccup at 138 miles the remainder of the 3,000 miles went perfectly, not one low-volt drama in sight. Mind you, that is with a new

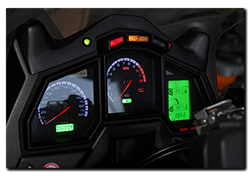 With just over 82,000 miles on the Caponord, the dashboard died. Yes, while about to set off from a rather innocuous little shop car park on a hot and humid afternoon, the dashboard shuffled off its mortal coil … Curled up its toes, bought the farm – as dead as the proverbial Dodo.


