 Yes indeed it is all over. No, not the love affair with the venerable Caponord!! The three week holiday to Spain and Yorkshire (UK Caponord rally) is over and boy do I miss it already. Throughout, the Capo ran very well with only one odd fault for a couple of days that miraculously fixed itself – now that’s my kind of fault. It started just before I left … the RPM was slightly elevated at approx. 1,500 instead of the 1,250 set in the ECU. I hooked it up to TuneECU and hit TPS Reset and it dropped instantly – all good. Then a couple of days later, on the way to the ferry at Portsmouth, I noticed it was elevated again. Over the next couple of days it seemed to fluctuate between 1,250 and 1,500 for no obvious reason – raising or lowering at will. Then it just went away and has not come back since. All very strange. My guess is that it may have been a bit of stiction in the throttle plates that freed itself up with the daily use in Spain. But I guess I’ll never really know for sure.
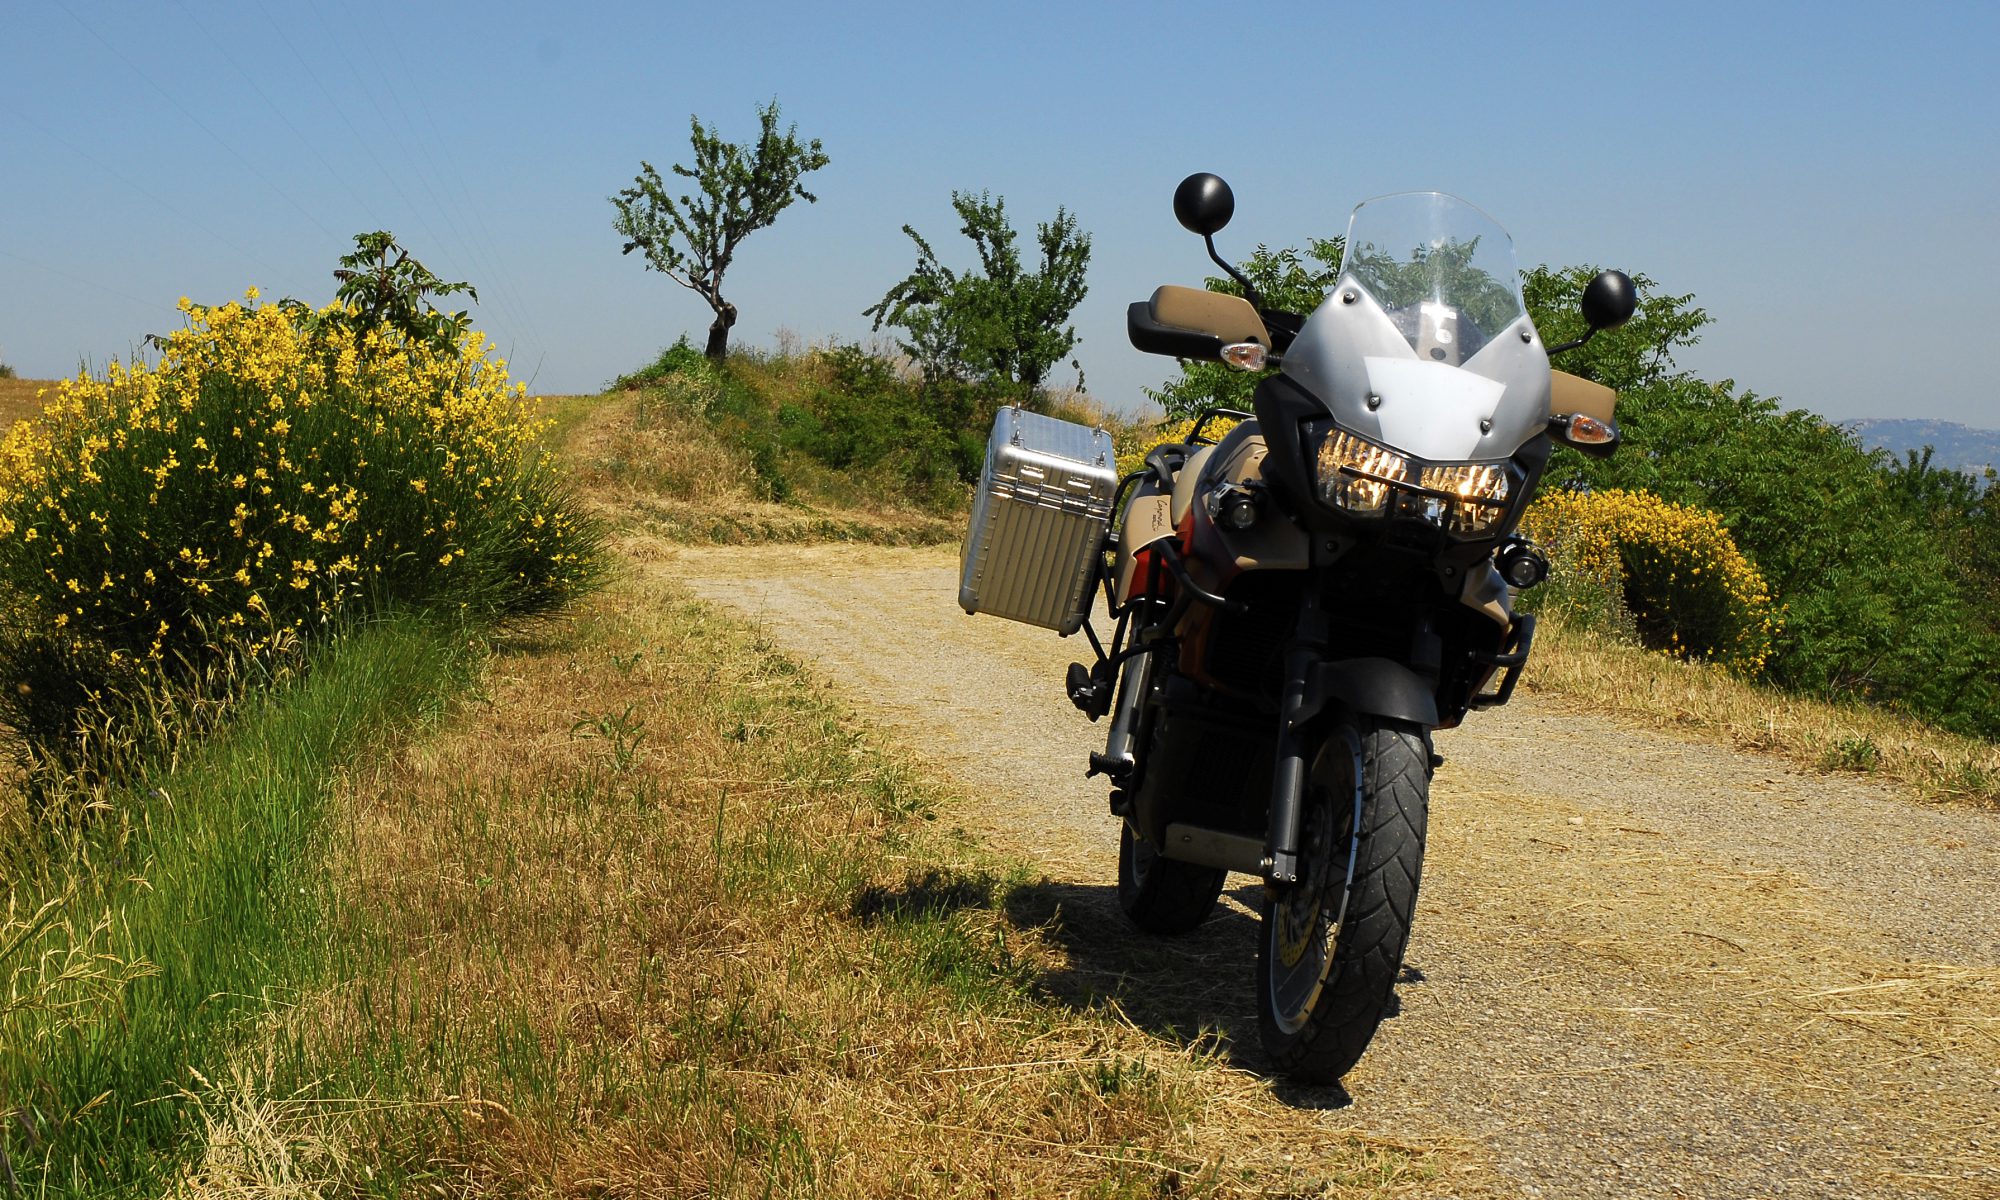
After that it just did what it does best – keep piling on the miles – and let me enjoy the ride, scenery and company. Spain was hot (of course!) and Yorkshire wet ( double of course!!) so we both were put to the test for sure. In Spain I used the Knox Tor mesh jacket & Urbane Pro Mk2 mesh trousers over Rukka Outlast under-gear (all super cool) and Klim Badlands Aero Pro gloves all finished off by my trusty Daytona Travel Star GTX boots. For Yorkshire the suit was swapped out for the Rukka Kingsley two-piece suit and boy was I glad to have it’s excellent waterproof ability. So OK …. that’s the product placement out of the way, what about Capo updates/upgrades?


Well not much actually, but what there is has been unobtrusive and potentially useful. Firstly, the front axle spoke-carrier had a rebuild with new 3D printed parts in a stronger material that looks better. Secondly, the top-box got a new 3D printed warning triangle finished with reflective tape and in the middle a 3D mounting for a 50-second Firestick (fire extinguisher) ….. all recessed into the foam lining so it doesn’t affect luggage capacity, nor add noticeable weight to the lid – a win-win! This was all topped off by a set of luggage bags from xxxx made especially for the Raid aluminium luggage. 1x large bag for the left hand pannier (main “hotel” bag), 1x large bag for the top box (bulky items and tech gear) and two half-sized bags for the right hand pannier ( secondary “hotel” bag and tool/spares bag). These were worth their weight in gold on holiday and I’m so glad I had them made – perfect!
So now I’m back what’s next? Well the front INNOVV K3 camera has developed a fault and appears to be causing the unit to freeze or record damaged video. As part of the fault-finding process I swapped the front camera from the ZZR1200 to the Capo and the system worked fine. So now I’m lighter by £73 (after discount) for a replacement. I can’t grumble really, it’s been in use for four years. Next up will be a mix of end-of-year mileage building and general servicing before winter. I’d really hoped to get the Capo through 190K miles by winter with a view to pushing on toward 200K next spring …… the long term goal is to then retire it and make it an ornament in the living room …. minus the luggage of course. Now I’m living the bachelor life once again, my home has become a shrine to all things motorcycle, not quite engine-in-the-bath, but not far off!
Oh … and yes, the stable has increased by one more Caponord. I’ve taken on my friend Andy’s Mk1 (Bat-ear) Capo. It’s now sitting under cover having been robbed of a few parts (levers etc.) to take away on my trip. Now I’m back, everything can go back on and I’ll maybe use it as a winter-hack before using it as a donor bike in the spring for the other RallyRaid (NK03). Before winter hits there may even be one more Capo arriving – a rather special one – another Rally Raid! I’m currently in talks with the owner, let’s see what happens. Fingers crossed!
Next weeks super-exciting instalment … fixing the MCCruise cruise control.

 Secondly, I bit the bullet on an


