Way back when I started playing with the idea of using the dashboard tachometer as a voltmeter, I was aware I had one stumbling block …. I didn’t have a decent workbench power supply to calibrate the software/voltmeter against. In the end just using a battery and resistors the ball-park calibration wasn’t too bad, reading within a needles width of the correct voltage from 13 – 14v but it drifted terribly above and below this range.
Then in summer along came a gift from ABSL via Andy (Beasthonda) …. A very nice Thurlby 30V-2A dual power supply, which unfortunately had to languish in Oxford as it was too heavy to transport back by Capo! But patience is rewarded and it finally sits on the workbench, performing brilliantly and its first job has just been to calibrate the dashboard voltmeter once and for all. In the end it required a little code revision to get it just so, but it was worth it – now the voltmeter is accurate to a needles width over the full range of 9 – 16V. Happy Days! One more job to tick off the must-finish list. 😀
I really can’t say how much I appreciate Andy for thinking of me and ABSL for letting this power supply go to a complete stranger, I look forward to putting it to good use and hope that some of the tinkering on the workbench can make its way into other Caponords.
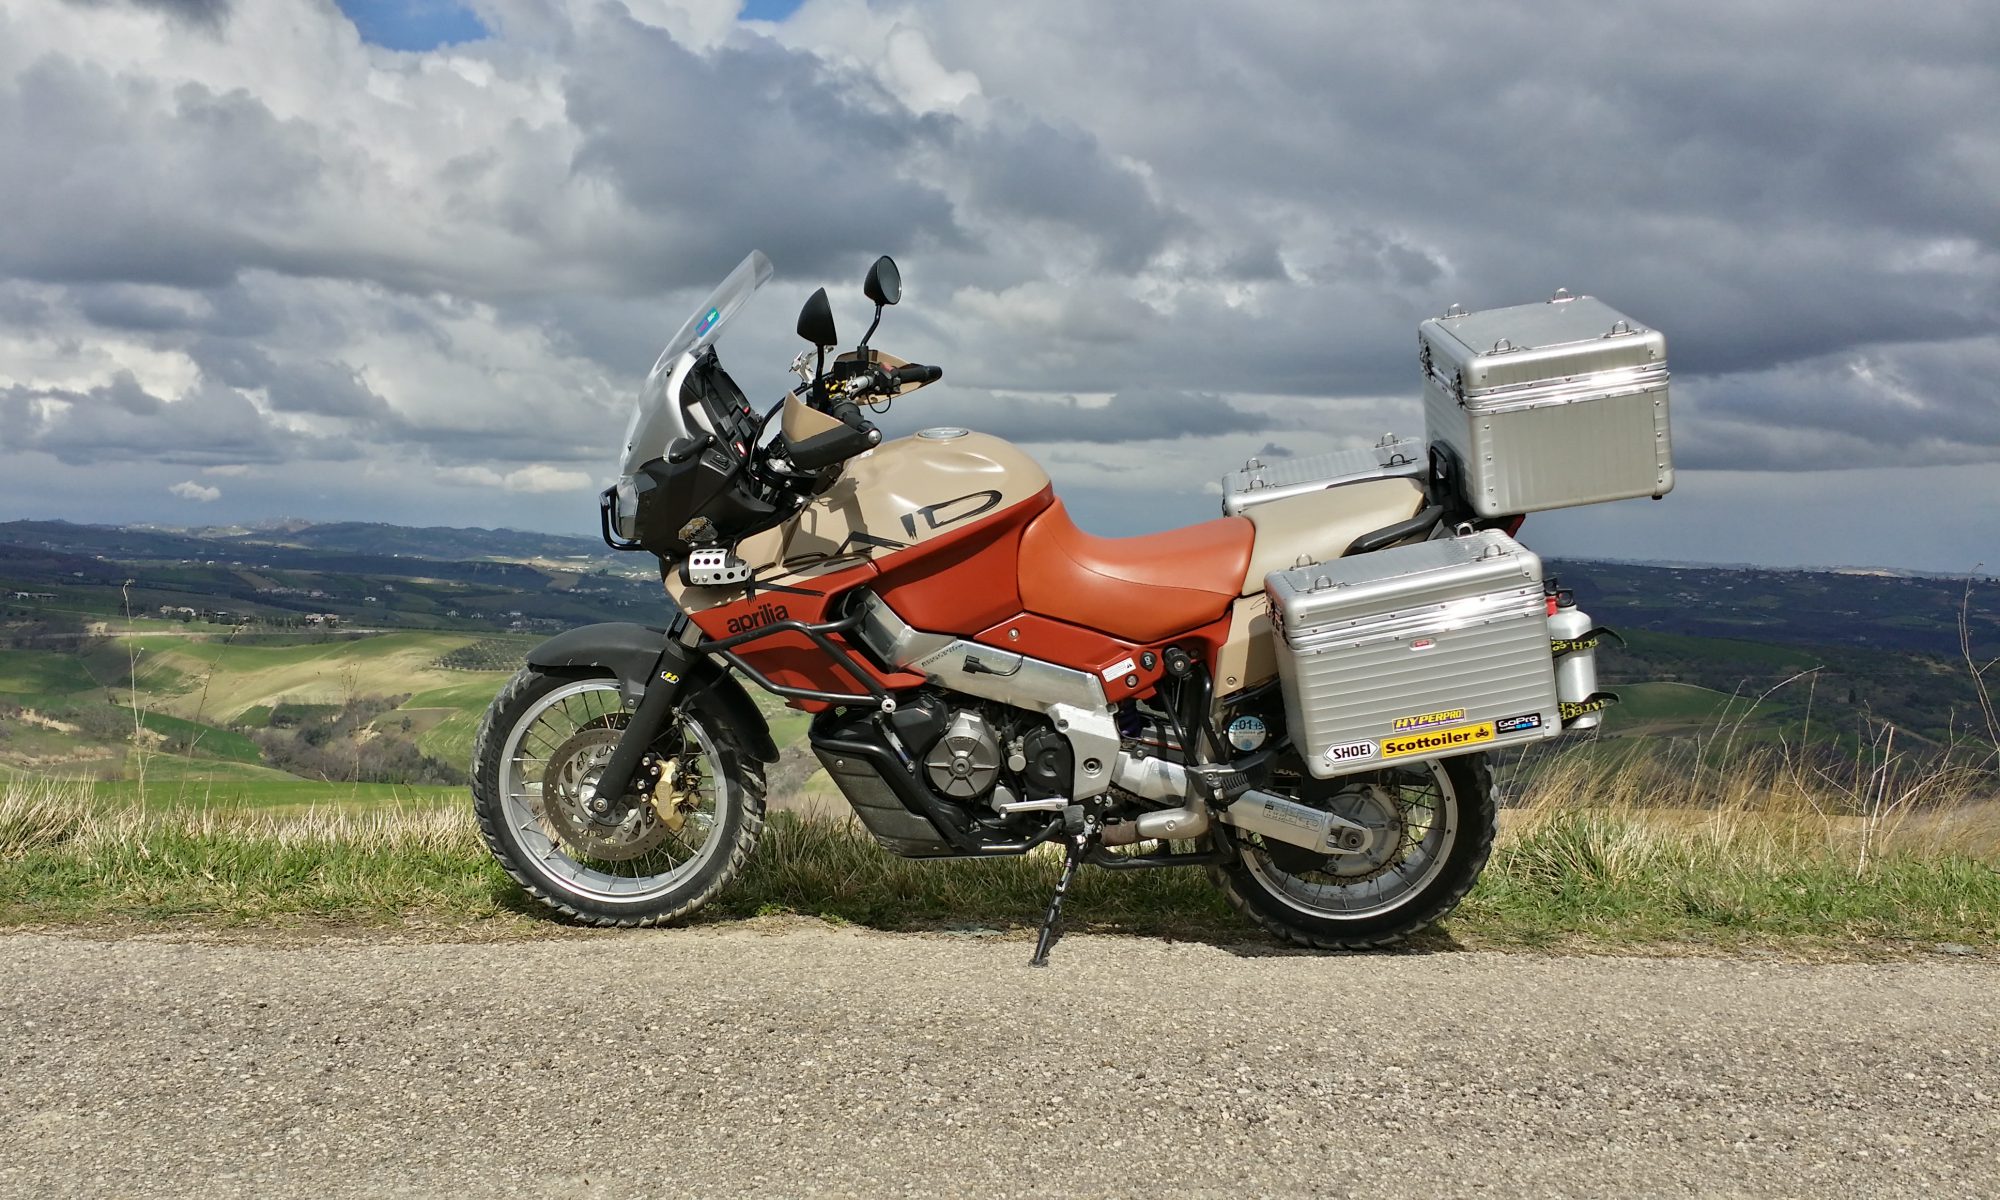
With just over 82,000 miles on the Caponord, the dashboard died. Yes, while about to set off from a rather innocuous little shop car park on a hot and humid afternoon, the dashboard shuffled off its mortal coil … Curled up its toes, bought the farm – as dead as the proverbial Dodo.
On the way home I mulled over the possible cause, was it the additional microcontroller/hardware I added in 2013 or simply a failure of some part of the original Magneti Marelli circuit board? By the time I got home, I had a few possibilities rolling around my head, but nothing concrete. 15 minutes after cutting the ignition, the dashboard was on the test-bench.
Ultimately the fault was traced to a ‘Via’, a hole where a signal/power track passes from one side of the board to the other. In this case, where there should have been 12 Volts, there was 2 Volts! A simple wire link bypassed the problem and the dashboard popped back into life.
So is it a design flaw or manufacturing defect? I’d say probably a bit of both! Below is a photograph of the faulty area on a Mk1 and Mk2 board. Notice the Mk2 (right hand) has a much larger track area AND has 4 Via’s instead of the Mk1’s single Via bringing power from the top of the board to the underside. All well and good BUT both boards still only have a single Via (red dot) to pass power to the regulator on the front ……….. And it’s this Via that failed!
It seems that this was known to be a troubled area and was re-designed …. sort of. But the fact that the last Via was never upgraded, simply left this as the weak link – unfortunately, one of many on these boards!
Anyway, this one’s a runner for now ……. and that’s a jolly good excuse for a run around for an hour or two to thoroughly test it out! 😀
A couple of anniversaries this week ….. firstly the dashboard. Yes a full 12 months since it was finished and put back into the Capo for the last time, resplendent with its new inlay to complement the electronic changes. The auto-dimming back lighting and split indicator repeaters have been absolute winners – I couldn’t go back to a standard board again without missing them. Moving the side-stand and low-fuel lights to accommodate the twin indicator repeaters has had no impact, positive or negative. The voltmeter has been a different kettle of fish …. generally unused as the Sparkbight battery monitor handles voltage feedback when riding around – however it has proved a real benefit during start-up when the dashboard goes through its self-test phase. Now it’s become second nature to eye-ball the tacho needle to see what the battery voltage is pre-start. >12.6v and I know I should get a good kick from the battery!
The second anniversary, although shorter at 6 months and a tad over 11K miles, is the MCCruise cruise control. After a rushed install (not clever) I knew I had a heavier throttle than pre-installation ….. this was purely down to throttle cable routing and nothing to do with the cruise control itself. It simply didn’t like being re-routed behind the radiator, so I gave up and relocated the CIU (cable interface unit) to a new location by the throttle bodies. Now everything works fine – a light throttle and a happy cruise control. It’s been 100% reliable and functional. As a demonstration of its finesse I ran the bike in 1st gear at 25mph and let the cruise control take over the (100 horsepower!) throttle – all I can say is WOW! I would never have believed that the system could have the sensitivity to operate the throttle with such precision, but it did – up hill, down dale – never an ounce of jerkiness. Ok I admit no one wants to ride around in 1st gear …. but as an experiment, it proved to me that MCCruise have indeed developed an absolutely fantastic piece of kit.
I switched on the fog-lights to better illuminate the mud and stone strewn road ahead; when it dawned on me that I hadn’t taken the Capo out in the dark for ages, months probably. And here I was winding a path along our troubled road and hopefully onward for a nice little night-time ride all in the name of testing the auto-dimming backlighting!
After getting the set-up working nicely with the old thumb-over-the-sensor routine, it was time to take the old girl out for a spin and see what the illumination was like both in unlit rural and street-lit urban riding. I took the netbook and cable along so that changes to the code could hopefully be done at the roadside.
In the end I was really pleased with how the lighting worked anyway, the only change I made was to the minimum brightness – dropping it slightly – so that it’s totally readable without putting stress on my tender night-time vision. Daytime backlighting is, as you would expect fully-on at 100% while the night-time drops to 30%, which with the higher output LED’s (blue & green) is just about spot on.
But ……
And there’s always a ‘but’ …… the two LED’s in the binnacle (Autoswitch & Battery monitor) now stand out as being overly bright compared to the dashboard at night, so, time to work out how to take these signals and pass them through the Arduino and subject them to the auto-dimming code as well, then the whole cockpit area will be sorted at last! 😉
On 4th February Jan came back home with a suitcase fair groaning with all manner of goodies. The most eagerly awaited though, was the pair of new inlays from Lockwood International Ltd. So first impressions?
Excellent! From the textured material to the bleed-free printing, from the fit to the light-transmission …. everything was exactly as I’d hoped. The first thing I did was pop one onto a waiting chassis/board and turn on the lighting – did the text and colour match the light channels? Again, perfectly. Now I could relax, prepare the new chassis and get ready to fit one permanently to the dashboard. To fix it in place I decided to use a general-purpose spray adhesive and did a trial run on an old chassis/inlay to make sure it would be suitable. Everything seemed fine and it was certainly good experience to do a dummy run.
Making sure the chassis was grease and dust free was essential, then masking off the light-channels, mounting pegs and anywhere else I didn’t want spray glue to go! A couple of thin coats of adhesive were applied and the inlay fitted 10 minutes later to allow time for the solvents to evaporate. Perfect! It was now ready to be fitted to the circuit board, but first a couple of modifications to the board/processor circuits.
First the eeprom file needed to be updated for the Futura speedo/tacho, then the code in the microcontroller needed updating for the different (voltmeter) needle calibration. At the same time a couple of modifications were made to the circuits based on insights I’d picked up about Arduino boards from the Internet, also the auto-dimming circuit was finally added for the variable back-lighting, a bit of tweaking with the code – and it was all ready to be refitted to the Capo.
So there I was …. on a wind-swept but warm Sunday morning, dashboard in hand and about to see the fruits of a few months work finally come together on the bike. No doubt the code for the auto-dimming will need fine-tuning, but that can be done without removing the dashboard again – and that’s the line in the sand, right there. Once fitted, I shouldn’t have to remove them again anytime soon …. and that’s a great feeling!
I think that about now would be a great time to pause and say thanks to a few folks who have helped me keep the momentum in this little project. Firstly Jan for her patience and for lugging stuff across the continent for me, to Andy (beasthonda) for bouncing ideas around with me and his interest in the project, to Arvdee in the USA without who’s generous donation of a Futura inlay I wouldn’t have had a template. Last but not least, Clive from Lockwood International for putting the proverbial icing on the cake – thank you all!!!! 😀
When I got back from the UK just after Christmas I set about installing the new Eclipse-8 battery monitor on the Capo. You may remember from a previous post that I fitted a 5mm LED battery monitor from Sparkbright a few month ago and loved it (previous post here). In December Andrew very kindly sent me an Eclipse-8 as a sample so I could evaluate it – thanks again Andrew!
What’s the difference between them? Well firstly, it’s only available as an 8mm or 10mm unit, no 5mm version as yet. Secondly – and this is the kicker – it’s also auto-dimming, changing it’s brightness depending on the prevailing light conditions, without using a separate photo-sensor to do it. Here’s a Sparkbright video of it in action.
So does it work? Short answer – yes, VERY well! I installed it in the same place I’d had the 5mm unit, just drilling the hole a little bigger to accommodate it. The Eclipse-8 has the circuit board attached directly to the LED, so only two wires and no circuit board in the loom to find a home for. The board is very compact and once the LED is inserted into the mounting clip, it is hardly visible. The length of wire supplied was ample to attach to the battery and earth points I chose in the bikes wiring.
The Caponord was bolted back together and fired up, the LED quickly changing from orange to green as the rec/reg did its thing and the voltage rose in the loom. In the strong daylight of the barn the LED glowed brightly, but put a hand over it and it very quickly dropped its output in response. All well and good, but would it be effective when put to use in the real world?
Well I’ve covered about 700 miles through January and early February in all weathers and lighting conditions and the Eclipse-8 has certainly lived up to my expectations. For example, here along the Adriatic, the A14 Autostrada weaves its way along the cost through numerous dimly lit tunnels. Jumping from bright sunlight to twilight and back gives the unit a good workout and each and every time it switches very rapidly – I’m guessing in a few milliseconds, but certainly fast. At night-time the unit operates primarily at it lowest output and is never distracting, sometimes increasing in brightness as I pass under a sequence of street lamps just to let me know it’s still doing its thing!
So are there any downsides? Yes, but not as a result of anything done by Sparkbright. 8mm LED clips it seems are only available in convex and not concave style. Great for increasing the angle of visibility ( not important from the saddle) but also increasing the susceptibility of the LED to being ‘washed-out’ by direct sunlight and becoming difficult to see. As it is, there is a simple partial fix. Drop the LED further down the clip and glue it in place. I dropped the LED so its top was flush with the clip – a couple of millimetres I guess and this has made a world of difference. Now only the most direct sunlight affects readability and I can live with that!
Bottom line, the Eclipse-8 is a simple all-weather battery monitor for day/night use on a motorcycle – no more, no less. And it is doing the job perfectly.
Other than my initial purchase of the 5mm unit and sample Eclipse-8 supplied by Sparkbright, I have no affiliation to them. I’m simply offering my own review of products I believe to be useful and cost effective. It’s my unbiased opinion, if you buy one and don’t like it – tough. Don’t come running to me! Is that a disclaimer?
This website uses cookies to improve your experience. We'll assume you're ok with this, but you can opt-out if you wish.AcceptRead More
Privacy & Cookies Policy
Privacy Overview
This website uses cookies to improve your experience while you navigate through the website. Out of these cookies, the cookies that are categorized as necessary are stored on your browser as they are essential for the working of basic functionalities of the website. We also use third-party cookies that help us analyze and understand how you use this website. These cookies will be stored in your browser only with your consent. You also have the option to opt-out of these cookies. But opting out of some of these cookies may have an effect on your browsing experience.
Necessary cookies are absolutely essential for the website to function properly. This category only includes cookies that ensures basic functionalities and security features of the website. These cookies do not store any personal information.
Any cookies that may not be particularly necessary for the website to function and is used specifically to collect user personal data via analytics, ads, other embedded contents are termed as non-necessary cookies. It is mandatory to procure user consent prior to running these cookies on your website.
 Way back when I started playing with the idea of using the dashboard tachometer as a voltmeter, I was aware I had one stumbling block …. I didn’t have a decent workbench power supply to calibrate the software/voltmeter against. In the end just using a battery and resistors the ball-park calibration wasn’t too bad, reading within a needles width of the correct voltage from 13 – 14v but it drifted terribly above and below this range.
 Then in summer along came a gift from ABSL via Andy (Beasthonda) …. A very nice Thurlby 30V-2A dual power supply, which unfortunately had to languish in Oxford as it was too heavy to transport back by Capo! But patience is rewarded and it finally sits on the workbench, performing brilliantly and its first job has just been to calibrate the dashboard voltmeter once and for all. In the end it required a little code revision to get it just so, but it was worth it – now the voltmeter is accurate to a needles width over the full range of 9 – 16V. Happy Days! One more job to tick off the must-finish list. 😀
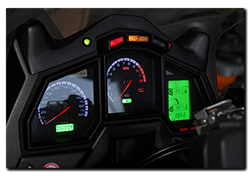 With just over 82,000 miles on the Caponord, the dashboard died. Yes, while about to set off from a rather innocuous little shop car park on a hot and humid afternoon, the dashboard shuffled off its mortal coil … Curled up its toes, bought the farm – as dead as the proverbial Dodo.

 The second anniversary, although shorter at 6 months and a tad over 11K miles, is the
 I switched on the fog-lights to better illuminate the mud and stone strewn road ahead; when it dawned on me that I hadn’t taken the Capo out in the dark for ages, months probably. And here I was winding a path along our troubled road and hopefully onward for a nice little night-time ride all in the name of testing the auto-dimming backlighting!
 In the end I was really pleased with how the lighting worked anyway, the only change I made was to the minimum brightness – dropping it slightly – so that it’s totally readable without putting stress on my tender night-time vision. Daytime backlighting is, as you would expect fully-on at 100% while the night-time drops to 30%, which with the higher output LED’s (blue & green) is just about spot on.


