 I posted about this thing in 2012 and planned for it’s replacement in 2013.
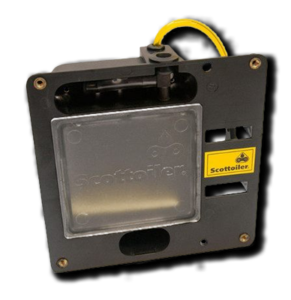
Like it or not though, it is now a rather pants 2020 …. and I have finally replaced the ageing and somewhat cantankerous Scottoiler VSystem and HCR (High Capacity Reservoir). With a total of 19 years, four bikes and somewhere in the region of 360,000 miles under its belt it was definitely time to replace it. To be fair, the last 5,000 or so of those miles it has only been along for the ride as I had finally turned it off sometime late last year due to it functioning in ‘all or  nothing’ mode and ‘all’ really was quite a bit of oil to go sloshing around the back wheel! The RMV (Reservoir Metering Valve) had been refurbished back around 2013-14 and back then, the diaphragm was already getting a little stiff. I guess like my old joints, one day it just stopped flexing at all.
In the big scheme of things, this package has only cost a couple of pennies a day and given sterling trouble-free service for 99% of its days, so there is only one clear viable replacement in my books – another VSystem and HCR. I did look at the very 2020’s techie ESystem but frankly, I couldn’t justify the 2.5x price and having to fiddle with yet more wires and mount yet another ‘control box’ on the handlebars somewhere. No, the VSystem works well and will simply be a plug-in replacement and that suits me just fine. Total cost for both parts in the UK came to £127.96 and that is not a huge hike in price over almost 20 years.
Put it another way. A DID 525ZVMX chain costs £100-£110 ish to replace and by my rough calculation the Scottoiler has saved me the cost of at least three chains, probably more during its time on my bikes. So not only has it long since paid for itself, it has also saved me a tidy sum in sprockets and the time and effort to replace them. I can comfortably live with that.
I’ll end with a brief explanation of how I mounted the HCR to the Caponord. Firstly though a disclaimer – Scottoiler do not list the HCR as compatible with the ETV1000. If you do decide to install one, it is entirely at your own risk. Personally, I am more than happy that the installation I have is safe, secure and allows the system to function as it was designed to. This is how I did it.
Using the template (download here) I have made a mounting bracket from 4mm thick aluminium plate. In the pictures below you will see the plate in perspex – this was the ‘sanity check’ test piece to confirm the drawing was correct before committing to cutting metal. This piece is mounted by two M6x20 countersunk screws, washers and nyloc nuts through the existing ‘number plate’ mounting holes in the mudguard. The HCR is mounted to this bracket by two M6x30 cap head screws, washers and nyloc nuts and a third M6x30 through the pannier frame/mudguard.
On the Rally-Raid or any Capo with the Givi pannier rack the rear brace attaches to the mudguard and provides the 4mm standoff for the HCR bottom mount to bolt through (M6x? cap head, washer and nyloc nut) – if you don’t have this bar, then you need to provide a spacer between the mudguard and HCR – a couple of M6 penny washers will work fine. You will need to fit the RMV to the HCR before fitting the whole assembly to the mudguard as there is not enough room once the HCR is fitted on its own. After that, just follow the instructions provided by Scottoiler regarding filling, mounting the feeder pipe and attaching the RMV to the vacuum system. The only additional thing I did, was drill the mudguard so I could feed the oil/vacuum pipes through to the subframe rails and hide them out of the way.


 It’s been a while since the Capo was serviced and one job has still remained outstanding – in fact it has been ‘outstandingly’ outstanding for the past few services since I lost my old
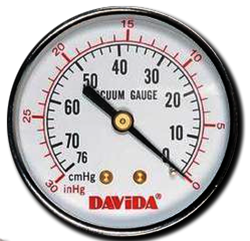
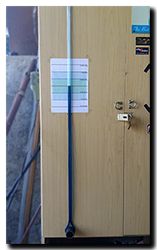
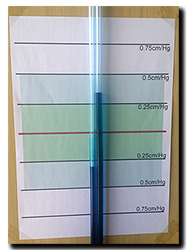
  First off, what kind of vacuum are we looking at from the Capo motor? From measurements, it looks to be somewhere in the range of 22-24cmHg (based on an erratic Carbtune II) per cylinder measured against atmospheric pressure …. Now that’s not much for a mercury manometer – barely the length of a sheet of A4 paper. A nice compact manometer then, except that unfortunately mercury is almost impossible to get hold of because it’s deemed way too dangerous for us potato-heads to use safely. So what does this mean in terms of manometer height if we use liquids of a lower density? Well…..

