 Sometime last year I decided that 2015 was going to be the year that a whole bunch of parts were going to get cleaned up and recoated – engine/sump protection bars (especially the mounting brackets), headlamp guard and passenger foot peg hangers for a start.
The accessory parts seem to be made substantially cheaper than the bike parts themselves – stamped, pressed, bent and welded with a flash of cheap paint to top it off. All well and good for a couple of years, but the elements soon work their magic and the stuff begins to look jaded and rusty. No, if you want it to look good and last, you’ve got to pick up where the Aprilia contractor left off ….. Debur, remove weld spatter and radius any and all sharp edges you can find, THEN get a quality finish applied. That’s the plan anyway!
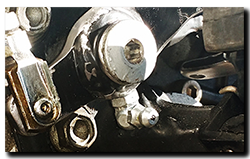 So to kick off I took the spare rear brake lever and began to radius the sharp edges and smooth the lumpy stamped (or laser cut) edge … I have to say it was looking (and feeling) rather nice when I downed tools and wandered indoors for a brew.
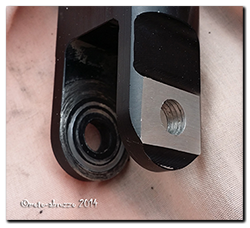
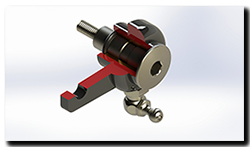
It was while standing there aimlessly waiting for the kettle to boil that I thought about adding a grease nipple to the pivot – Aprilia have done a good job in making the bolt grooved to hold a reservoir of grease AND fitting two ‘O’-rings (OR114 – 1.78mm section / 11.11mm ID) to keep the grease in …… but a grease nipple would make packing the grease in and replacing it soooooo much easier!
In the end it only took 30 minutes ….. grinding a flat on the underside, drilling and tapping a 6mm hole and screwing in a 90° fitting. What do you think?
